How to Add Stars in Photoshop
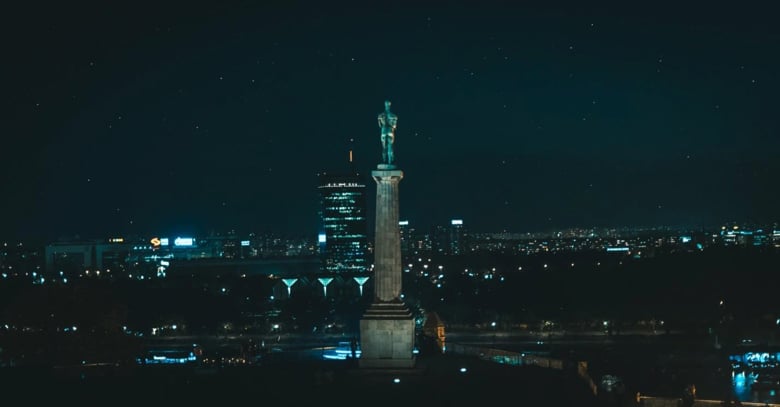
Night photography is beautiful – landscapes and cityscapes full of stars are breathtaking – the truth is, it’s not easily achievable just by a camera. Even with the long-exposure settings, it is often too difficult to capture all those great stars in the night sky. But there is an interesting and easy way to create your own realistic-looking stars in Photoshop.
Today I’m going to show you a simple and easy way to create your own Star brush preset in Photoshop according to Mr. Aaron Nace of Phlearn.
Let’s go!
Note: if you’d like to learn the basics of Photoshop because it’s the first time you’re using it, you can check our article that feature some great video tutorials to learn everything step by step.
Step 1: Star Brush Creation
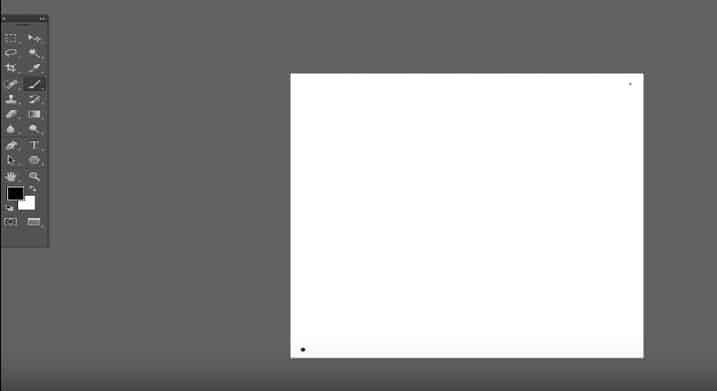
- Create a new document and change the size to 500×500 Pixels.
- Make sure that the background color is white, and the foreground is black.
- Select the Brush tool and change the Hardness of the Brush to 70%.
- Paint two black dots diagonally, one bigger and one smaller (like it’s shown in the picture).
Stars are far apart from one another, and by doing this, we can achieve the realistic look.
- Save the Star Brush Preset by going to Edit > Define Brush Preset > Name it and click OK.
Now we have created our Star Brush preset, and there are only a few more things we need to do before we start using it.
Step 2: Star Brush Preset Modifications
To make our stars really stand out and look more realistic we need to make some changes in the Brush Settings. This step is very important, here’s how to do it:
- Select a Brush then go to Brush Settings and select the custom Star Brush we previously created.
- Change the color from white to black – background color to black and foreground to white – in order to apply the brush on a photo.
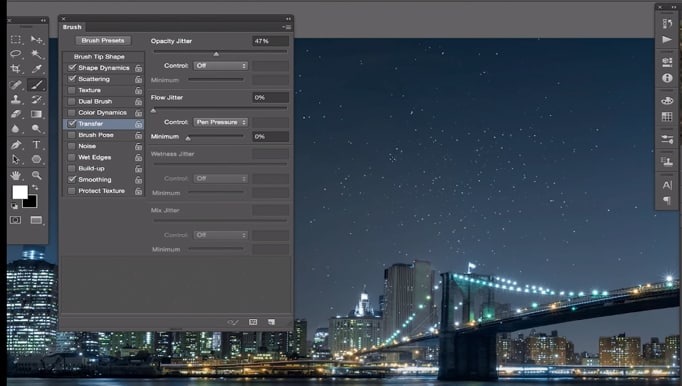
- In the Brush Settings, you need to check:
- Shape Dynamics
- Scattering
- Transfer
- Smoothing
Adjust the parameters as follow:
- Shape Dynamics: change the Size and Angle Jitter values to 100%. This will affect the rotation and position of the stars.
- Scattering: check Both Axes and change the Scatter value to about 300 to 400%. Also if you use the Count option it will affect the amount of stars created with a small brush stroke.
- Transfer: turn on the Opacity Jitter up to 50%, to make a distance between the stars.
- Save the Star Brush preset once again with these parameters.
These settings will affect the overall density, distance, opacity, and position of the stars in your brush. You can always make changes to your liking.
In this Youtube video, you can see how each setting affects the density and overall look of the stars when the Star Brush is applied to an image. There is plenty of room for a change and it’s fun to play with it.
Step 3: How to use it?
Well, now it’s easy – just select your new Star Brush tool and unleash your creativity by painting stars to your night photos and other images.
Here is my example:
Enjoy !
Hey, I'm a Professional Retoucher making $10k a month thanks to Photoshop.Register to my newsletter to get freelancing tips and a FREE Brush Pack in Bonus! My Newsletter


