

There are various instances when one might need to remove a white background from an image, such as creating a composite or working with logos.
Adobe Photoshop offers a multitude of options to achieve this, catering to various image qualities and colors. You can easily remove any background, even white or solid color ones, by learning techniques like using the Magic Eraser, Background Eraser, and Quick Selection tools.
Selecting the right eraser tool depends on the overall image color and quality.
For darker images without light colors, the Magic Eraser and Background Eraser tools prove sufficient. When dealing with light-colored or complex backgrounds, a more thorough approach is required to avoid erasing vital parts of the image.
This tutorial will provide guidance on using all three eraser tools in Photoshop for optimal results.
Key Takeaways
- Use the right Tool: Use either the Quick Selection, Magic Eraser, or Background Eraser tools based on the image’s complexity.
- Precision and Control: Employ Select & Mask for fine-tuning and the Pen Tool for intricate images.
- Non-Destructive Editing: Work on a duplicate layer and use layer masks for flexibility.
- Attention to Detail: Adjust your tool settings and zoom in for accuracy. If you have precised selections, your final result will be a lot better.
Table of Contents
- How to Eliminate the White Background from an Image Using the Magic Eraser Tool
- Removing the White Background Using the Background Eraser Tool
- How to Remove Any Background from an Image with the Remove Background action (from Photoshop v24.0)
- Conclusion
- Frequently Asked Questions
- What is the method to remove white backgrounds in Photoshop?
- Which tool should be used to remove white backgrounds effectively in Photoshop?
- How can transparency be achieved for image backgrounds in Photoshop?
- Is there a fast method for erasing a white background from a photo?
- What steps should be followed to remove backgrounds from drawings in Photoshop?
- Can Photoshop be used to remove white backgrounds from logos?
How to Eliminate the White Background from an Image Using the Magic Eraser Tool
When to use the Magic Eraser Tool?
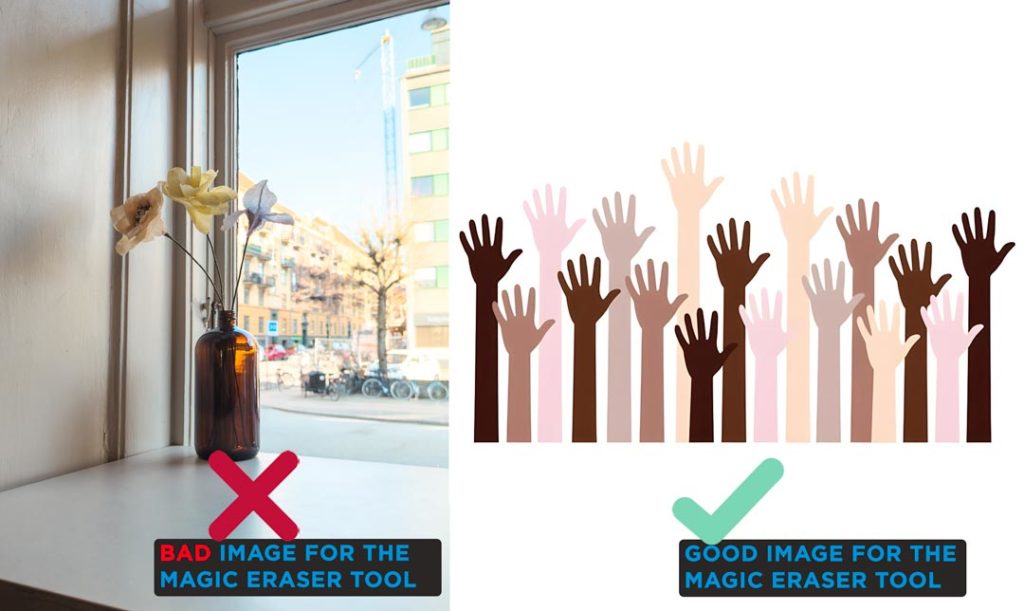
It’s useful for images with a clear distinction between the background and the foreground or when the background is mostly one color.
The Magic Eraser Tool functions similarly to the Magic Wand Tool. When you click on a part of the image, the tool automatically selects pixels based on similarity in color and tone. It then deletes these pixels, effectively erasing that part of the image.
In images where the background and foreground colors are similar or blend together, it can accidentally erase parts of the image you want to keep.
Step 1: Open the Image in Photoshop
Find the desired image in your folders and open it with Photoshop
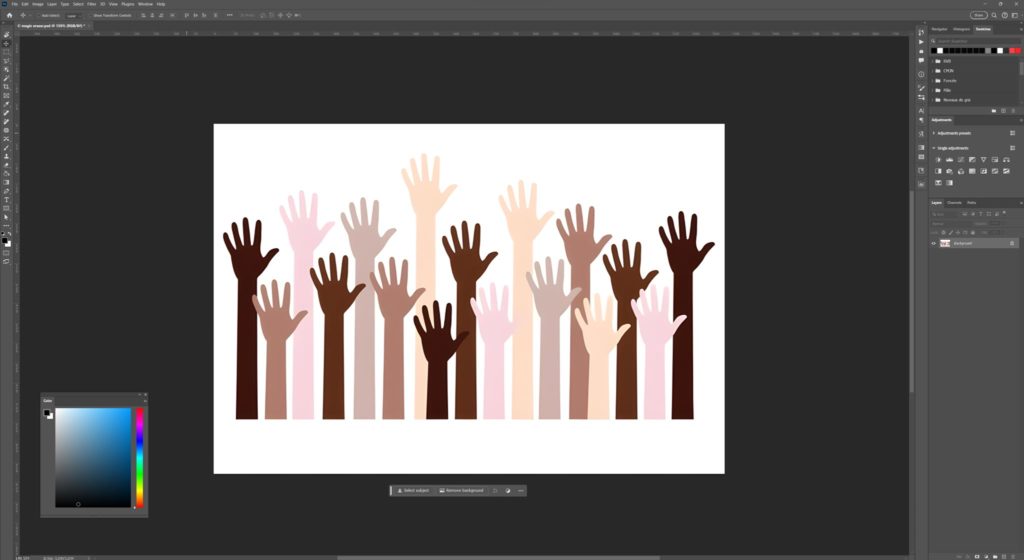
Here, you can clearly see how the background differs from the foreground. This is the perfect image type to use the Magic Eraser Tool.
Step 2: Unlock and Rename the Background Layer
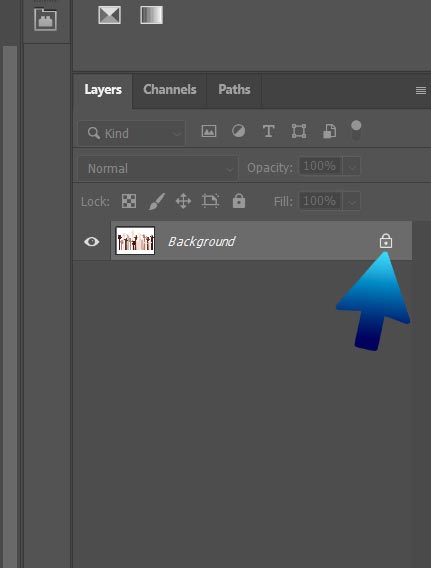
In the Layers panel, click on the lock icon to make the layer editable.
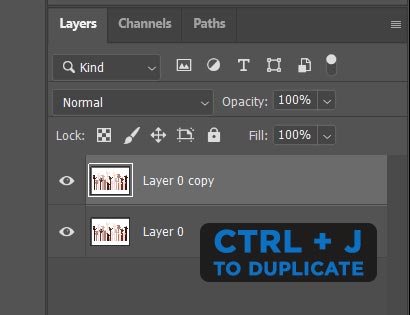
Duplicate the layer by selecting it and using CTRL + J shortcut. This will allow us to keep a copy of the original file in case anything undesired happens.
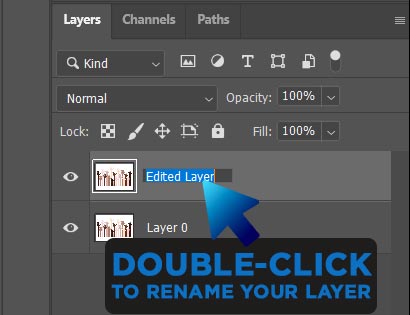
Double-click on the top layer’s name to rename it. If you’re not double-clicking on the name itself, it will open the Layer Style window instead.
Hide your original layer by clicking on the eye icon.
Step 3: Choose the Magic Eraser Tool
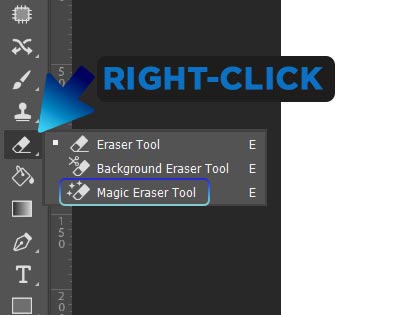
From the Tools panel, pick the Magic Eraser tool, found under the Eraser tab (Shortcut is by default E). Use the following settings:

- Tolerance: 30
- Anti-Alias: checked
- Opacity: 100%
Step 4: Erase the White Background
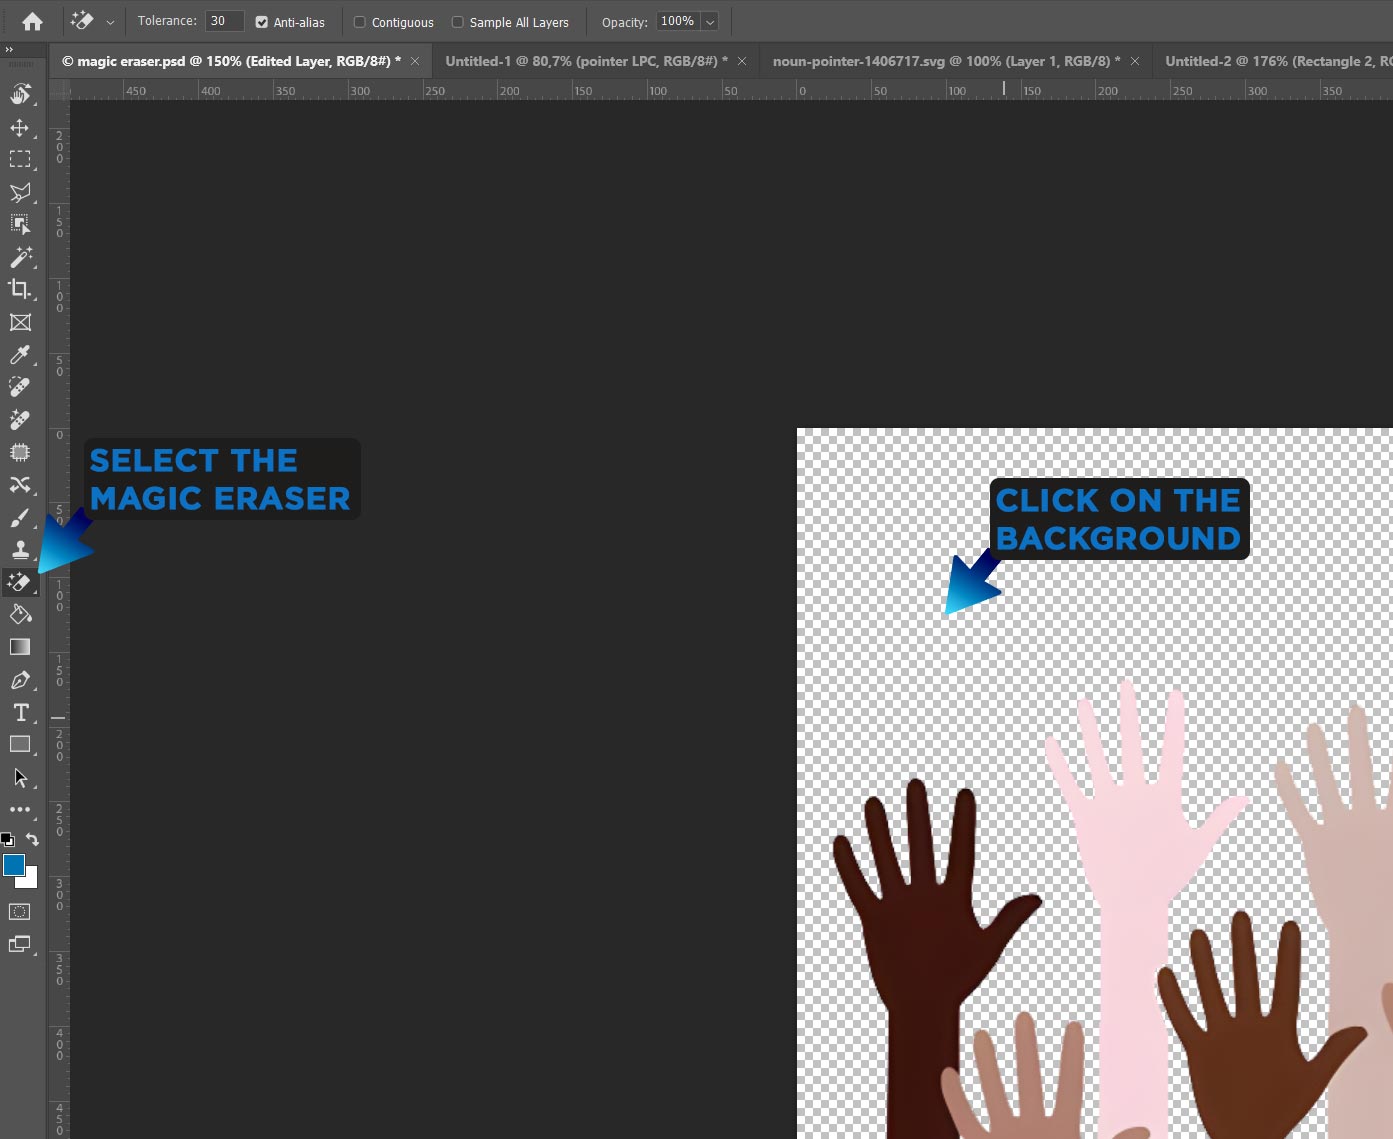
Click on the white background using the Magic Eraser tool to remove it.
Note: If your image has a light-colored area, such as a gray shadow, the Magic Eraser tool may remove it as well. Here, using the Background Eraser Tool might be a better option.
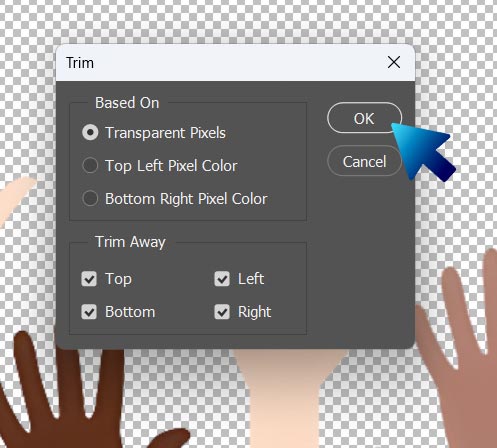
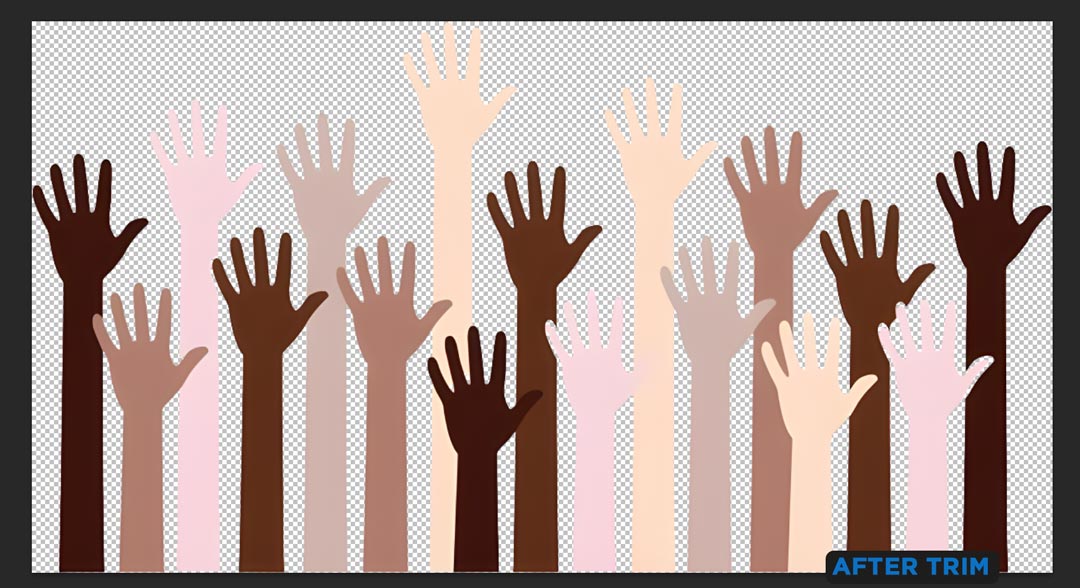
Step 5: Trim Excess Space and Save as PNG
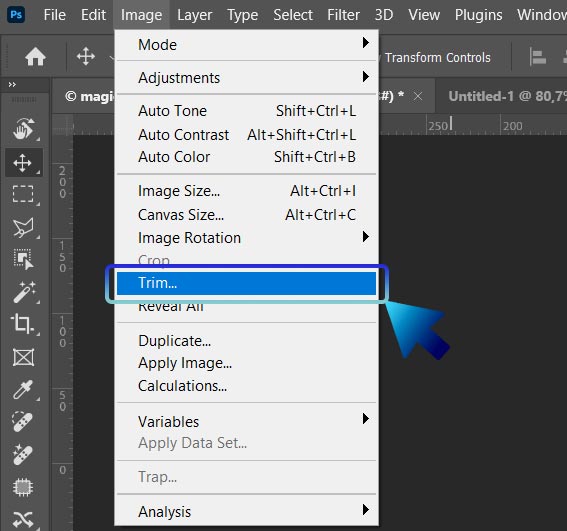
Go to the Image tab and select the “Trim” option, which will remove any extra transparent space surrounding the image.
To maintain transparency, export the image as a PNG file by navigating to the File tab, selecting “Save for Web,” and choosing PNG.
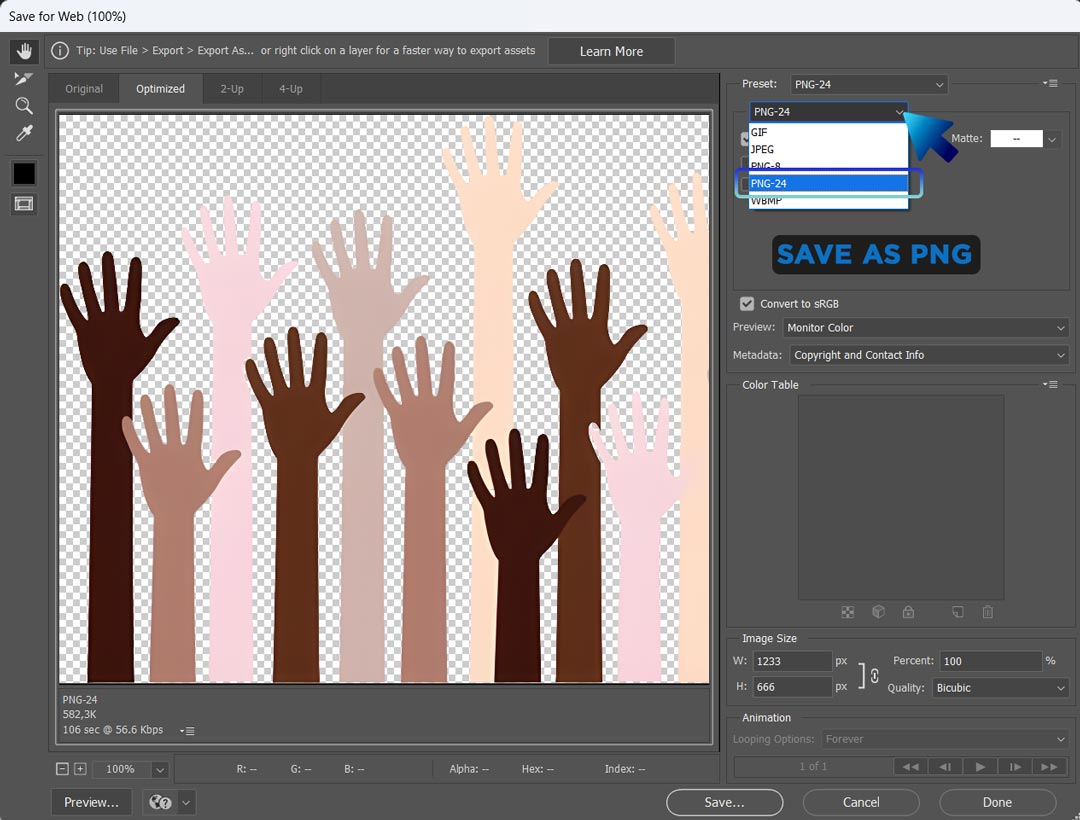
Saving as a JPEG will cause a white background, negating your editing efforts.
If you want to discover more about the Magic Eraser Tool, check out this YouTube Video:
Removing the White Background Using the Background Eraser Tool
When to use the Background Eraser Tool?
The Background Eraser Tool is more precise. As you drag the tool over the background, it continuously samples the color at the center of the brush.
The tool then erases pixels that match the sampled color while leaving the rest intact.
It’s ideal for more complex images as you can paint the areas where you want to delete the background.
Personal Tips: To be honest, I rarely use the Background Eraser Tool. I find it difficult to use, especially with intricate details. Since Photoshop v25.0 I find that the one-click “Remove Background” option, which uses AI, creates much better results.
Step 1: Follow the Initial Steps of the Magic Eraser Method
Step 2: Choose the Background Eraser Tool
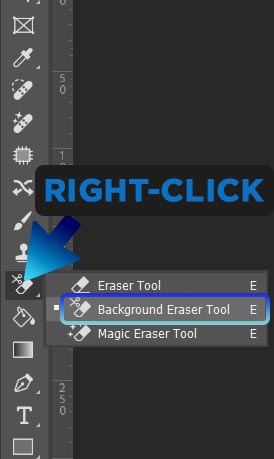
Locate the Background Eraser Tool within the eraser tab on the toolbar. The cursor appears as a circle featuring crosshairs at the center. The crosshairs control the tool by sampling the color beneath them – in this case, the white area.

For erasing the grey sky in the following picture, set the following preferences for the background eraser tool:

- Sampling: Once or Background Swatch
- Limits: Find Edges
- Tolerance: 30%
- Protect Foreground Color checked
Step 3: Eliminate the White Background
Position the cursor over the white area and click the mouse button. Hold the mouse button and drag the cursor across the entire white area. With a 30% tolerance, the eraser tool will not affect non-white colors.
Change the tolerance level for different images based on the main graphic’s color. If any white pixels remain, use the standard eraser tool to carefully remove them.
Move the cursor with the crosshairs over the background until all white areas are erased.
Step 4: Reapply the Last Two Steps of the Magic Eraser Technique
If you want to discover more about the Background Eraser Tool, check out this YouTube Video:

How to Remove Any Background from an Image with the Remove Background action (from Photoshop v24.0)
Step 1: Load Your Image in Photoshop

Find your desired image on your computer and open it in Photoshop. Make sure it’s centered on the canvas.
Step 2: Clone the Layer
First, unlock the image layer and create a duplicate.
Then, hide the original layer beneath the one you’ll be working on. This way, you have a backup in case of mistakes while erasing the background.
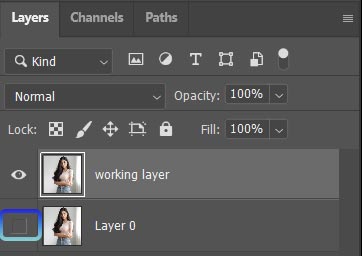
Remember to give the layers descriptive names for easy identification.
Step 3: Use the Contextual Task Bar to Remove your Background
From the menu, go to Window and activate the Contextual Task Bar.
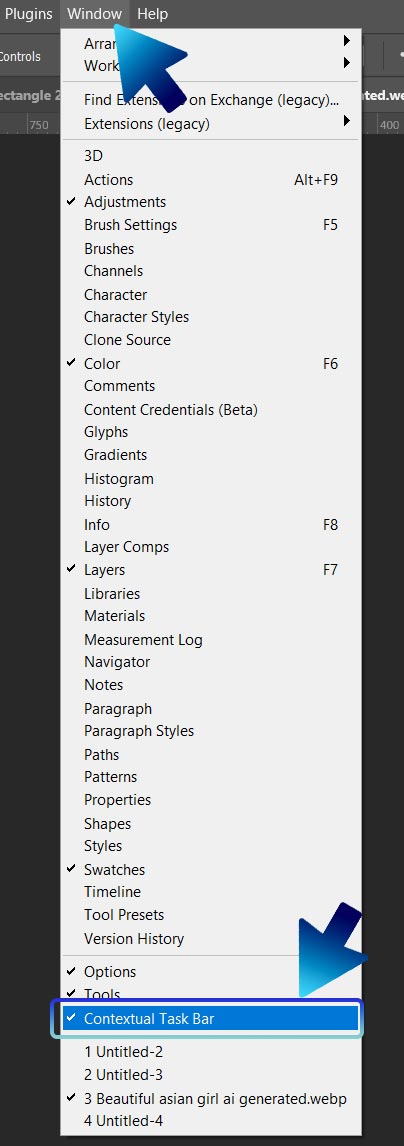
You should now see the “Contextual Task Bar” appearing next to your photo.

Photoshop will now use its Sensai AI to analyze the image and separate the foreground from the background. This process is automatic and usually takes just a few seconds.
It will auto-generate a layer mask to hide the background.
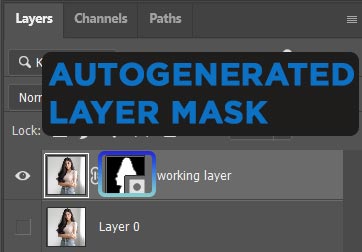
Adobe Sensai is really powerful for this kind of task and you can save a lot of time using it. Here’s the result I got with this one-click action:

The result isn’t perfect, unfortunately. We have some hairs on the right side that were deleted with the background.

We can remedy to this minor mistake by double-clicking the layer mask to bring the quick mask mode.
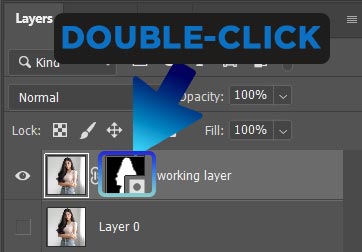
The Quick Mask Mode allows you to refine your selections. It’s great for selecting complex shapes or detailed areas in images.
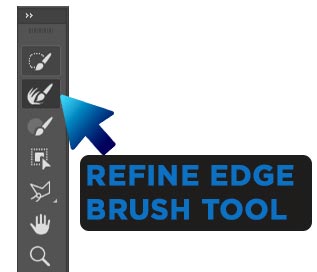
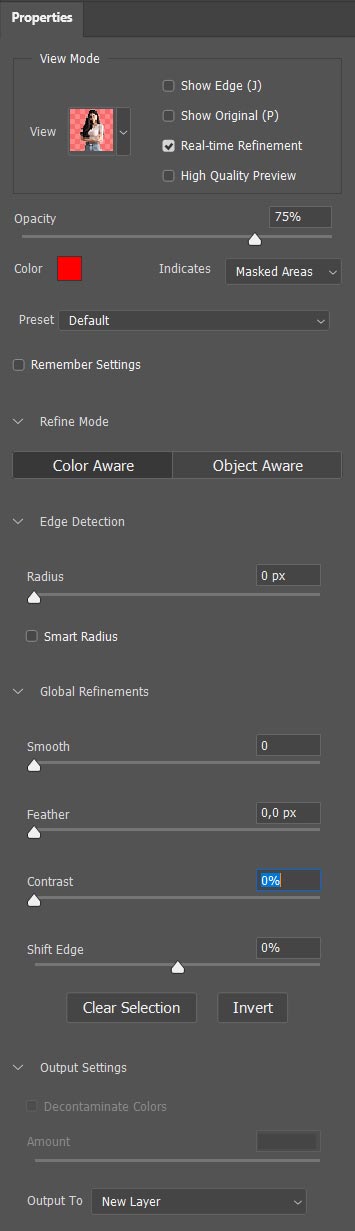
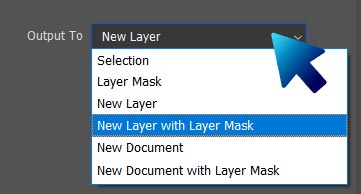
Here, I simply used the Refine Edge Brush to paint over the hairs that got deleted. You can then choose in the settings window (on the right) to output your selection to a new layer with layer mask.
Here’s my result.

If you want to know more about Adobe Sensai and its capabilities, check out this YouTube video:

Conclusion
With the tools at your disposal in Adobe Photoshop, you can effortlessly remove white backgrounds from images.
Adobe Sensai quick action is particularly helpful in achieving this task.
Keep in mind that transparent backgrounds can be saved in both PNG and SVG file formats.
Frequently Asked Questions
What is the method to remove white backgrounds in Photoshop?
To eliminate a white background in Photoshop, you can use various tools and techniques, such as the Magic Wand tool, Quick Selection tool, and others.
To make the background transparent, select the white part of the image and use the “Layer” menu to create a layer mask or delete it.
Which tool should be used to remove white backgrounds effectively in Photoshop?
The most suitable tool for removing a white background in Photoshop depends on the image you are working with and your level of expertise. My first try is always the quick action “Remove Background” that utilizes Adobe Sensei.
How can transparency be achieved for image backgrounds in Photoshop?
Follow these steps to create a transparent background in Photoshop:
- Open your image in Photoshop and unlock the layer.
- Choose the appropriate tool (Magic Wand, Quick Selection, etc.) for your image.
- Select the white (or solid color) background to be removed.
- Apply a layer mask or delete the selected area to reveal a transparent background.
- Save your image in PNG or any other format that can use transparency.
Is there a fast method for erasing a white background from a photo?
Yes, there is a quick way to remove a white background. In recent versions of Photoshop, you can use the Remove Background quick action in the Contextual Task Bar. This will automatically remove the background from your image.
What steps should be followed to remove backgrounds from drawings in Photoshop?
To remove backgrounds from drawings in Photoshop, try the Magic Wand, Quick Selection, Pen tool, or Quick Action depending on your drawing’s complexity.
After selecting the background area, you can then create a layer mask or delete the selected area to make the background transparent.
Can Photoshop be used to remove white backgrounds from logos?
Yes, you can use Photoshop to remove white backgrounds from logos. Use the same techniques as described in this article to achieve good results.
Hey, I'm a Professional Retoucher making $10k a month thanks to Photoshop.Register to my newsletter to get freelancing tips and a FREE Brush Pack in Bonus! My Newsletter

