
In this tutorial, we’re going to explore how to edit GIFs in Photoshop and how you can speed up or slow down animated GIFs in Photoshop.
GIF stands for Graphics Interchange Format and was invented in 1987 by Steve Wilhite (source: Wikipedia). It has now become synonymous with internet memes and is one of the most powerful visual media available on the internet.
One method consists of changing the delay of each frame and the second method requires you to convert your GIF to a video format first that you’ll be able to speedup afterwards.
Today, we’re going to look at how to speed up or slow down GIFs in Photoshop. While Photoshop can natively handle and edits GIFs, they are cumbersome to work with as is.
To perform global operations such as speeding up or slowing down, it is more feasible to convert them into MP4 videos, which is another format that is readable by Photoshop. So let us begin!
You can see from the outset that these two images complement each other. The foreground image of the photographer is already in a bit of a silhouette with a strong outline, and it will be easy to select him from the background.
If you want to jump directly to the VIDEO TUTORIAL click here.
Table of Contents
How to Open a GIF Into Photoshop
Before we begin, you must already have your images loaded in Photoshop. If you don’t know how to do that, you can find it here or you can simply follow along here.
Go to File > Open and browse to your GIF file. Hit Open.
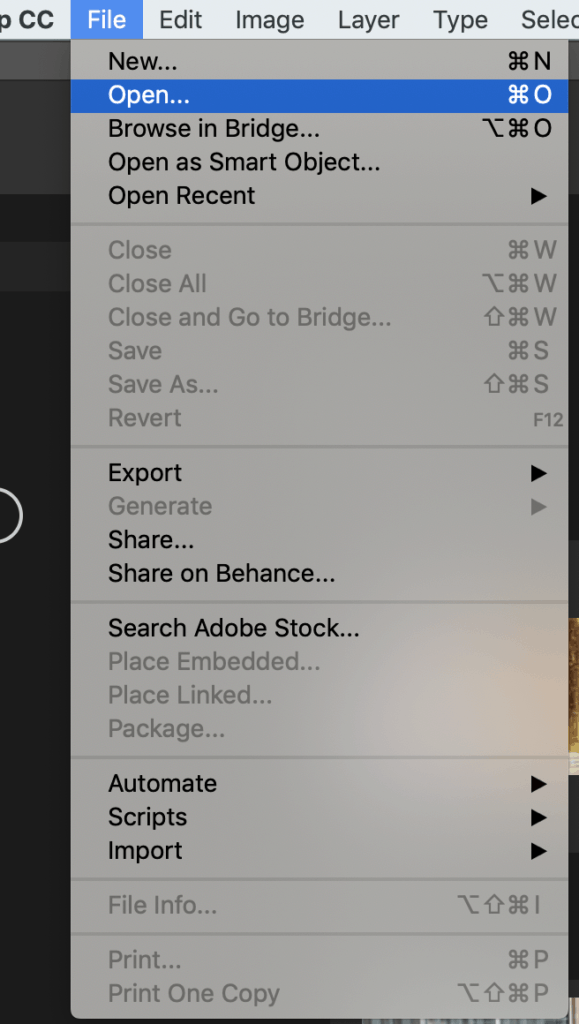
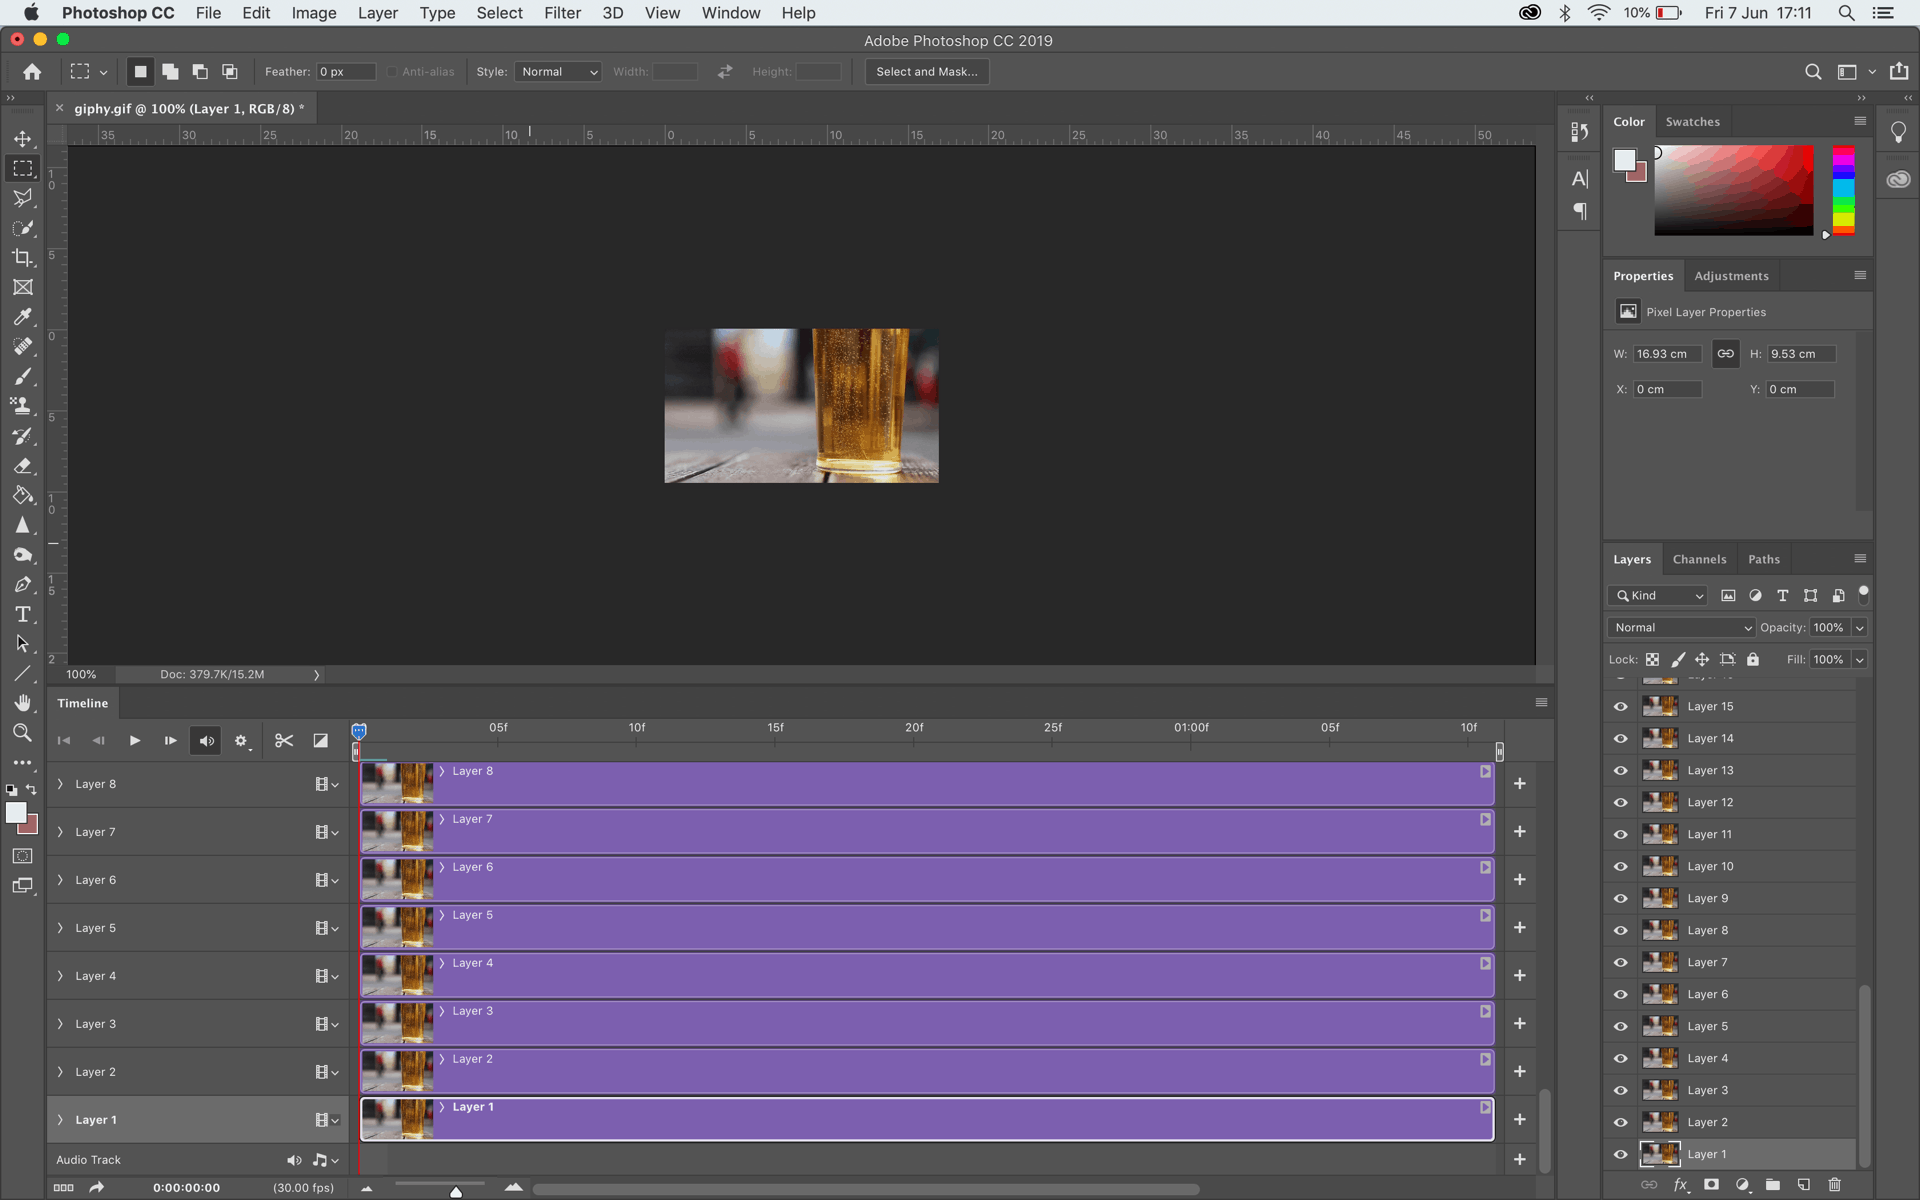
Your GIF will now open up inside Photoshop. Each frame of the GIF will open up as a separate layer.
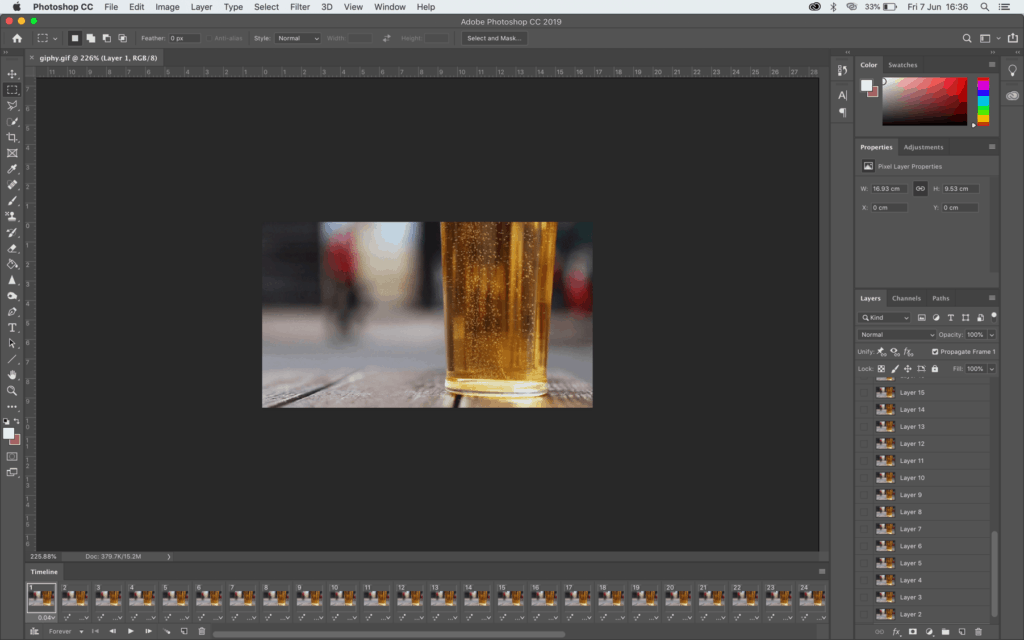
Don’t get freaked out by the amount of information on your screen. It is all manageable.
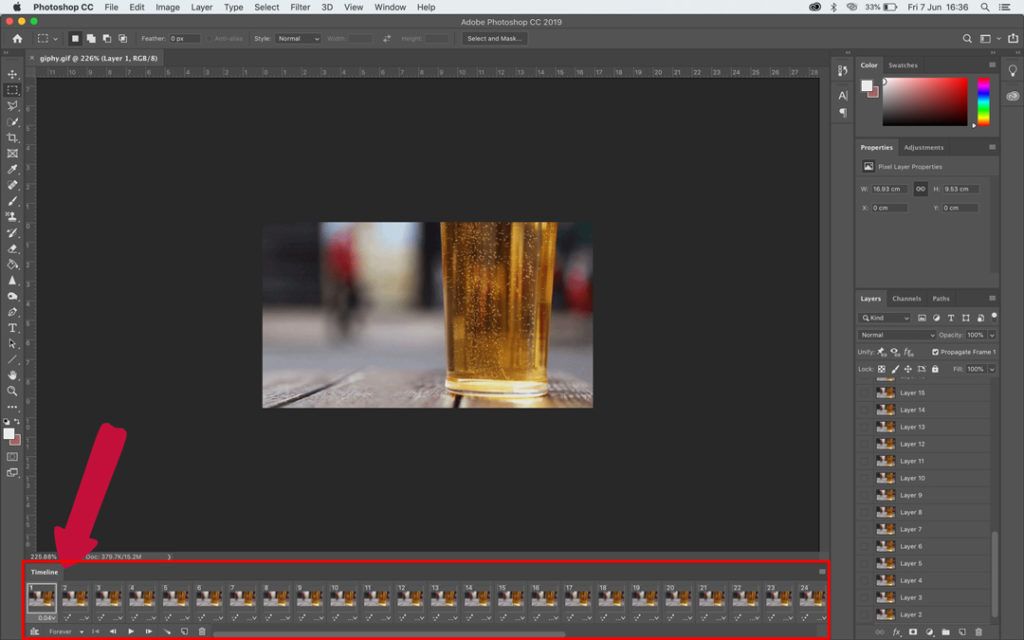
If you don’t have the Timeline Window automatically opening up when importing your GIF in Photoshop, go to Window > Timeline to enable it.

How To Speed Up Or Slow Down A GIF In Photoshop
There are two different techniques that you can use with Photoshop to change the speed of a GIF.
One consists of reducing the delay of each frame and the second method requires you to first convert your GIF to a video that you’ll be able to speedup afterwards.
Method 1: Change the Frame Delay
To increase the speed of your GIF you want to select all the frames in your Timeline.
To do this, simply click on your first frame and hold Shift while clicking on your last frame.
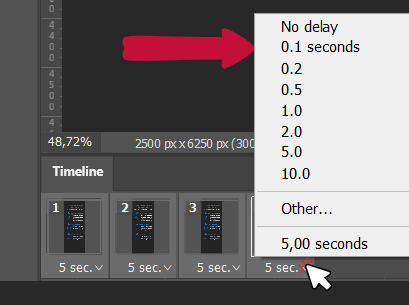
While you have all your frames selected, change the frame delay by clicking the small arrow under the frame image.
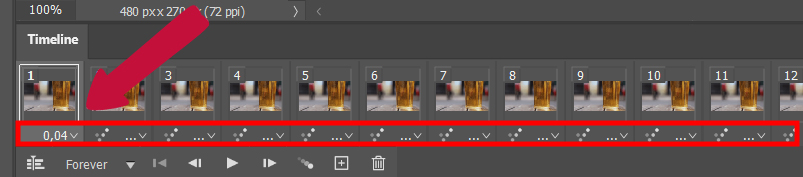
You’ll be able to either increase the delay making your GIF slower or, contrariwise, you can decrease the delay to speed up your animation.
Method 2: Convert your GIF to a Video
Look at the first frame of the GIF. Underneath it, you will see a Convert To Video Timeline button. Click it.

After doing this your screen will be filled with the timeline of each frame.

Now, at the bottom of your screen, you will see the Render Video icon. Click it.

This will bring up the Render Video menu.

Use the Select Folder option to select the destination folder for your video, and hit Render. This will render your GIF as a video.
In this case, it will render a .mp4 file with a dimension of 480×270 pixels and a fps of 30. We’ll give you more explanation about the exporting process at the end of this article.
Once your .mp4 video is rendered, you want to open it back in Photoshop.
Go to File > Open and open it in Photoshop.

It will open as a single timeline inside Photoshop.
Right-click on the timeline to access the Retime Menu.

Click on the drop-down menu next to Speed. This will bring up the speed slider.

Move the slider up or down depending on whether you want to slow down or speed up the GIF. I chose to speed up my GIF.
Once you are done, your timeline will reflect the change.

Now your clip speed has been changed.
How To Export Your GIF From Photoshop
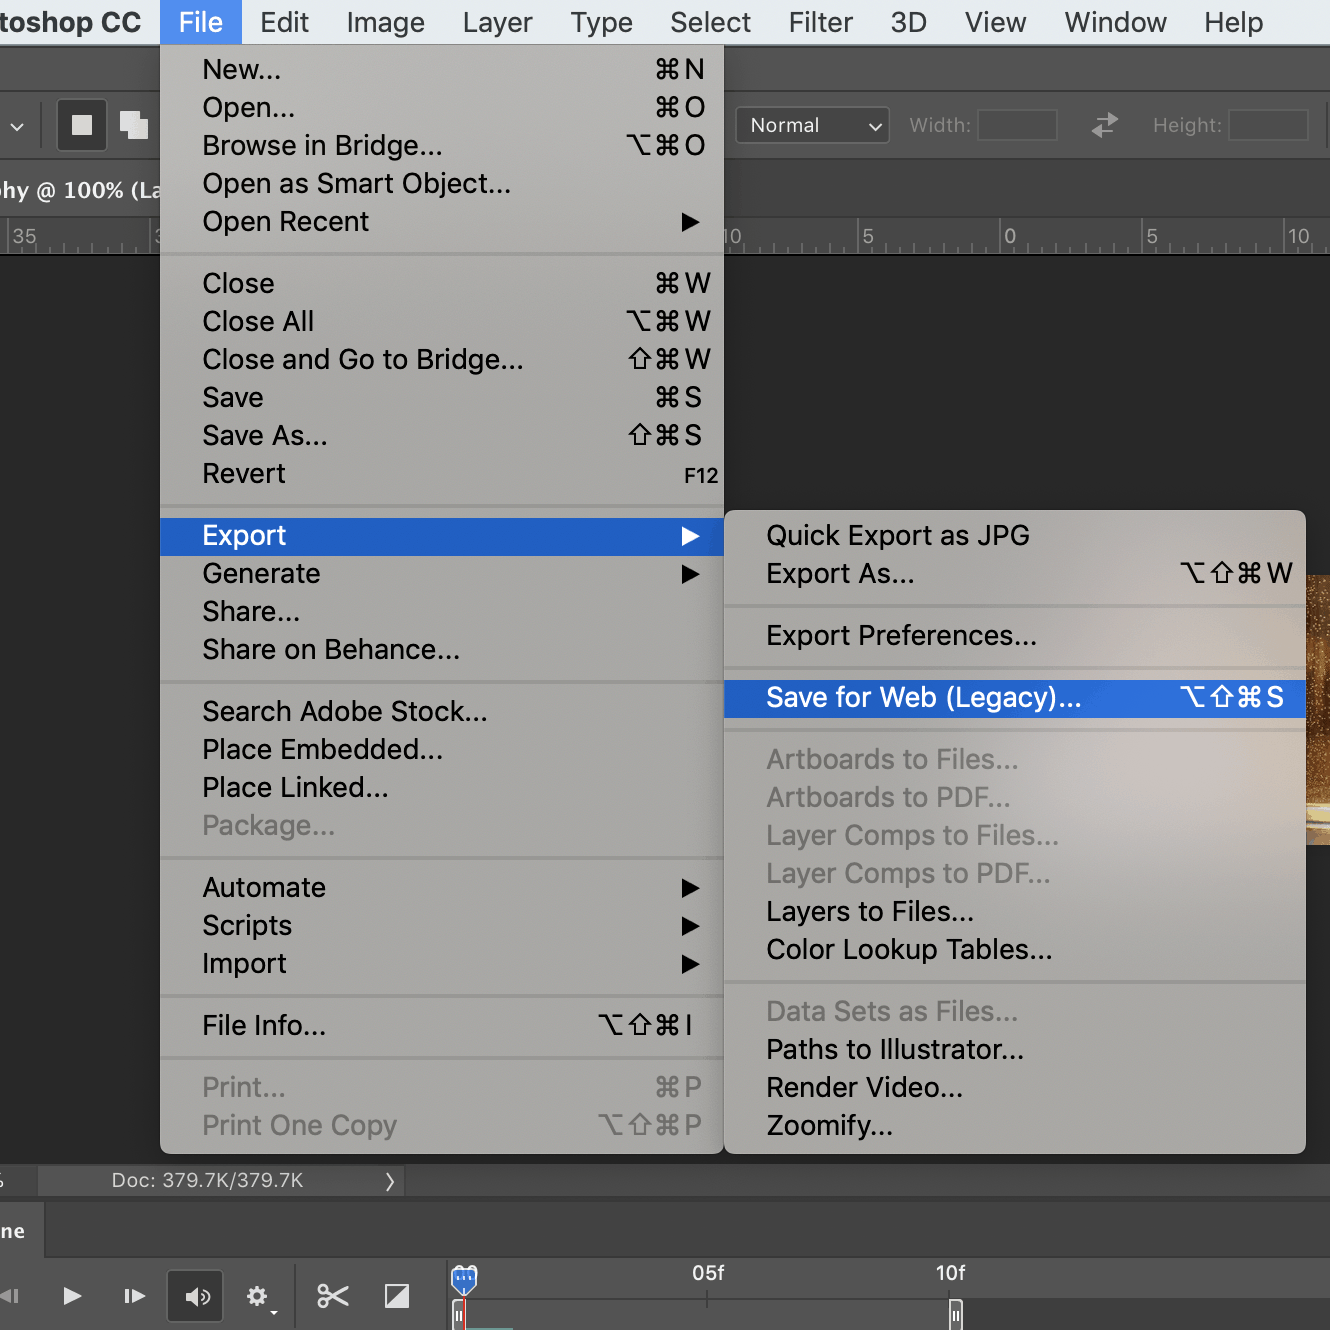
Go to File > Export > Save For Web (Legacy) or use the shortcuts:
Shift + Ctrl + Alt + S for PC
Shift + Command + Option + S for Mac

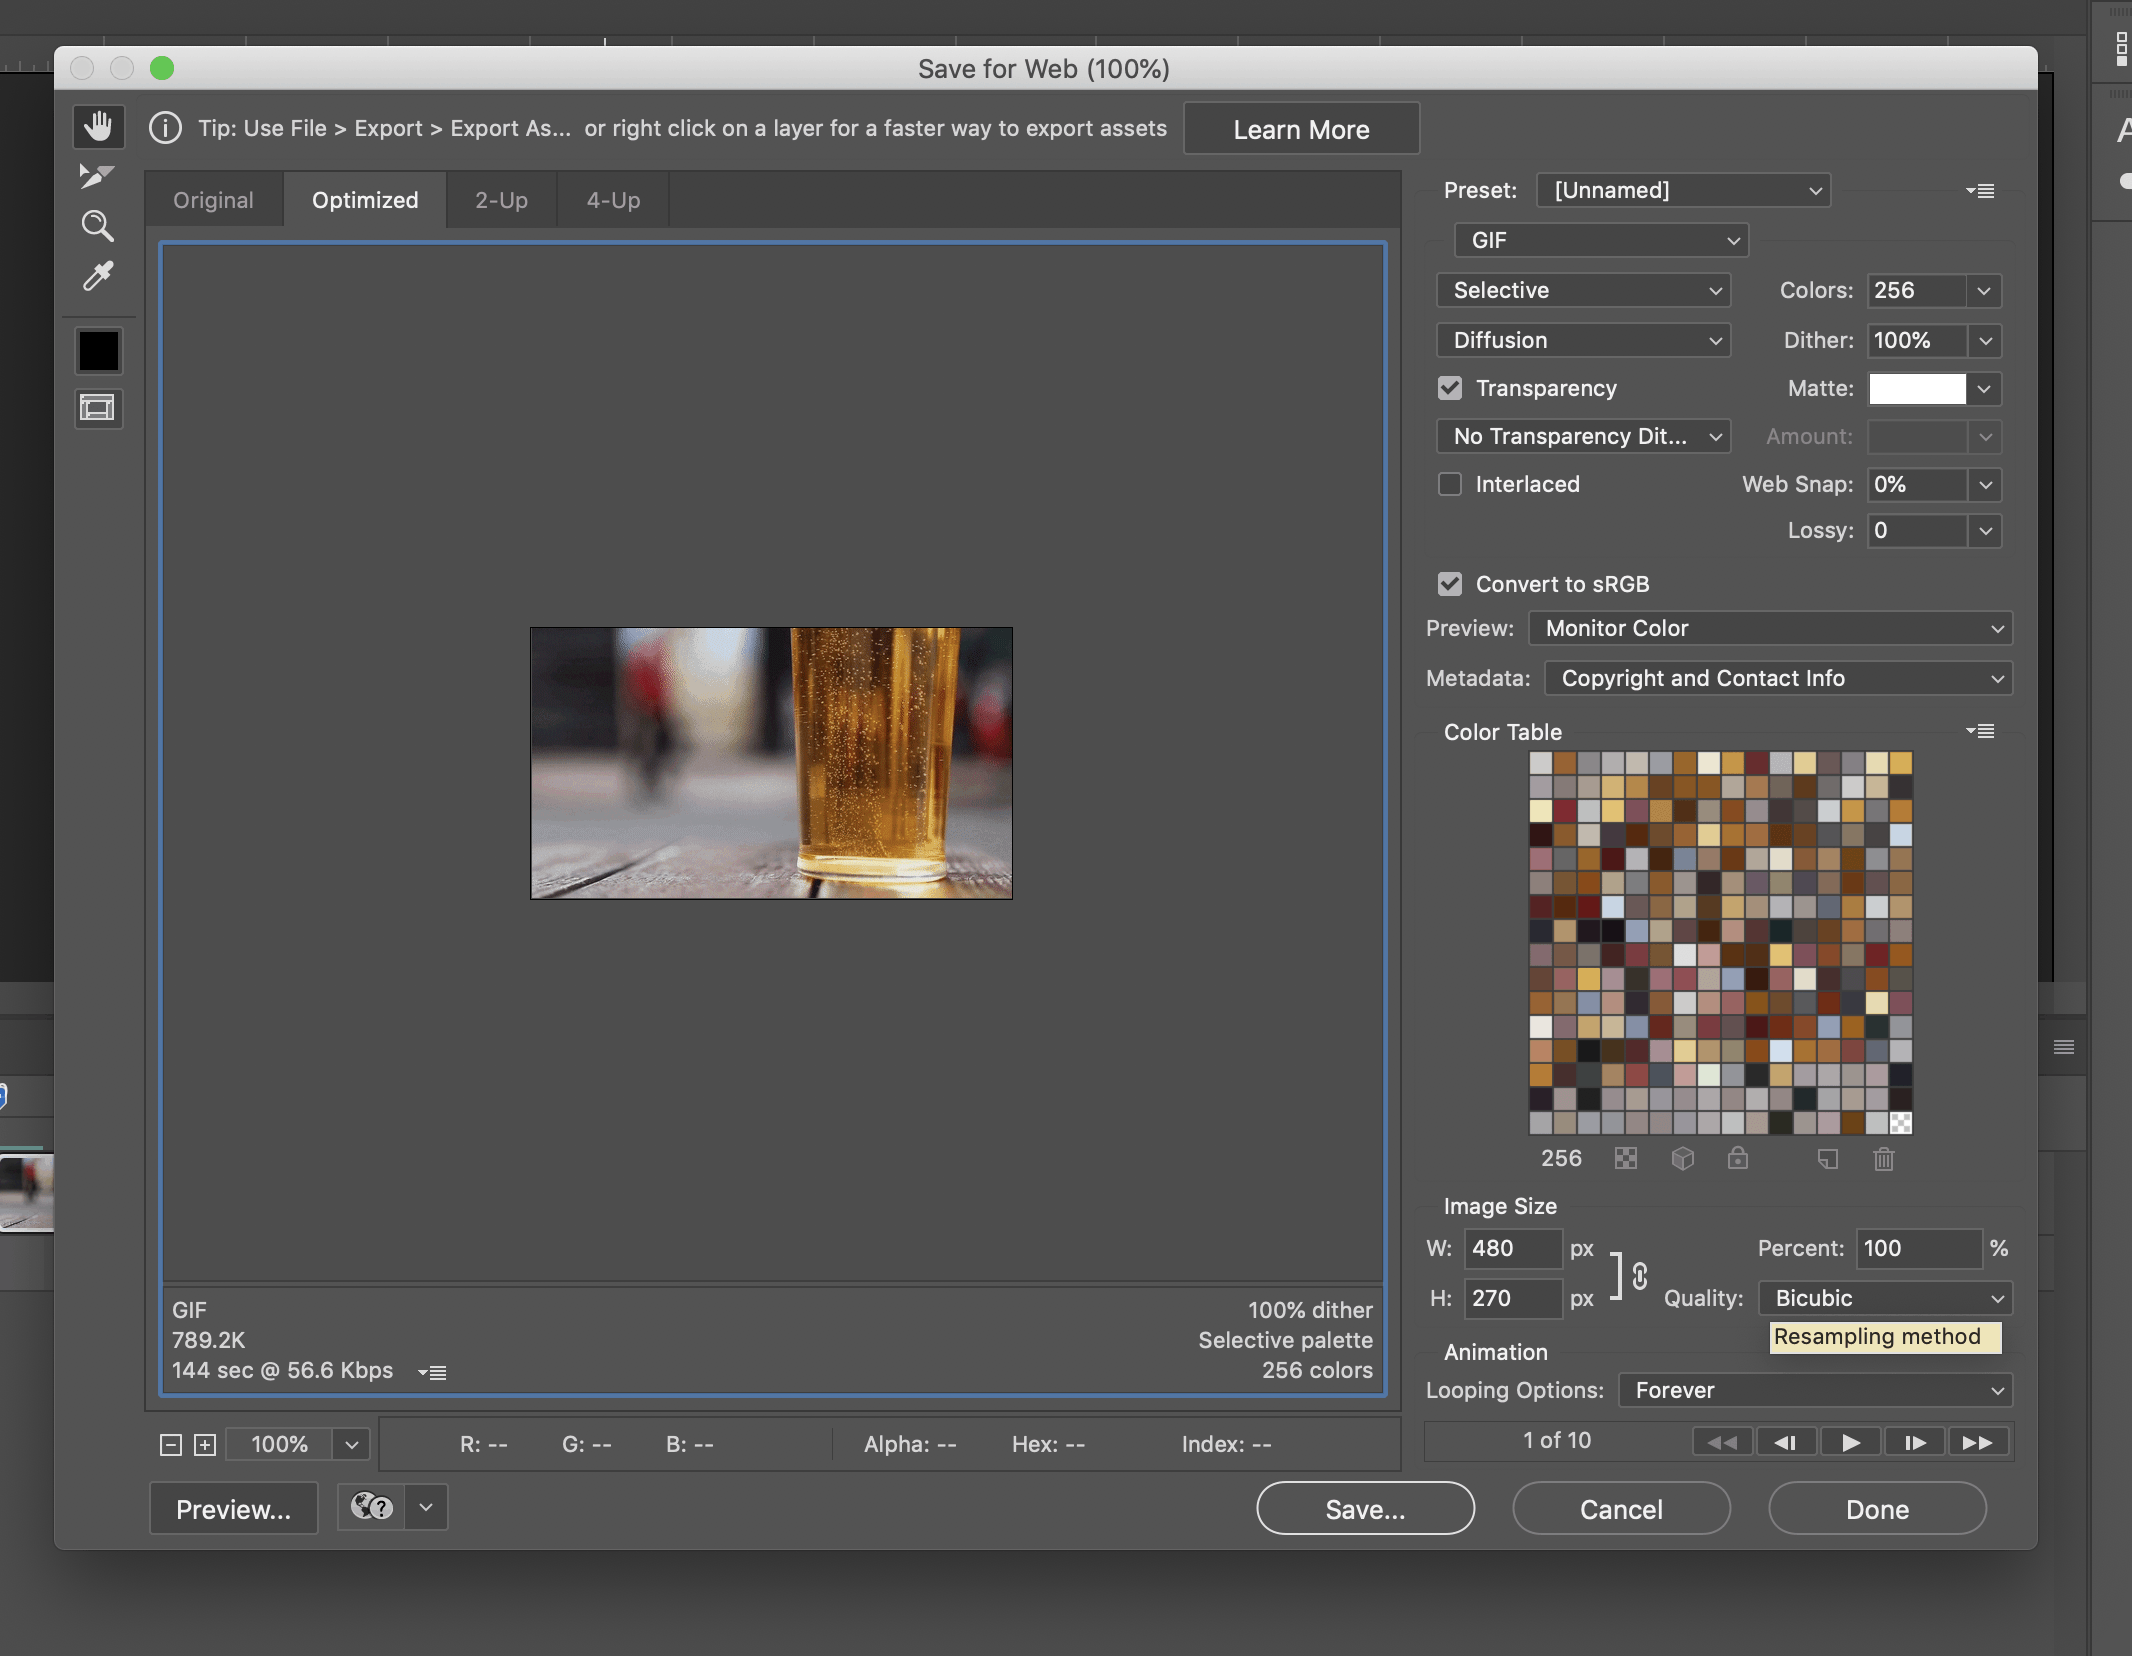
Select the GIF preset in the dropdown menu.

On the bottom left of the window, you can see the Preview button. This will open up a preview of your GIF in your browser. You can use this to check whether your GIF has been rendered correctly.
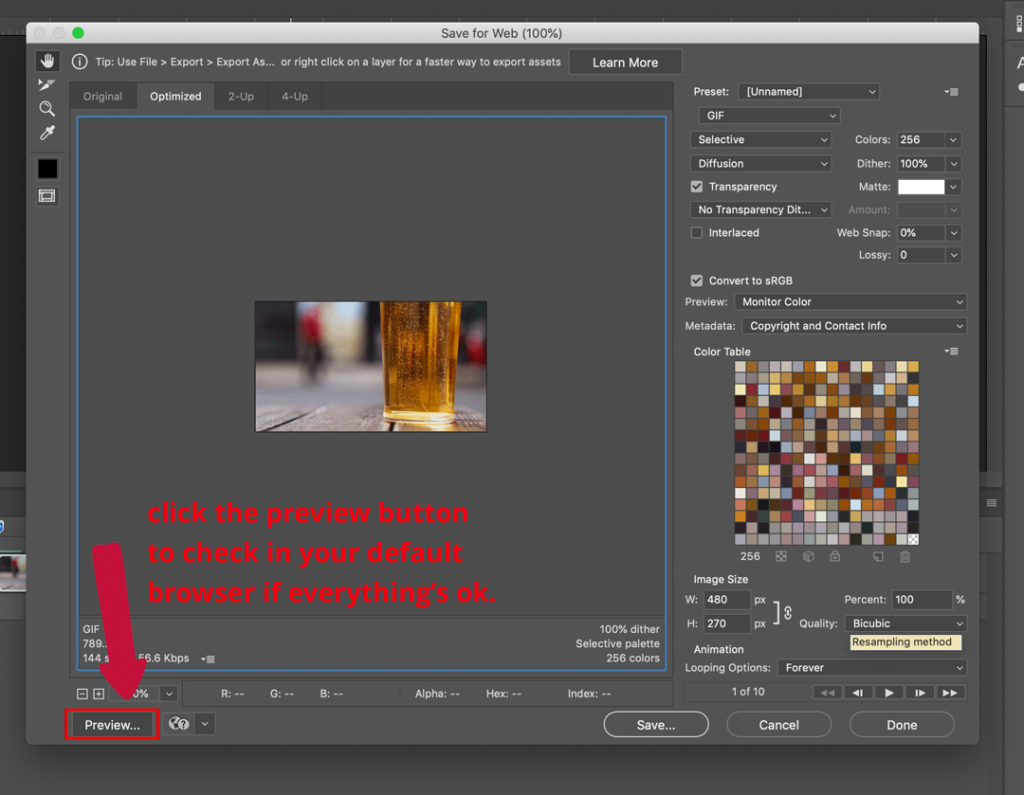
When you are satisfied with your result, click on Save, choose a destination folder, and voila! You have just retimed your GIF!

BONUS – VIDEO TUTORIAL
If you want to know more about GIFs and learn how to create something cool from zero, check this video tutorial by Tutvid.
Here are some of my favorite Photoshop tools:
Thank you for reading this article. I hope you found it helpful as you’re using Adobe Photoshop. Here are some tools that I use daily while retouching or editing that made my life easier. I hope you’ll also find them as useful as me. These are affiliate links, so if you do decide to purchase any of them, I’ll earn a commission.
But in all honesty, these are the exact tools that I use and recommend to everyone, even my closest friends and family.
Tablet: I remember purchasing my first tablet back in 2011. It was the smallest Wacom available at that time, I think it was an A5 format. Tablets make a huge difference with Photoshop and I can’t work without one nowadays. I recently switched to the amazing Xencelabs Medium Bundle and I just love it.
Quick Fixes: Whenever I need to edit pictures quickly, I use the AI-powered Luminar photo editing tool.
Content Creator Essentials: If you’re taking pictures, video footage, or any other types of media, I recommend you the Samsung T5 external SSD to safely backup and transport your files. Regarding my working station, since I’m always moving from one place to another, I’m using the ASUS ZenBook Pro Duo 15. Its second screen comes in really handy when working on Photoshop.
Hey, I'm a Professional Retoucher making $10k a month thanks to Photoshop.Register to my newsletter to get freelancing tips and a FREE Brush Pack in Bonus! My Newsletter

