

Layer styles are some of Photoshop’s most useful features and using them can let you produce a wide range of creative outcomes. One stylistic effect that you can apply to any of your layers is the Pattern Overlay. With countless patterns to choose from and dozens of blend modes available, this effect is highly customizable and can be applied to anything from photos to shapes and text.
In short, you can add a pattern overlay to a layer by editing the settings in the Pattern Overlay section of the Layer Styles Window, which can be opened by selecting Layer > Layer Styles > Pattern Overlay from the bar along the top of the screen.
Before we begin taking a deeper look at the process, if you would like to learn how to take advantage of other layer styles in Photoshop, why not check out our article on how to create gradient text in Photoshop using the Gradient Overlay layer style?
Table of Contents
- What Are the Settings in the Pattern Overlay Section of the Layer Styles Window?
- Adding a Pattern Overlay Layer Style
- 1: Open or Create the Document You Want to Work In
- 2: Locate or Create the Layer to Which You Would Like to Add the Pattern Overlay
- 3: Select the layer you want to apply the pattern overlay
- 4: Open the Pattern Overlay Section of the Layer Styles Window
- 5: Edit the Settings to Customize the Overlay Pattern
- Adding a Pattern Overlay to Text
- Adding a Pattern Overlay to an Image
- Bonus Video
- Here are some of my favorite Photoshop tools:
What Are the Settings in the Pattern Overlay Section of the Layer Styles Window?
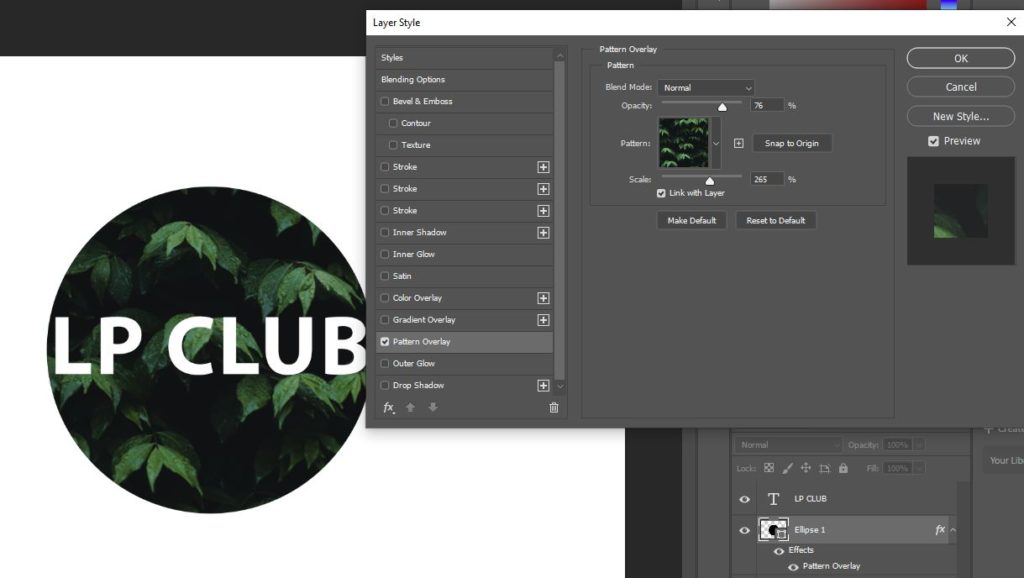
Let’s start by developing more of an understanding of the settings that you can edit in order to customize the pattern overlay. Here is a screenshot of what the window looks like. You can access this area by heading along the bar at the top of the screen in Photoshop and selecting Layer > Layer Style > Pattern Overlay, but we will go over the technique as a whole in the next section of the article.

As you can see, the first option is entitled Blend Mode. Expanding the dropdown menu by clicking on the arrow on the right side of the box will let you see a full list of the blend modes you can choose from. There are around 27 in total, all of which will result in a different visual outcome. When trying to choose one, you can simply flick through each option to see which one produces your favorite effect.
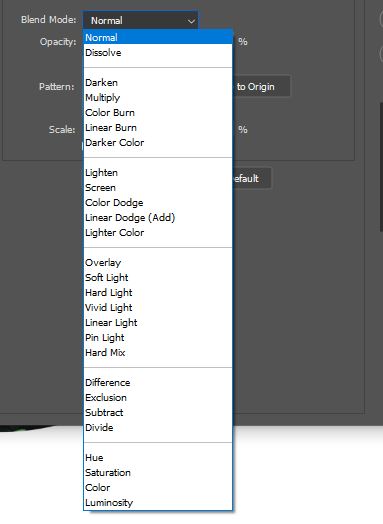
The second adjustable setting is Opacity. You can change the value of this using the slider or by typing a numerical value into the box to the right of the slider. A value of 100% means that the pattern will be fully visible, whereas choosing 0% would cause the pattern to become entirely invisible. Numbers in between 0 and 100 would result in the pattern being partially visible but slightly faded.

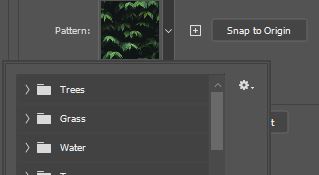
Next up on the list is Pattern. This box is where you choose the pattern that you want to use as the overlay for the layer. There are lots of patterns to choose from, each of which can be selected with a single click.
The final main adjustable setting in the window is entitled Scale. Adjusting this value will result in the size of the pattern changing. To make the pattern bigger within the area that it fills, move the slider to the right, and to make the elements of the pattern smaller, click and drag it to the left.

Beneath this setting is a checkbox labeled Link with Layer. Ticking this box will mean that the pattern cannot be moved around within the layer that it fills. Essentially, the layer and the overlay become locked together and one can’t be transformed independently of the other. Without the box ticked, you can move the pattern around within the layer.

And finally, at the bottom of the menu are two options: ‘Make Default’ and ‘Reset to Default’. By clicking on the first of the two, you can ask Photoshop to remember the pattern you’ve created and to set it as the style that is automatically used when you add a Pattern Overlay. Clicking on the latter will cause you to delete any changes you’ve made to the pattern overlay and return to the default style.

Adding a Pattern Overlay Layer Style
Now that we have explored the ways in which you can customize the appearance of the overlay, let’s walk through the steps involved in adding a pattern overlay to a layer!
1: Open or Create the Document You Want to Work In
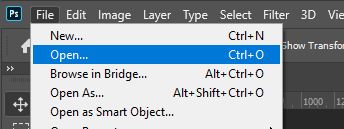
To start, we’ll need to have a document open in which we can add an overlay to a layer. If you would like to add the effect to a layer in an existing document, then select File > Open from the bar along the top of the screen, before choosing the relevant document from your files in the window that comes up.
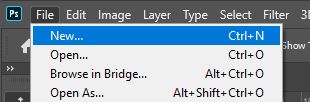
If you would prefer to create a new document, then head to File > New and set up the document according to your preferences in the window that opens as a result.
2: Locate or Create the Layer to Which You Would Like to Add the Pattern Overlay
With a new or existing document open in Photoshop, you can decide what layer you’d like to add the overlay to. The effect can be applied to pretty much any layer, so you can choose to apply it to a photo, a text layer, or a shape layer. If you are unsure of how to add any of these layers to your document, then read below.
Create a Text Layer
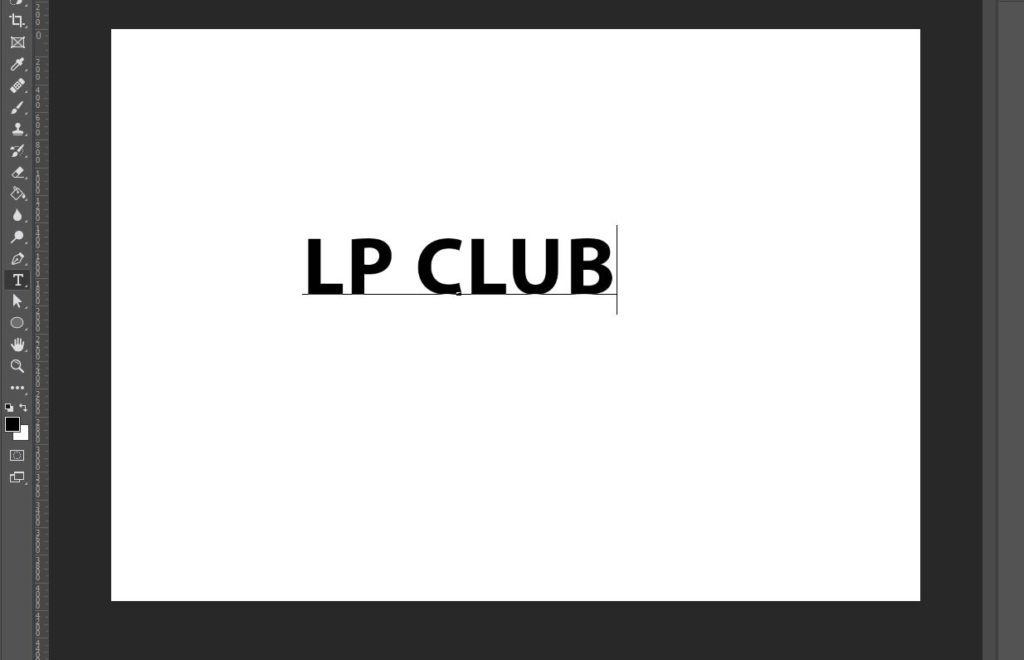
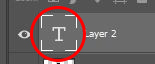
If you want to add a pattern overlay to a piece of text, then you will need to make a new text layer. To begin, select the Type Tool by clicking on the ‘T’ icon in the toolbar down the left side of the screen.

With the tool activated, all you need to do is click anywhere within the canvas on the screen and start typing the text you would like to be displayed!
If you’d like to make any changes to the text after typing it, first double-click the ‘T’ icon to the left of the layer in the Layers Window to highlight the whole body of text.
In the bar near the top of the screen, there are plenty of settings you can customize in order to change the appearance of the text, such as the font, size, and color. Go ahead and make as many adjustments as you want until you are satisfied with how the text appears.

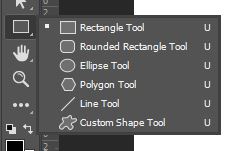
Create a Shape Layer
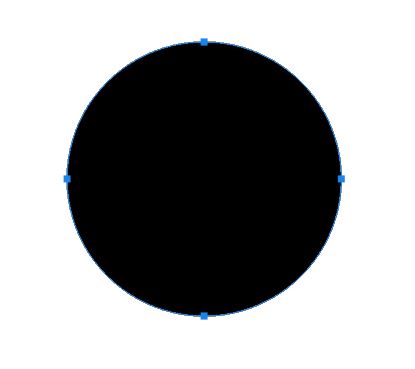
A shape layer can be created in Photoshop using the Shape Tool, which can be activated by clicking on the icon shown below, found in the toolbar down the left side of the screen. To select a different shape to the one that is displayed in the toolbar by default, right-click on the shape icon in the toolbar to reveal a fly-out list of other shape tools, clicking on the one you want to select.
With the tool activated, simply click and hold anywhere on the canvas and drag your mouse outwards to create a shape, releasing the mouse when you’re satisfied with the size of the shape. Holding down the Shift key on your keyboard during this process will let you create a uniform shape.

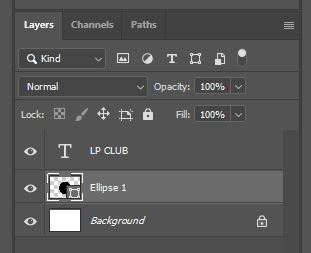
3: Select the layer you want to apply the pattern overlay
After you have determined which layer you would like to add a pattern overlay to, all you need to do is click on it in the Layers Window to make it active. The layer will be highlighted in the window if it has successfully been set as the active layer.
4: Open the Pattern Overlay Section of the Layer Styles Window
With the correct layer now active, let’s go ahead and open the Layer Styles Window– specifically the Pattern Overlay section.
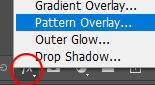
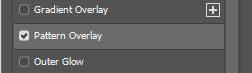
There are a few ways in which you can do this. One method is to simply click on the ‘fx’ icon at the bottom of the Layers Window as circled below, then select Pattern Overlay from the list that flies out.
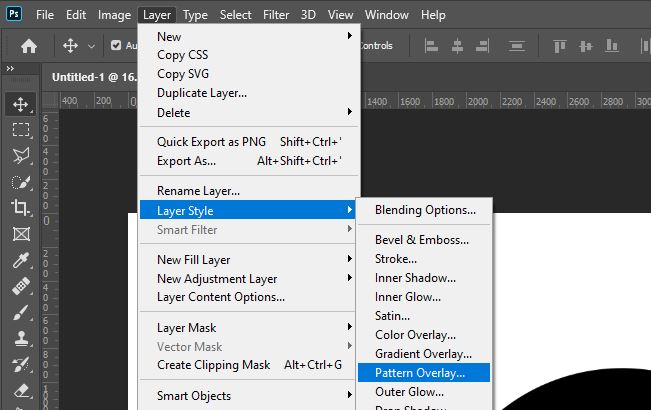
A second way to open the window is to select Layer > Layer Style > Pattern Overlay from the bar along the top of the screen.
And a third and final technique involves double-clicking on the layer itself within the Layers Window, then choosing Pattern Overlay from the list at the left of the window that opens as a result.
5: Edit the Settings to Customize the Overlay Pattern
We’re now at the point when we can apply the pattern overlay! Simply adjust the settings within the window to your liking. For an explanation of what each option means, head back to the start of this article and read through the section entitled ‘What Are the Settings in the Pattern Overlay Section of the Layer Styles Window’.
If you are adding the effect over an image, we would recommend either decreasing the opacity of the pattern overlay or choosing a blend mode other than ‘Normal’. This way, at least some parts of the image below will be able to show through without being fully hidden by the pattern.
Once you’re happy with the settings you’ve chosen, click the OK button in the top-right corner of the dialog box to confirm the changes.

And upon closing the window, you should hopefully see that the pattern overlay has been applied to the layer!
Adding a Pattern Overlay to Text
If you’re feeling a little stuck for ideas on how to utilize the pattern overlay layer style, then check out these examples for some inspiration.

To create this effect, we typed text and warped it before adding a water overlay using the Pattern Overlay feature. By increasing the scale of the pattern and setting the blend mode to Luminosity, we achieved a grayscale, liquid-like style.
To play more upon the fluidity of the text, we duplicated the layer with the pattern overlay and added a motion blur by selecting Filter > Blur > Motion Blur from the bar at the top of the screen.

Adding a Pattern Overlay to an Image
Adding overlays to images is a quick and simple way to achieve some really unique, creative outcomes. Here is one example of how you can use pattern overlays in more subtle ways.
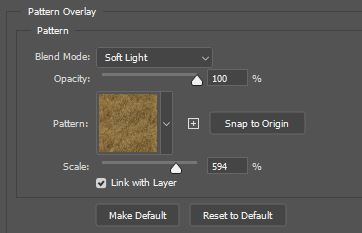
For this example, we added a subtle grass overlay over the top of an image by Teona Swift from Pexels. Using the blend mode Soft Light allowed for us to add a more subtle pattern over the photo, which ended up resembling an old photo filter.

Bonus Video
Want to learn more about adding pattern overlays to layers in Photoshop? If so, we’d encourage you to check out this helpful short video by Envato Tuts+, which demonstrates how to add and customize the effect.
Here are some of my favorite Photoshop tools:
Thank you for reading this article. I hope you found it helpful as you’re using Adobe Photoshop. Here are some tools that I use daily while retouching or editing that made my life easier. I hope you’ll also find them as useful as me. These are affiliate links, so if you do decide to purchase any of them, I’ll earn a commission.
But in all honesty, these are the exact tools that I use and recommend to everyone, even my closest friends and family.
Tablet: I remember purchasing my first tablet back in 2011. It was the smallest Wacom available at that time, I think it was an A5 format. Tablets make a huge difference with Photoshop and I can’t work without one nowadays. I recently switched to the amazing Xencelabs Medium Bundle and I just love it.
Quick Fixes: Whenever I need to edit pictures quickly, I use the AI-powered Luminar photo editing tool.
Content Creator Essentials: If you’re taking pictures, video footage, or any other types of media, I recommend you the Samsung T5 external SSD to safely backup and transport your files. Regarding my working station, since I’m always moving from one place to another, I’m using the ASUS ZenBook Pro Duo 15. Its second screen comes in really handy when working on Photoshop.
Hey, I'm a Professional Retoucher making $10k a month thanks to Photoshop.Register to my newsletter to get freelancing tips and a FREE Brush Pack in Bonus! My Newsletter

