
With the evolution of technology, we’ve seen the gradual decline in film photography, and a transition into digital techniques. But with the benefits that this change has seen comes a creative disadvantage, in the form of the loss of that classic noise/grain effect that characterised 20th-Century photography.
But luckily, there’s a way that we can almost fully replicate that old-fashioned style, using Photoshop’s Noise Filter.
If you fancy adding some more old-fashioned effects to your work, then check out our article on how to add an old VHS glitch effect to your typography, creating an effect similar to those glitches in old videos.
1: Open the Relevant Image from your Files in Photoshop
Once you’ve loaded Photoshop, you’ll want to begin, of course, by opening the image to which you want to add the effect. This can be done simply by clicking File > Open and proceeding to choose the relevant photo from your files.

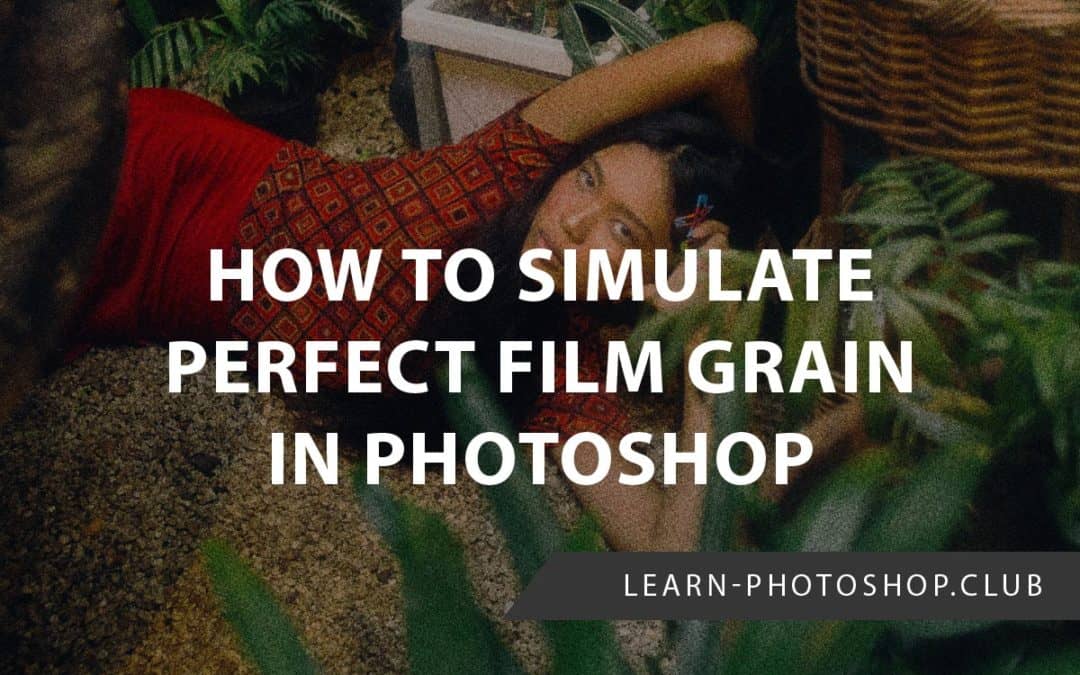
For this tutorial, we used this image by Neemias Seara from Pexels

2: Create a New Layer Entitled ‘Film Grain’
So, now that we have a document to work in, we can go ahead and make the text that we’ll add the effect to. Head to the toolbar down the left side of your screen and select the Type Tool (represented by the ‘T’ icon shown below).

This can also be done by heading to Layer > New > Layer along the top of the screen.

For organisational purposes, you can change the name of this new layer by double-clicking on its title in the Layers Window, and typing in a new one- something like ‘Film Grain’.

3: Go to Edit > Fill and Add a ‘50% Gray’ Fill
The next thing we’ll do is add a gray fill to the layer. Along the top of the screen, select Edit > Fill.

Clicking this will open an options window, in which you can set the properties of the fill. Input the settings below:
- Contents = 50% Gray
- Blending Mode = Normal
- Opacity = 100%
Also, make sure that the ‘Preserve Transparency’ checkbox is unchecked and blank. Click OK when you’re done.

4: Convert the ‘Film Grain’ Layer to a Smart Object by Selecting Layer > Smart Objects > Convert to Smart Object
Before we fully add the grain effect, it’s best that we convert the layer into a Smart Object, to expand our editing capabilities.
Go ahead and right click on the ‘Film Grain’ layer. Select ‘Convert to Smart Object’ from the list that comes up as a result.

Alternatively, you could select Layer > Smart Objects > Convert to Smart Object from the top of the screen.

You should be able to see that you’ve converted it to a Smart Object correctly, as there should now be an icon like the one below representing the layer in the Layers Window.

5: Set the Blend Mode of the Film Grain Layer to ‘Overlay’
Next, we’re going to change the Blend Mode of the layer to ‘Overlay’. At the top of the Layers Window you should find a dropdown menu, like the one depicted below.

Click on the arrow at the end of it and choose ‘Overlay’ from the list that appears.

You should now be able to see through the gray layer, and the original photo should be visible again.

6: Go to Filter > Noise > Add Noise to Add a grain effect, experimenting with how the settings affect the outcome
At this point, we’re finally ready to add the grain effect! So, along the top of the screen, select Filter > Noise > Add Noise.

This will open a window in which you can change the settings of the noise. Here, you can set your desired amount of grain (I found around 50% to be best, but the best value may be drastically smaller or larger in your case, depending on the size of your image). Ensure that the Distribution is set as Gaussian, and that the checkbox entitled ‘Monochromatic’ is ticked.

7: Choose Filter > Blur > Gaussian Blur to Blur the Effect Slightly and Tone Down the Grain
So, you should now have some sort of grain effect that gives your photo a film-like appearance. However, the noise may be a bit too harsh. To tone it down, we can add a Gaussian Blur to the noise layer, which will help in reducing the harshness of the distinct ‘dots’ that make up the effect.
Along the top of your screen, select Filter > Blur > Gaussian Blur.

Doing so will open a window, in which we have the option to edit the Radius of the blur. Experiment with this value. Remember that you can always press Ctrl + Z [Win] / Cmd + Z [Mac] to undo it if you’re not satisfied.
I found that a value of 0.4 worked well in my case, but it all depends on what photo you’re using and your stylistic preferences.

When you’re happy, click OK.
You should now see that you’ve got an awesome film grain effect over the top of your image! What’s even better is that it is non-destructive, so you can always hide the ‘Film Grain’ layer to see just the original image alone, by clicking on the Invisibility ‘Eye’ Icon at the left of the layer in the Layers Window.
BONUS
Want to find out more about how to simulate perfect film grain in Photoshop? Check out this video by Spoon Graphics that demonstrates five ways to create film grain effects in Photoshop.
Hey, I'm a Professional Retoucher making $10k a month thanks to Photoshop.Register to my newsletter to get freelancing tips and a FREE Brush Pack in Bonus! My Newsletter

