
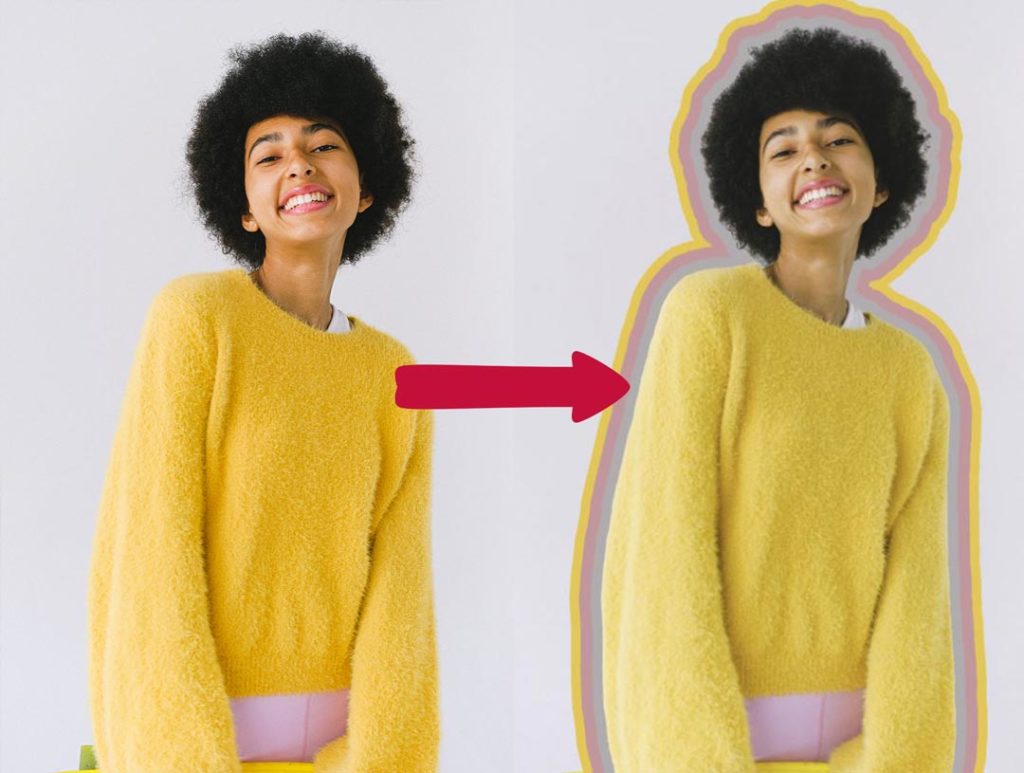
One creative way to add style in Photoshop to your image is to outline an image or an element of your edit.
The best thing about this technique is that you can use it in so many different scenarios. The effect is also highly customisable since you can choose a different colour or size for the outline each time. And on top of all that, you can complete the whole process in just a matter of minutes!
At this point, I’m sure you’re desperate to discover how you can achieve the effect. So, we’ll provide a quick summary of the process then jump right in.
To add a creative outline effect to your images in Photoshop, all you need to do is double-click on the desired layer and check the “Stroke” option in the Layer Style windows that just open.
Table of Contents
How to Outline an Entire Photo
Before we look at how you can add an outline around a specific area of an image, let’s take a look at how to outline the entire image, essentially adding a border around it.

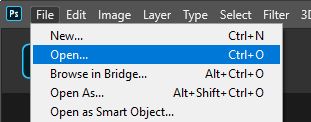
Of course, you will need to begin by opening the image around which you would like to add a border. To open an image in Photoshop, simply launch the program then select File > Open from the top-left corner of the screen.
For this tutorial, we’re going to add an outline around a photo by Oleg Prachuk from Pexels.
With the image now open in Photoshop, draw your attention towards the Layers Window, which will, by default, be located at the bottom right of the screen.
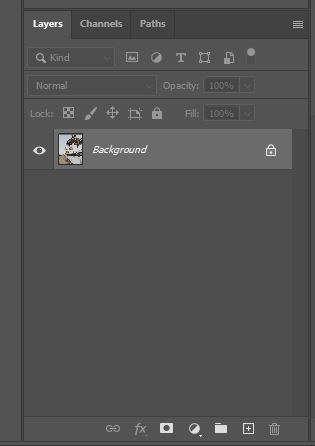
Here, you should see only one layer. This is because our image has been opened as a single, flattened file.
Double-click on this layer in the Layers Window, and you should notice that a new window entitled Layer Styles has opened.
If this didn’t work, then make sure that you click on the padlock icon to the right of the layer’s title in the Layers Window then try again, since the layer has to be converted to a normal one rather than a background layer.
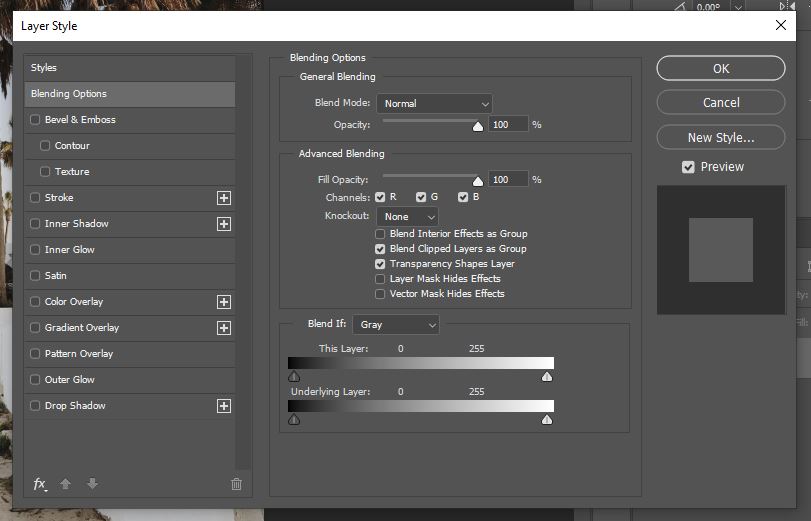
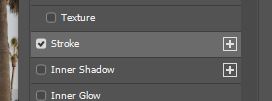
Within the newly opened window, we’re next going to click on the Stroke heading from the list down the left side of the box.
Doing so should bring you into a new section of the dialog box where you can set the properties of the stroke to alter its appearance. First, let’s set the Position to Inside.
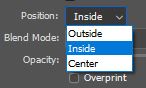
This will tell Photoshop to add the stroke to the inside of the selected layer: in the case of outlining the whole image, the stroke will then be added inside the canvas rather than outside the constraints of the document, where it would be invisible.
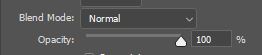
At this point, you can choose a blend mode and a value for the opacity of your stroke. Different blend modes will generate different visual effects, and a higher opacity (closer to 100%) will make the stroke more visible.
Let’s set the Fill Type now. From the dropdown menu next to the heading, you can choose either Color, Gradient, or Pattern.

Opting for a gradient fill will let you fill the outline with different colours that gradually blend into each other. Setting the Fill Type to Pattern allows you to fill the stroke with various textures and pre-set patterns from the program.
For this example, we are going to go for the most commonly used option: color. Using this setting will let you add a solid color outline of your choice to your image.
After selecting Color from the dropdown menu, shift your attention to the area below the box where you can choose the color of the stroke. All you need to do is click on the colored box and select a color from the palette that appears.
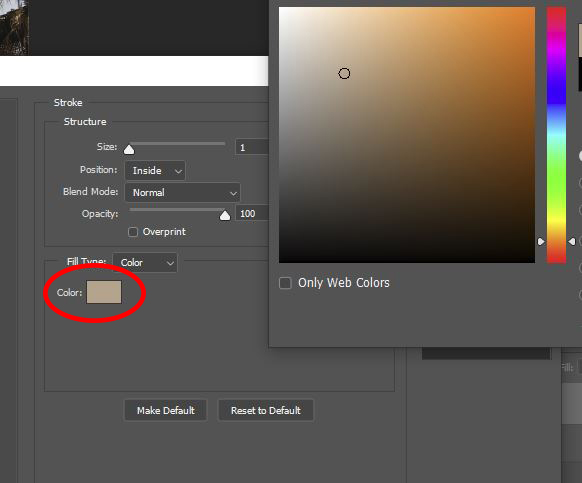
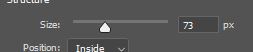
With the color, or an alternative type of fill, selected, you can head back up to the section where you can alter the other properties of the stroke. Here, edit the size of the outline using the slider to determine how wide you would like the border to be.
Once you’re happy, you can simply hit the OK button! And you should see that you have added a border around the image!
How to Outline Just One Section of an Image
If you would prefer to add an outline around a single element within the image, you will need to follow a slightly different process. Don’t worry though: the technique is still very easy.
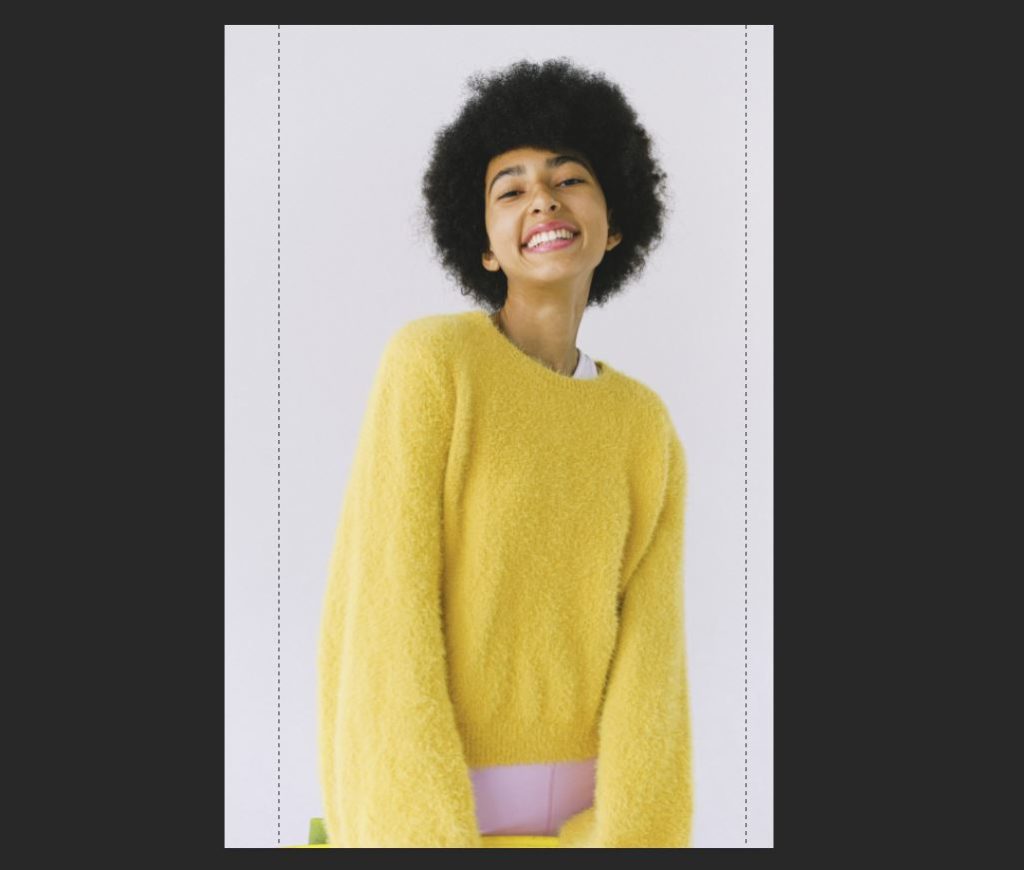
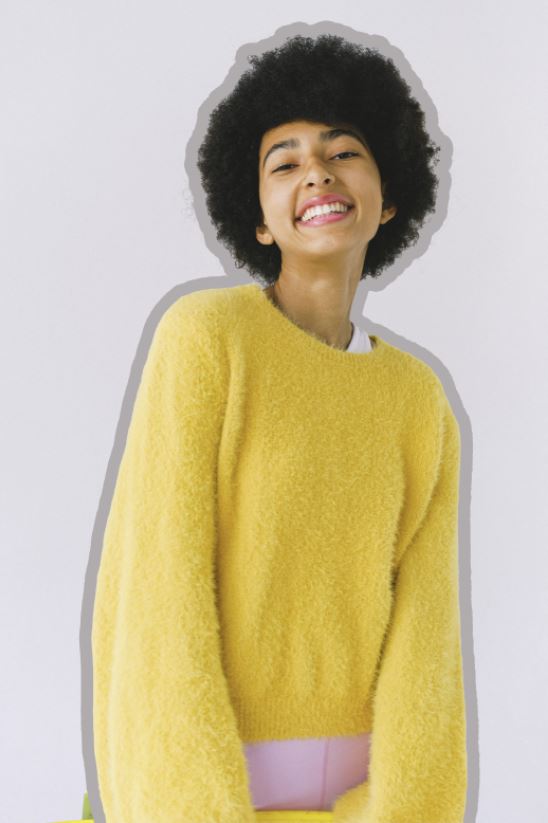
For this part of the tutorial, we’ll be using a Photo by Anna Shvets from Pexels.
Select what you want to outline in Photoshop
With the image open in Photoshop, we can start selecting the area that we want to outline.
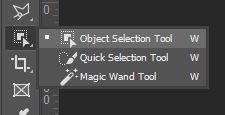
Now, there are lots of selection tools in the program, all of which suit different scenarios. If like us, you just want to add an outline around the subject of the image, and the subject is clearly separated from the rest of the photo by a definite boundary, then the Object Selection Tool will be the quickest to use.
If, however, you’d prefer to use a different tool, then the Quick Selection Tool is suitable in most situations, along with the Magic Wand Tool if the area is composed of a single colour.
To activate the Object Selection Tool, click on the icon shown below, found in the toolbar down the left side of the screen.
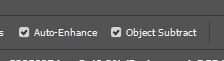
Upon selecting the tool, you will see that a new bar appears near the top of the screen where you can edit the properties of the selection tool.

Here, check Auto-Enhance and Object Subtract.
Then, we are going to set the Mode to Rectangle.
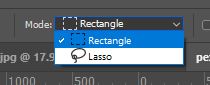
With this mode activated, you can simply draw a rectangle around the general area containing the object you want to select.
To do this, click on the canvas to mark the position where you want any corner of the box to be, then drag out the rectangular shape. Make sure that the entirety of the desired element sits within the confines of the selection box.
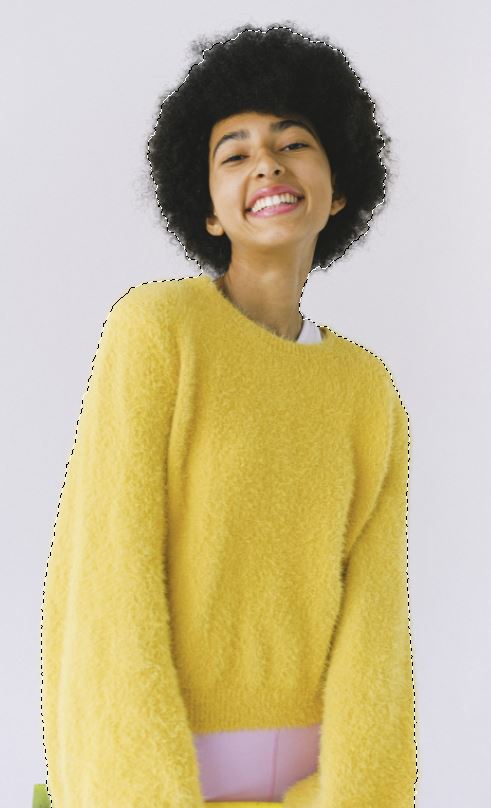
Release the mouse once you’re happy with the rectangular selection, and you should notice that Photoshop automatically makes an informed selection of the element contained within the box! Pretty awesome, right?
Add an Outline to your Subject/Selection with Strokes
Now that we have successfully made a selection of the area we want to outline, we just need to isolate the element so that it is on an independent layer.
To do so, let’s duplicate the selected area. With the selection still active, hit Ctrl + J [Win] / Cmd + J [Mac] to duplicate the area of the layer that’s bounded by the selection. You’ll see that this creates a new layer in the Layers Window which contains only the selected element that we want to outline.
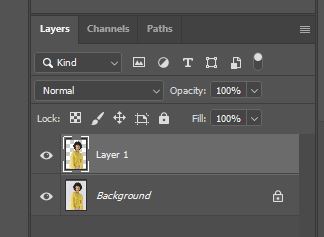
Next, all you need to do is open the Layer Styles Window by double-clicking on the newly created layer in the Layers Window.

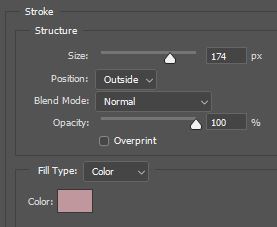
Just like earlier, we are going to work within this window to add a stroke to the layer. So, repeat the same steps as we followed to add a stroke around the whole image: click on the Stroke submenu, choose a Fill Type, a Color, a value for the Opacity, and a Size for the stroke.
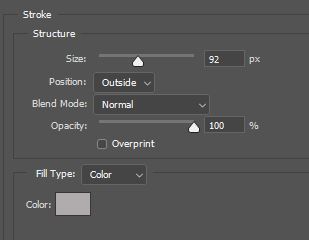
The only thing we’ll do differently is set the Position to Outside this time, rather than Inside.
Once you’re happy with all the settings, go ahead and click OK to confirm the changes, and when the window closes you should see that a colored line has been added around the selected area!
Related Guide:
Outline Text In Photoshop
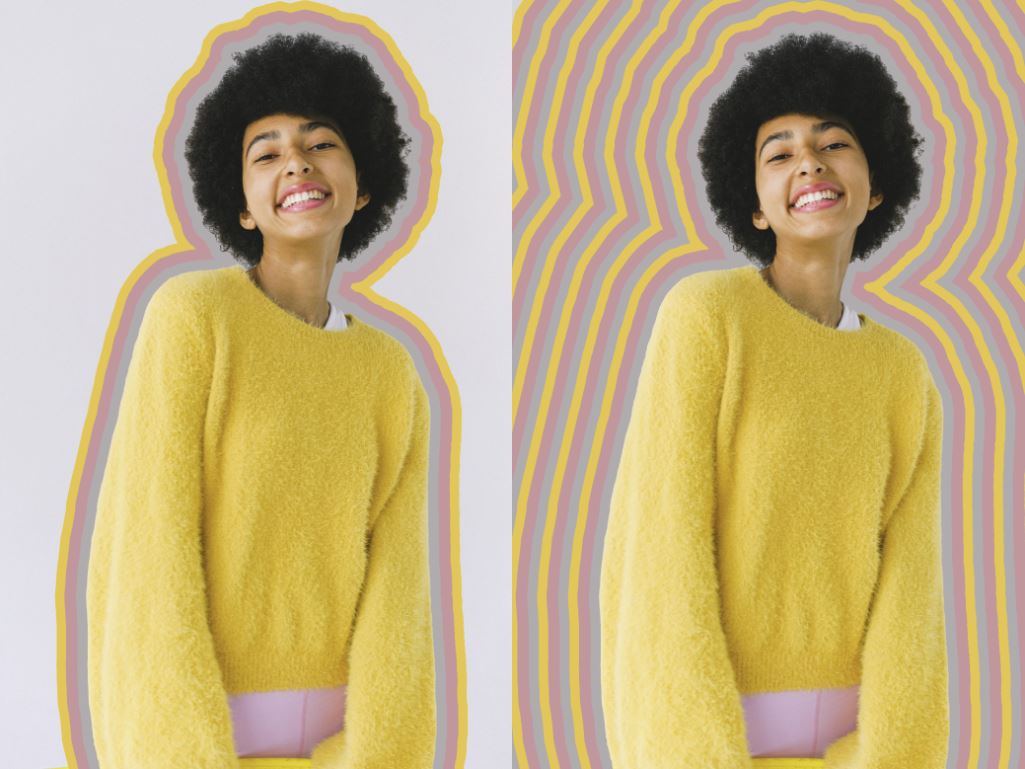
Add an Additional Outline Around the Layer:
If you would like to take the effect further, then you can add more outlines of different colors around the same object! It’s pretty simple to do this. Begin by opening up the Layer Styles Window again by double-clicking on the layer.
Within the window that opens as a result, click on the plus icon next to the Stroke heading from the list at the left of the dialog box.
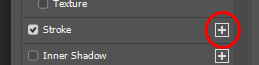
This will add another stroke to the same layer. All you need to do now is go into the settings of this new stroke and edit the color of it to make it distinguishable from the other one. Make the size larger than the other stroke so that it becomes visible.
Then just keep repeating the process until you are happy with the outcome!
How to Outline a Photo – Video Tutorial
So that is about everything you need to know about how to add an outline around either a whole image or just a single element of the image! Want to see a more visual demonstration of the process? Then check out this video by CreativeSalek which provides a clear explanation of the techniques involved!

Hey, I'm a Professional Retoucher making $10k a month thanks to Photoshop.Register to my newsletter to get freelancing tips and a FREE Brush Pack in Bonus! My Newsletter

