
Whilst you probably know how to import images into a psd, one thing you may not know is how to import an image onto a specific layer in Photoshop.
When we bring images into an existing Photoshop document, the image is automatically placed on a layer of its own. But what if we want that image to be added to an existing layer?
In this article, we’re going to outline a few ways in which you can do just that. In short, the process involves either importing the image into the document as a new layer then merging the layer with the one you want to insert the image into or using smart objects to non-destructively insert the image into an existing layer.
Before we jump in if you would like to begin by learning the basics of Photoshop, then check out our complete guide to the program for beginners.
Table of Contents
Insert the Image to an Existing Layer in Photoshop
Use Drag and Drop to Insert your Image
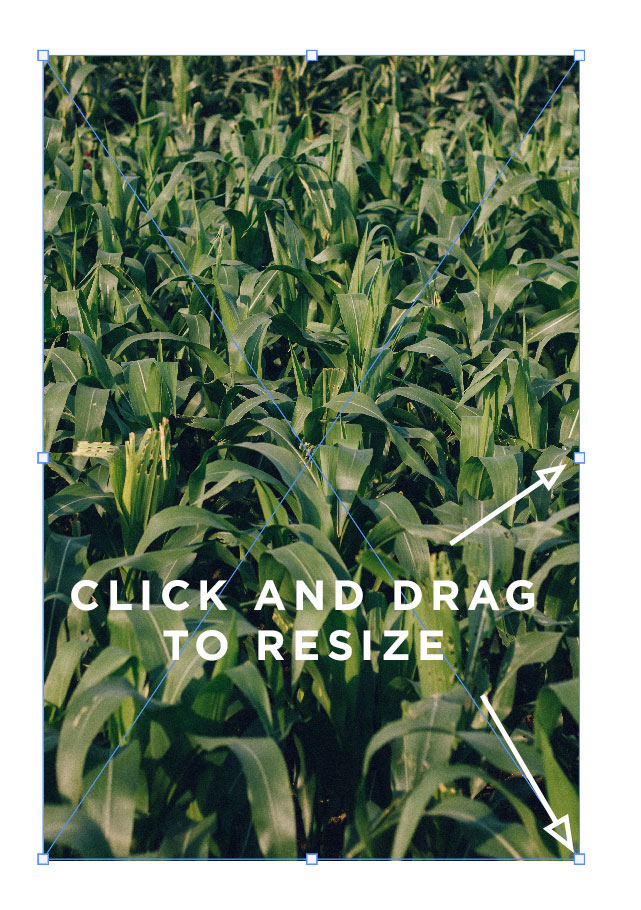
The first and quickiest method to add an image in Photoshop consist of simply dragging it from your file explorer into your Photoshop document.
Once you released you left-click, you’ll be able to resize your image. Once you’re satisfied with it, simply confirm by pressing Enter.
You might like:
How do you Make a Stencil from a Picture
Jordi Puig interview
Use duplicate to add your Picture
The second method that we will cover involves importing the image into the existing document as normal then merging the newly created layer to the existing one in which you would like the contents to sit.
To begin, let’s import the image into the document. First, head to File > Open.
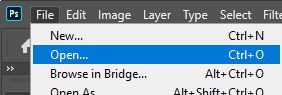
In the window that pops up, find the image that you want to open then double click on it to bring it into Photoshop.
For this tutorial, we’re using an image by Spring Toan from Pexels. Also, open up the document containing the layer that you want to insert the image into.
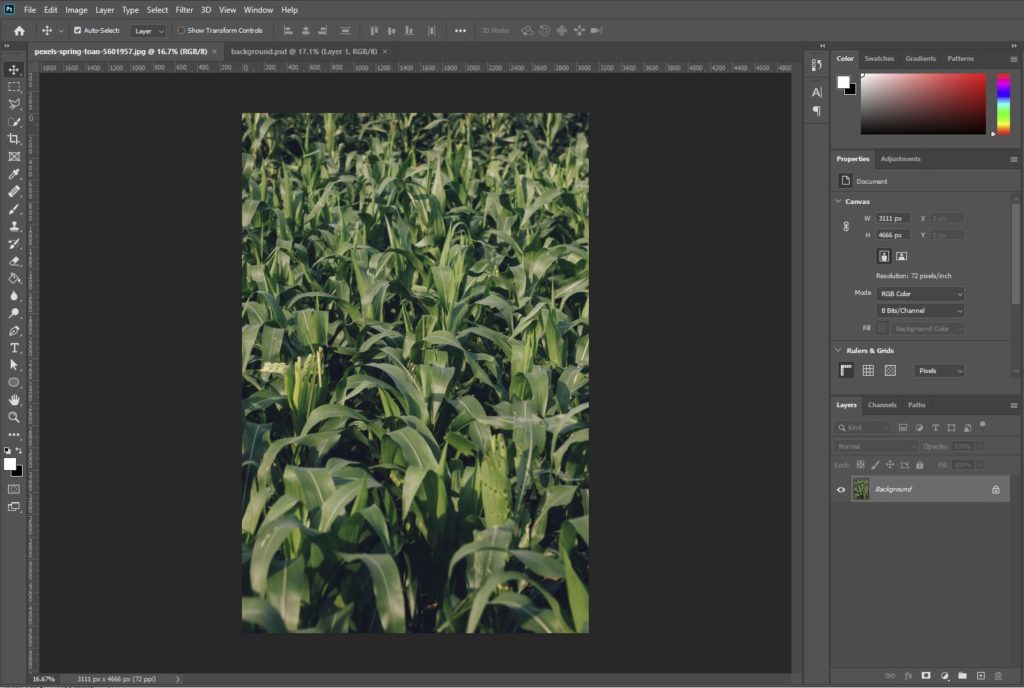
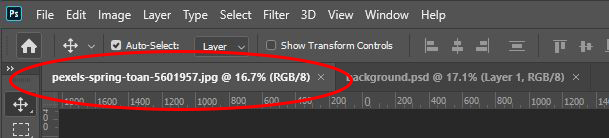
Of course, you will now notice that the image has opened in a whole document of its own, as shown below. If you look at the Document Bar near the top of the screen, you will see that a new document has been created which contains only the image.
So now, we are going to have to bring the image into the existing document, which contains the layer into which we want to insert the image.
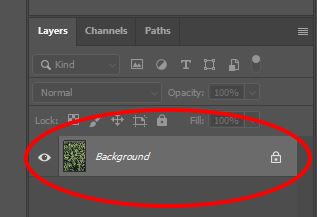
There are a few ways to do this, but one of the nicest methods is to duplicate the layer into the other document. First, right-click on the single layer in the Layers Window.
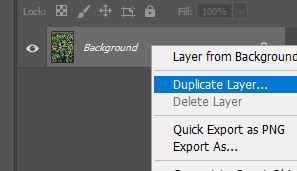
From the list that appears, select Duplicate Layer.
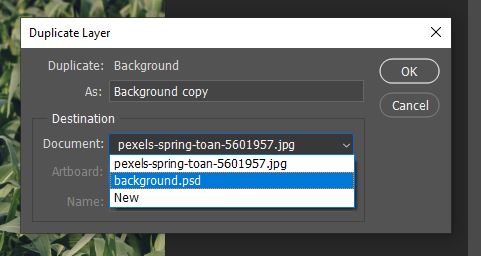
After pressing this, you should notice that a new window opens, where you can choose a destination for the duplicated version of the layer.
Click on the arrow next to the dropdown menu and click on the title of the document that you want to insert the image into. Then, hit OK to confirm it.
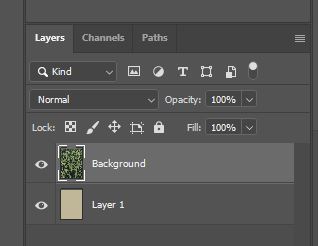
If you then head into the other document (by clicking on its title in the bar near the top of the screen), you should see that the image now exists in this document too!
At this point, it is on its own dedicated layer, but we’re going to change that in the next step.
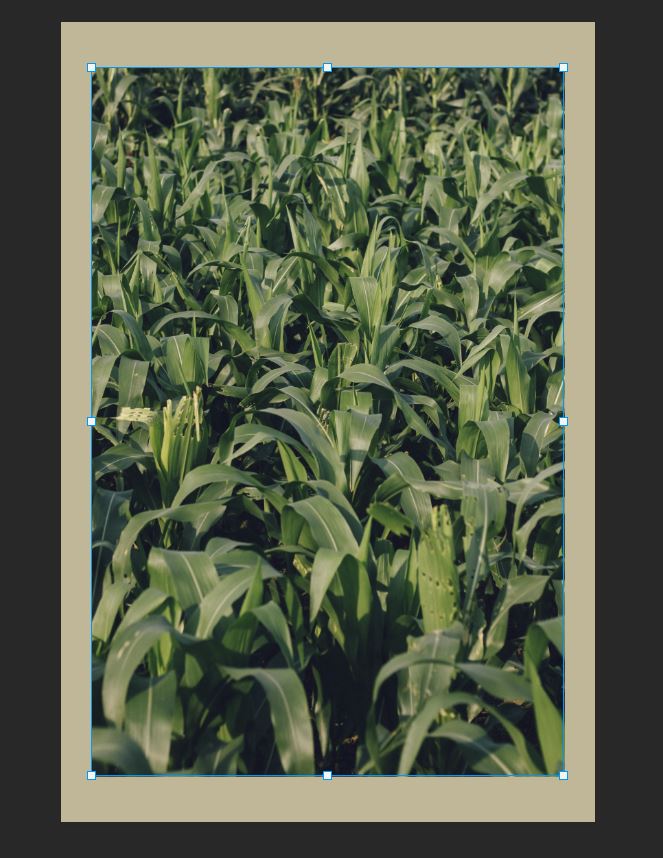
If you want to move the image around the canvas, activate the Move Tool by hitting V on your keyboard, then click and drag to move it around the composition. You can also resize the layer by pressing Ctrl + T [Win] / Cmd + T [Mac] on your keyboard then clicking and dragging the handles to rotate, resize or transform it in any way, hitting Enter once you’re happy.
Use Copy and Paste
Another simple option is to use the famously known Copy and Paste feature.
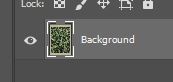
You need to have the image in question open in Photshop already. Make sure that the background layer is unlocked. You can unlock it by simply double-clicking on the lock.

Once done, simple go to Edit > Copy or use the shortcut Ctrl + C [Win] / Cmd + C [Mac]

Go to your Photoshop document where you want to insert your image and paste your image with Ctrl + V [Win] / Cmd + V [Mac].
You will have the same resizing option as before and once you confirmed with Enter, It will automatically create a new layer and paste your image into it.
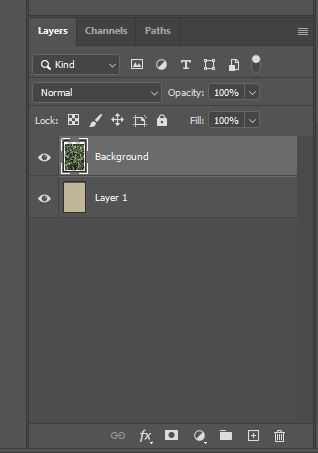
Now that we have our image in the same document as the layer into which we want to insert it, all we need to do is merge these layers together to make them into a single one.
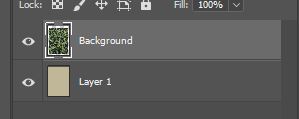
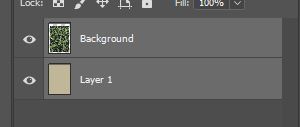
It’s pretty easy to do this. Initially, make sure that the two layers are adjacent in the Layers Window. If not, you can click on one and drag it up or down the stack to place it either directly above or beneath the other layer, depending on the contents that you want to appear on the top. In our case, we only had two layers anyway, so there were already no layers between them.
Now that the layers are stacked directly on top of one another, we can merge them by clicking on them both whilst holding down the Shift key on your keyboard then right clicking on either and selecting Merge Layers from the fly-out list.
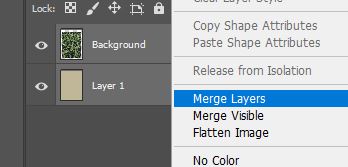
You should then see that the pair of layers has been merged to form a single layer in the Layers Window. And you have successfully inserted the image into the existing layer!
Use Smart Object to Add your Image to an Existing Layer
So, what is another method you can use to insert an image into an existing layer? Well, one great technique involves the use of smart objects.
These look pretty much the same as regular layers but can be opened to reveal lots of different elements inside them, allowing for non-destructive editing and a tidier workspace.
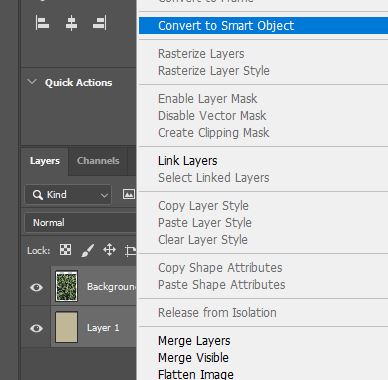
With both the layers in the same document, select them both by holding the Ctrl [Win] / Cmd [Mac] key whilst clicking on each of them in the Layers Window.
Now that they have both been highlighted, right-click on either of the selected layers and choose Convert to Smart Object from the list.
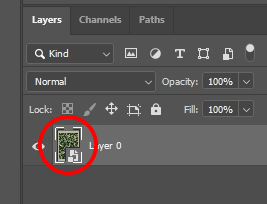
By looking in the Layers Window, you will now see that the layers have been converted into one single layer with a smart-object thumbnail.

(Optional) Edit the Smart Object
You have now essentially inserted the image into the other layer, but if you want to make any changes to either of the original layers at any point, then take a few moments to read this section.
To open up the contents of the smart object, all you need to do is double click on the thumbnail of it in the Layers Window.
This will cause Photoshop to open the contents of the layer in a document of their own. Notice how both the layers still exist here as separate entities, meaning that you can edit them separately at any point! Awesome, right?
If you then save the changes to this smart-object document at any point, by heading to File > Save or by pressing Ctrl + S [Win] / Cmd + S [Mac], the changes will be automatically applied to the document in which the smart object originally existed.
So, this is a great way to non-destructively ‘combine’ two layers!
Tutorial Video
If you want to know more about the subject I advise you to check this great tutorial by Photoshop Essentials
Hey, I'm a Professional Retoucher making $10k a month thanks to Photoshop.Register to my newsletter to get freelancing tips and a FREE Brush Pack in Bonus! My Newsletter

