
No matter what you’re working on in Photoshop, it is important to know how to center text or layers in Photoshop. It allows you to create a strong and coherent composition which is an important factor in designing. Therefore, knowing how to align or centralize your layers is valuable.
In this article, we’re going to explore how to center text layers specifically, but the methods described apply to all layers and so can be used when centralising any object in Photoshop.
The methods involve making a selection of the area in which you want to center the text, then selecting your Move Tool (V) to centralise your layer or your text.

We’ll also explore how to set custom shortcuts to center your text and how snap guides can also be useful when centralising layers.
Here is an overview of what we will look at:
Table of Contents
How to Center Text to the Whole Canvas
Let’s first explore how to position your text layer at the center of the entire composition.
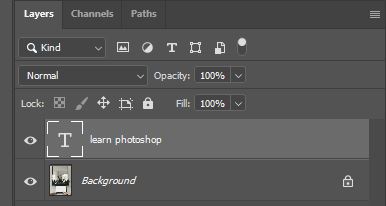
Begin by clicking on the text layer in the Layers Window. (If you haven’t already created a text layer, then you can do so by selecting the Type Tool (T) from the toolbar and clicking anywhere on the canvas to type a new piece of text).
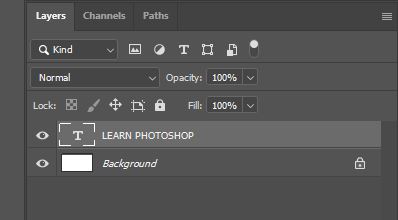
With the text layer now active (indicated by it being highlighted in the Layers Window), go ahead and select the Move Tool (V) from the top of the toolbar down the left side of the screen.

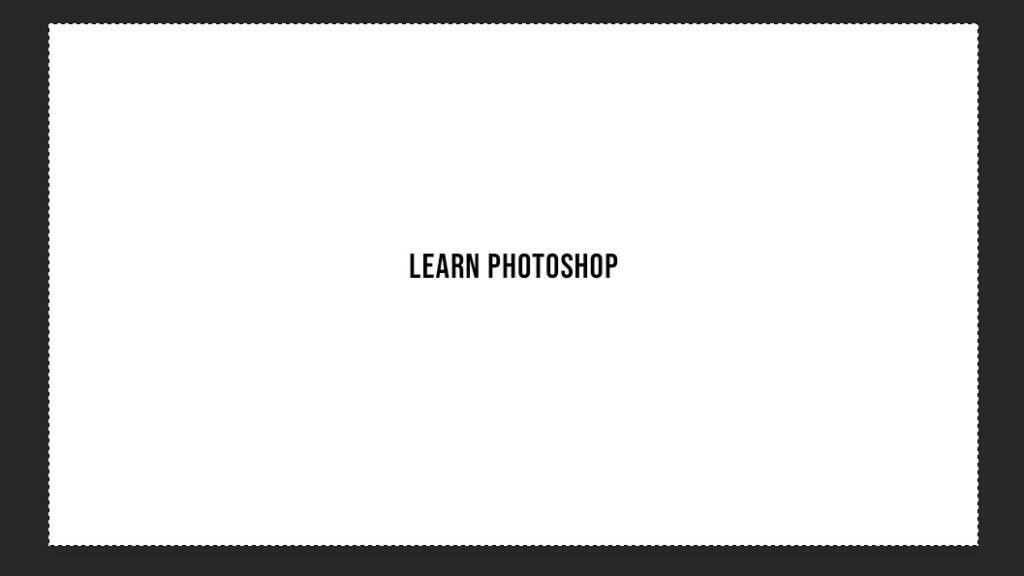
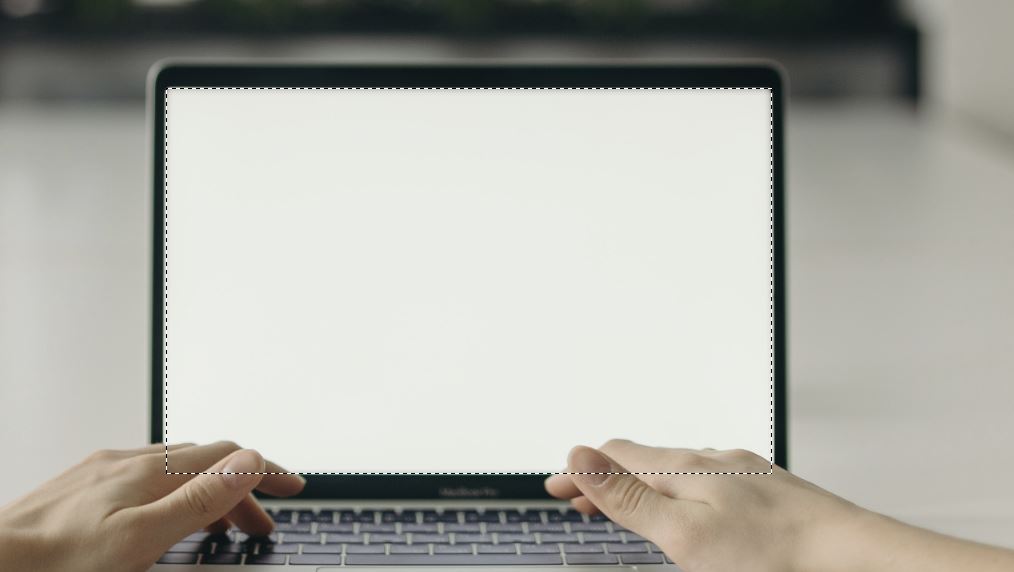
Then, use the keyboard shortcut Ctrl + A [Win] / Cmd + A [Mac] to make a selection of the entire canvas.
Now that the whole canvas has been selected, draw your attention to the settings bar near the top of the screen. Here, you will find alignment options, represented by the icons depicted below.
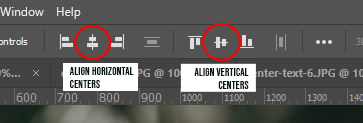
To centralise the text horizontally, simply click on the Align Horizontal Centers icon (the one resembling two horizontal rectangles with a line down the middle).
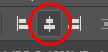
If you want to centralise the text vertically, then click on the Align Vertical Centers icon shown in the image below.

You can click on both of these to centralise your text to the entire canvas. Once you’re happy, hit Ctrl + D [Win] / Cmd + D [Mac] to deselect the area. And hopefully, the text will now be at the center of the canvas!
How to Center Text to a Specific Area
But what if you don’t want to center the text to the whole canvas, but rather you want to center it to a specific, smaller area? Well, luckily, the process is pretty similar, except this time it involves making custom selections.
Let’s use the Rectangular Marquee Tool (M) to select the section that we want to centralise the text to. It can be selected either through the keyboard shortcut ‘M’, or by clicking on the icon below, from the toolbar down the left side of the screen.

With the tool active, we can make a selection by clicking once on one of the corners of the rectangular area you want to select, then holding down the key whilst dragging the mouse outwards, releasing once you’re happy with the position of the box bounding the selection.
The perimeter of the selected area will be represented by a moving dotted line. If you’re not happy with the selection that you made, then just hit Ctrl + Z [Win] / Cmd + Z [Mac] to undo the action and try again.
After completing the selection, head over to the Layers Window and select the text layer that you want to center by clicking on it, making it highlighted and active.
Then, select the Move Tool (V) from the toolbar on the left of the screen.

Choosing this tool will, as before, bring up a bar near the top of the screen which contains a variety of alignment icons. To centralise it horizontally, vertically, or both, click on the respective icons (indicated in the photo below).
Once you are satisfied, hit Ctrl + D [Win] / Cmd + D [Mac] on your keyboard to deselect the selection. And you should see that the text has now centralised itself to the area that you specified! Pretty cool, right?

How to Center Text to a Shape
Related Guide:
Convert Text To Shapes In Photoshop
Now that we’ve covered how to centralise text according to a rectangular selection, let’s dive into what the process is like for centralising text to a non-rectangular area, such as a more complex shape.
Since we can’t use the Rectangular Marquee (M) to select all shapes, we can use a handy trick to automatically select any shape.
Start by clicking on the shape layer in the Layers Window.
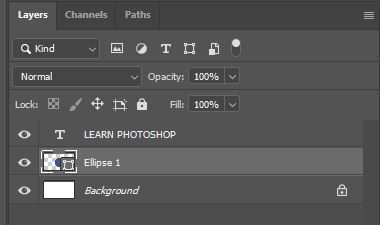
With the shape layer active, hold down the Ctrl [Win] / Cmd [Mac] key on your keyboard whilst clicking on the shape layer’s thumbnail.

Doing so will convert the shape into a selection in just one click! This trick saves so much time and is really useful especially when you want to make selections of extremely complex shapes.
With the selection active, indicated by the shape being bounded by a moving dotted line, click on the text layer that you want to center in the Layers Window to make it active.

Then, as we did in the previous methods, select the Move Tool (V) from the toolbar.
And just as before, head over to the bar near the top of the screen, where you will find several alignment options. You can click just one of the two icons, or both of them, in order to centralise the text to the shape horizontally, vertically, or both. The functions of each icon are labelled in the image below.
To deselect the shape, simply hit Ctrl + D [Win] / Cmd + D [Mac] on your keyboard. You should now have positioned the text at the center of the shape!

How to Align Text Within a Textbox
Related Guide:
How to Perspective Warp Text in Photoshop
Now that we have discussed how to centralise text to specific larger areas within your document, we can now take a look at how to center text on a smaller scale. Just like in word-processing applications, you can change the positioning of a piece of text within its own textbox. This is particularly useful when aligning the lines that make up a paragraph of text.
The process involved in doing this is fairly straightforward. Start by selecting the Type Tool (T) from the toolbar.

With this tool selected, click on the text layer that you want to change the alignment of in the Layers Window.
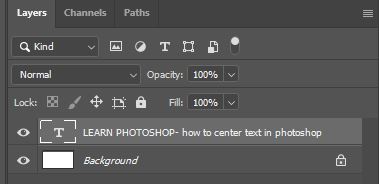
Draw your attention to the settings bar that opens near the top of the screen, highlighted in the screenshot below.

There are a few different alignment options here. The first icon represents the Left-Align Text option, which causes the left edges of each line of text to line up vertically.

The middle icon corresponds to the Center Text function, which causes the middle of each line of text to be placed at the horizontal center of the textbox.

And finally, the last icon of the row represents the Right-Align Text option, which shifts each line of text so that the right ends of each row line up vertically.

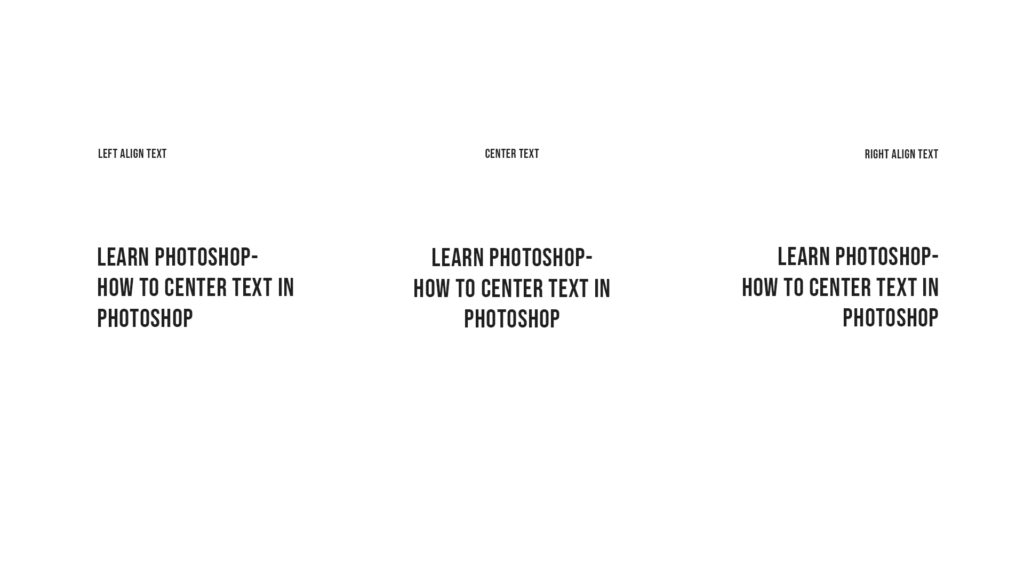
Therefore, by selecting the Center Text icon, you can centralise the text within its own textbox. Using this technique in combination with one of the aforementioned ones can let you fine-tune the overall positioning of the text within the composition.
Shortcut to Center Text or Layers in Photoshop
Since I use a lot this function, I decided to set a custom shortcut to make this process even faster.
You can do so by going to your Menu > Edit > Keyboard Shortcuts

From there you want to find the correct command. It’s called “Vertical Centers” and “Horizontal Centers” and you can find it here:
Shortcut for “Application Menus” > Layer > Align Layers to Selection > Vertical Centers
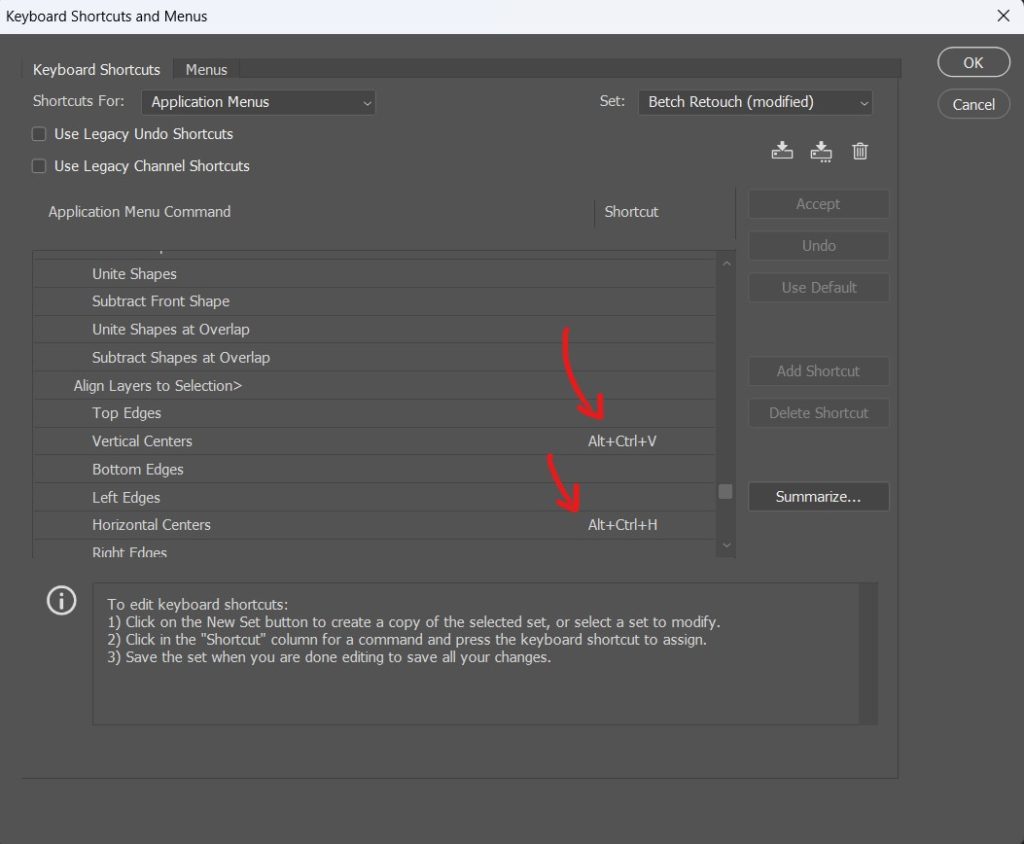
The keyboard shortcuts I use to center horizontally and vertically are:
Vertically: ALT + CTRL + V
Horizontal: ALT + CTRL + H
You want to double-check if there’s any conflict with another shortcut you frequently use before saving.
How Snap Guides Can Be Used to Center Text
Related Guide:
A Short Guide to Rulers and Grids in Photoshop
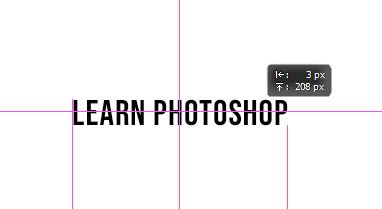
To finish up, let’s take a look at a helpful trick that can be useful in the process of positioning any layer. Snap guides in Photoshop are visual aids that help you place objects in particular areas of the canvas, allowing for a more satisfying composition.
To enable snap guides, select from the bar along the top of the screen View > Snap To > All.

Once you have enabled the snap guides, experiment with using the Move Tool (V) to drag your text layer around the canvas, noticing how lines appear as you move the layer. These lines signify certain positions on the composition, such as the center, and cause nearby objects to shift into more visually satisfying positions.
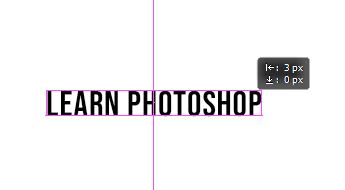
So, if you move a layer to be positioned somewhere near to the center of the canvas, then you should hopefully see guidelines appear, at which point you can let go of the mouse and see that the layer snaps to, in other words shifts towards, the guide marking the center of the composition!
And that’s pretty much everything there is to know about how to center text in Photoshop. There are lots of different methods you can use for different situations, and hopefully you’re starting to get the hang of them all!
Related Guides:
Why Does Photoshop Text Look Pixelated? Easy Fixes
How to Create a Glitch Text Effect with Photoshop
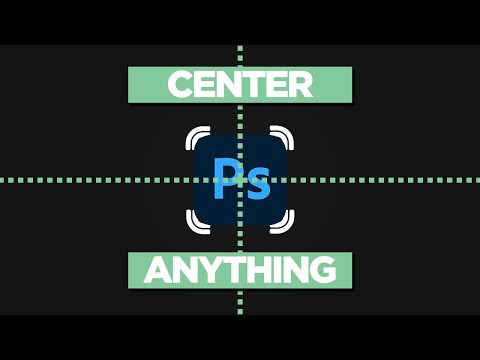
Bonus Video Tutorial
We made a quick video tutorial to walk you through the process.
Hey, I'm a Professional Retoucher making $10k a month thanks to Photoshop.Register to my newsletter to get freelancing tips and a FREE Brush Pack in Bonus! My Newsletter

