To many Photoshop users who have not come across the Merge Layers and Flatten Image functions before, the difference between the two options can seem unclear. Of course, the words ‘merge’ and ‘flatten’ pretty much have the same meaning, right?
However, whilst they may sound like they have the same effect, the functions do actually differ in a few ways.
In summary, the only substantial ways in which the two functions differ is that flattening the image will merge all the layers into one background layer whilst merging layers will only combine the selected layers, and the Merge Layers function preserves transparency whilst the Flatten Image function does not.
This article will discuss the workings of the individual options, how you can use them, and how they are different. Here is what will be covered:
If you would like to read more about merging layers, flattening your document, and using other fundamental aspects of Photoshop, then take a quick look at our free guide to Photoshop, which contains all the information that a Photoshop beginner needs to know in order to become more familiar with the program!
What is the Flatten Image Function?
Photoshop’s Flatten Image option allows you to merge all the visible layers within your document into one single background layer. It deletes any hidden layers and fills any transparent areas with the default background-color: white.
The function is typically used in situations where you need to significantly reduce the file size of your document, since it is a highly effective way of doing so. It is also recommended that you only use this function when you are certain that you have completely finished editing the document, since once the layers have been combined into one, you can no longer edit the elements individually.
What is the Merge Layers Function?
Although similar to the Flatten Image option, this function causes Photoshop to merge the layers that you currently have selected, or active. This means that it allows you to be selective with the layers that are to be combined.
The option preserves transparency and hidden or non-selected layers are simply skipped and left unchanged.
What Happens When Layers Are Merged?
Both the Merge Layers and Flatten Image options cause Photoshop to combine certain layers, whether that is all of them or just a certain selection of them. But what does this mean?
Well, combining layers results in certain consequences which can be either advantageous or disadvantageous, depending on your situation.
First of all, let’s demonstrate what actually happens when you combine layers by looking at the changes that occur in the Layers Window.
Here, we have opened a document that contains three circles on separate layers. Before merging these layers, here is what the Layers Window looks like.
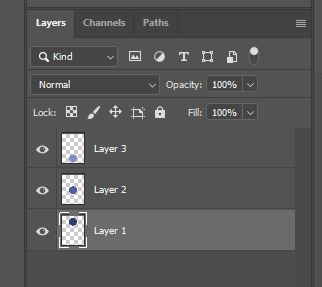
As you can see, each circle is on a separate layer. By having each element occupying its own individual layer, we can access certain capabilities that we would not be able to access if the elements were to all be on the same layer.
For instance, with the circles on separate layers, we can move each circle individually, in different directions and by different distances, whereas if we were to have them all on the same layer, we would only be able to move them all in one direction and by the same distance, since they would all have to be moved as a single body.
When the elements are on their own layers, we can also apply edits such as color adjustments, transformative edits (such as rotations, flips, and size changes), and blend modes to individual circles. For example, we could make one circle brighter and smaller, another one bigger and darker, and the other one wider and flipped horizontally.
By contrast, if the circles were to all occupy the same single layer, then we would only be able to make the same edits to all the circles. Decreasing the size of the layer would make all the circles smaller, making the layer brighter would increase the brightness of al the circles, and flipping the layer vertically would mean that the top circle would become the bottom one and the bottom circle would become the top one since the entire layer as a whole is flipped.
Let’s take a look at what happens in the Layers Window when we combine all our layers by merging them. As you can see, what had previously existed on individual layers now exists on a single layer, and instead of having three layers, we now only have one.
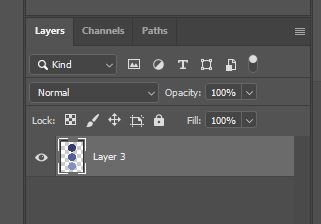
This means that we lose the advantages of being able to make different edits to individual elements independently.
You might now be thinking: what is the benefit of combining layers? Why would we do it when it prevents us from making so many edits to the document? Well, whilst there are certainly plenty of disadvantages that come when we combine layers, there are also a few advantages.
Combining layers can be highly beneficial when you actually want to make collective edits to layers that you wouldn’t be able to make by just selecting all the layers or grouping them.
Also, if you are certain that you won’t need to make individual edits to certain layers anymore, there you can, by all means, merge them, without losing out on anything since you have made all the individual edits already.
Merging layers or flattening the image can also be especially useful when it comes to situations in which your file is too large. As we will cover later, combining layers can be a great way to significantly reduce the file size of your document.
Likewise, combining the layers can be useful when you have an exceedingly large number of layers in your document and you want to, and can afford to, combine some of them to reduce the number and make the Layers Window more organised.
What Are the Differences Between the Functions?
So, now that we have covered the basics of what effects each of the functions have, and we have discussed the advantages and disadvantages of combining layers, let’s go ahead and take a look at how the functions differ.
Difference 1: Preservation of Transparency
One of the major differences between the two options is the different effects each of them has on the transparent areas of your document.
To summarise, the Merge Layers command preserves any transparency within the layers that are merged, whilst the Flatten Image command causes Photoshop to fill any transparent areas with the color white.
Let’s demonstrate this with an example, beginning with the effect of the Merge Layers command.
As you can see in our Layers Window, we have simply opened a document that consists of three separate layers- each of them containing a single circle on a transparent background.
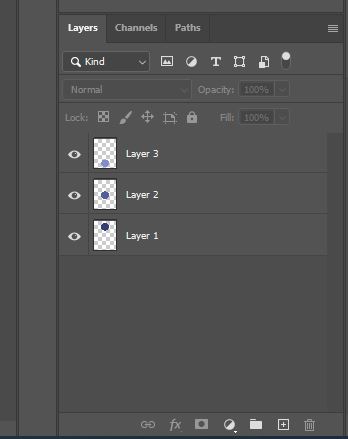
Here is what our document looks like before merging the layers. As you can see, the three circles sit on a transparent background which, in Photoshop and other applications, is by default represented by a checked pattern of white and gray.
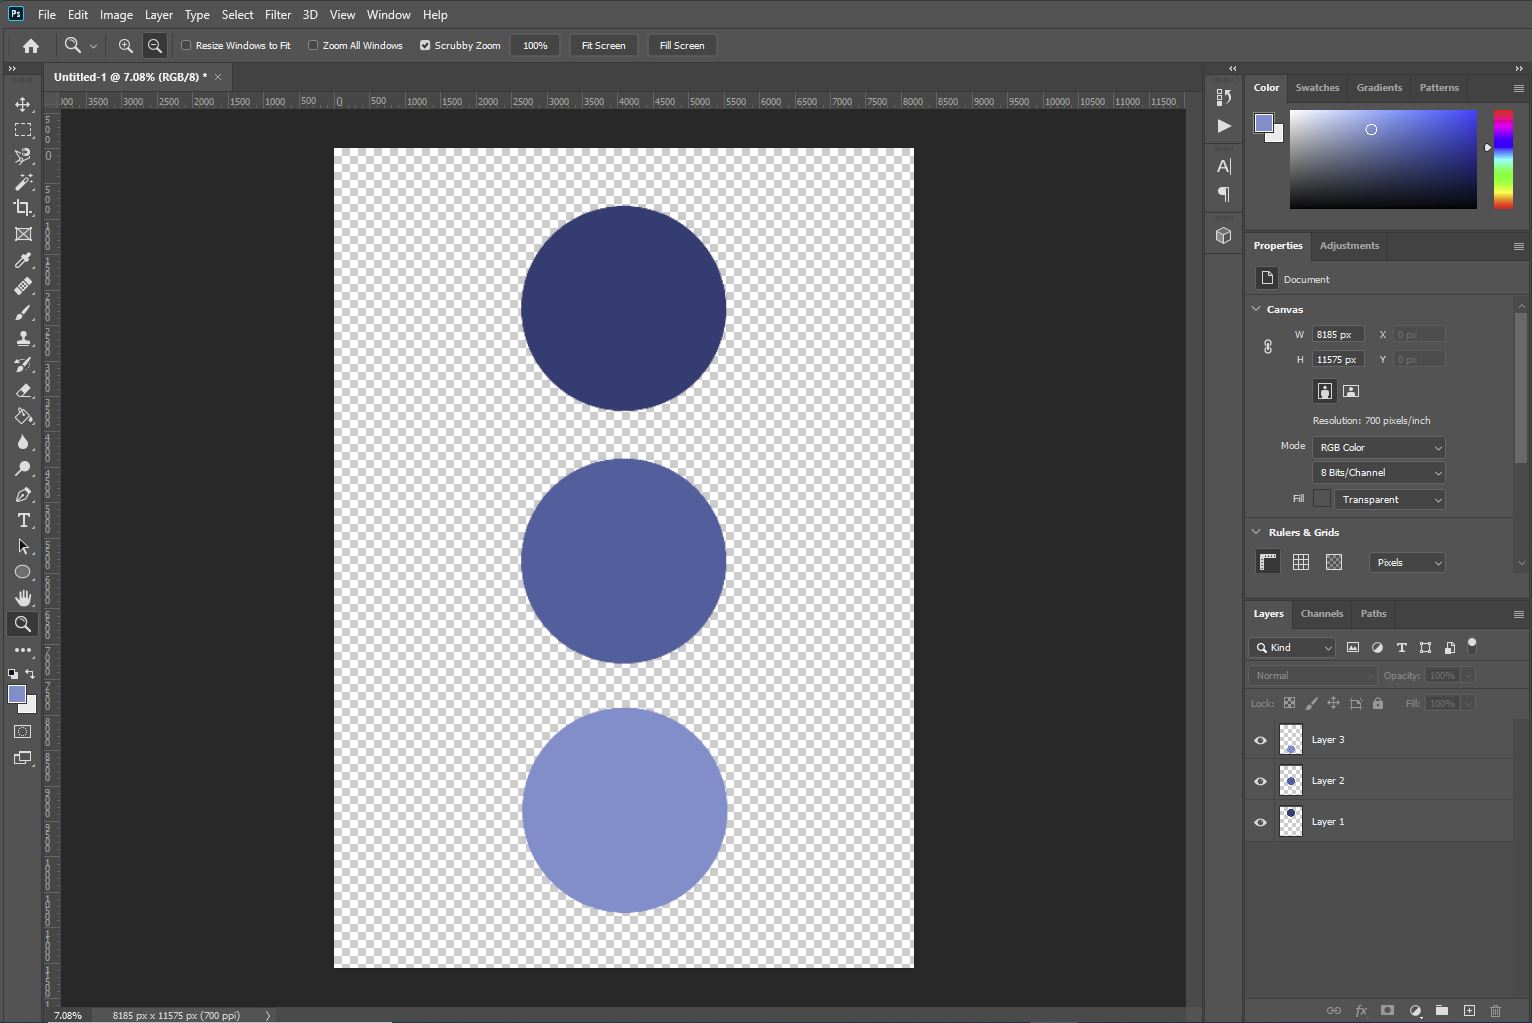
Now, let’s just go ahead and select all the layers that we want to combine. This can be done by clicking one-by-one on each of the layers you want to merge in the Layers Window whilst holding the Ctrl [Win] / Cmd [Mac] key, or by clicking on the top layer of the group you want to select then holding down the Shift key on your keyboard whilst clicking on the bottom one of the group.
(Note that the second method will only work if you want to select and merge a group of layers that are consecutive in the Layers Window.)
You should then see that all the layers you want to merge (in our case, this was all of them) have been highlighted with a lighter gray color, indicating that they have been made active.
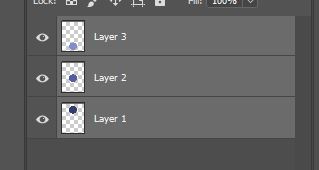
With all the layers selected, simply right-click on one of them in the Layers Window and select Merge Layers from the list that appears as a result.
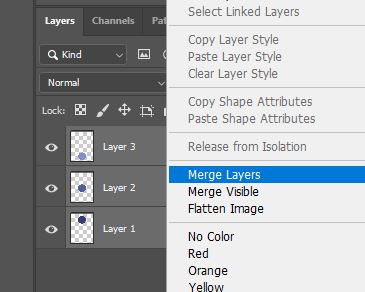
You will then notice that all the layers have been combined into one! Since we merged the layers rather than flattening the image, notice that the transparency within the merged layers has been preserved.
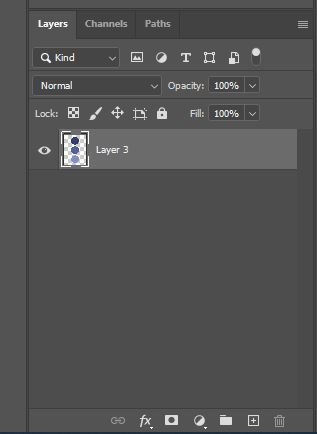
In our example, the circles still sit on a transparent background. This is because the Merge Layers command does not merge all the layers into a background layer, so the transparency is preserved.
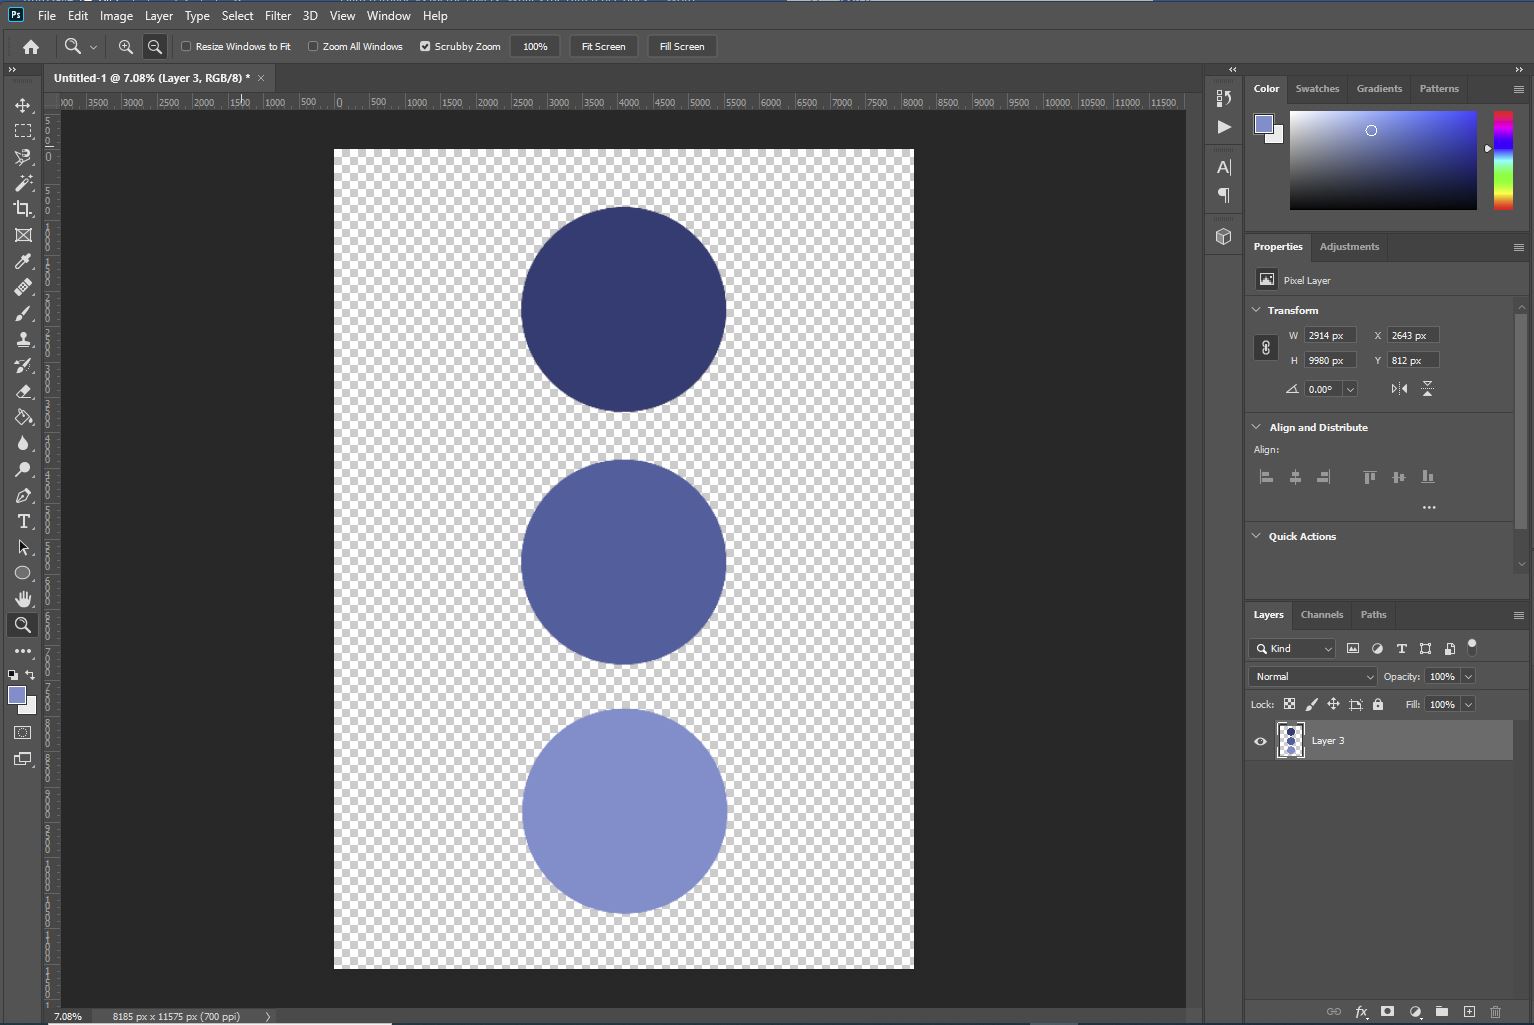
Now, let’s take a look at what happens when we combine the layers using the Flatten Image command instead. As you can see, we are using the same document, so this is what it looks like before merging the layers. The circles are all on their own layer and all sit on a transparent background.
One of the major differences between the two options is the different effects each of them has on the transparent areas of your document.
To summarise, the Merge Layers command preserves any transparency within the layers that are merged, whilst the Flatten Image command causes Photoshop to fill any transparent areas with the color white.
Let’s demonstrate this with an example, beginning with the effect of the Merge Layers command.
As you can see in our Layers Window, we have simply opened a document that consists of three separate layers- each of them containing a single circle on a transparent background.
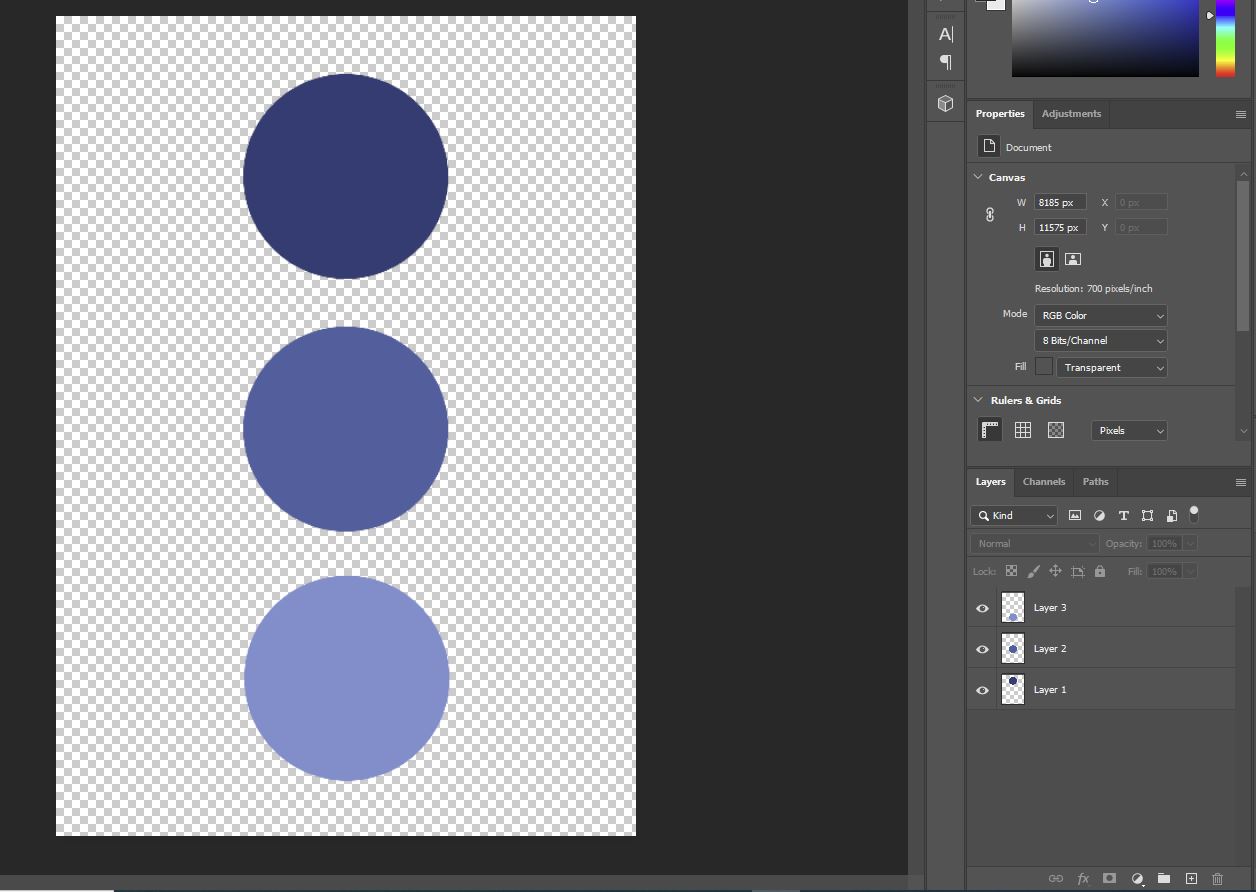
Next, we will go ahead and flatten the image. This automatically combines all the layers, so you do not need to worry about selecting them all. Simply head along the top of the screen to Layer > Flatten Image.
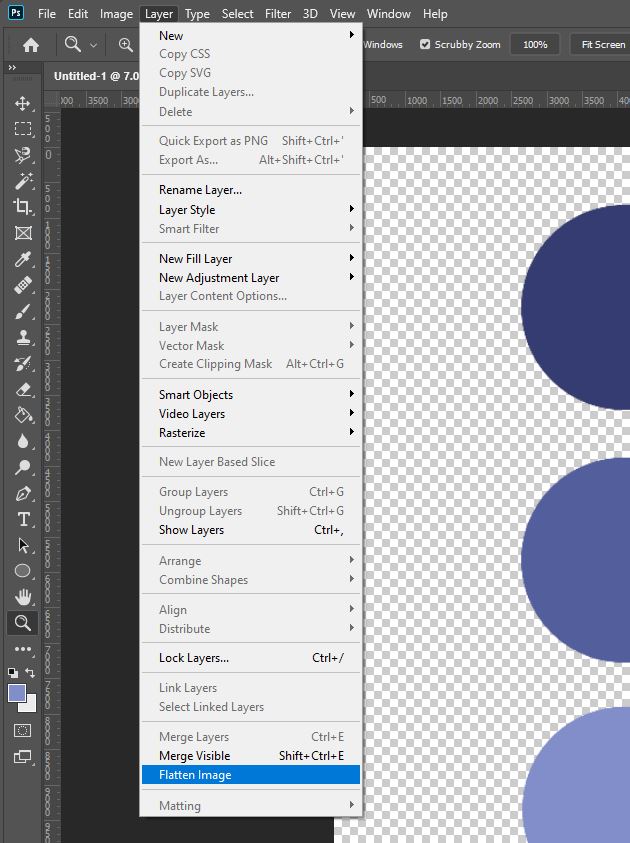
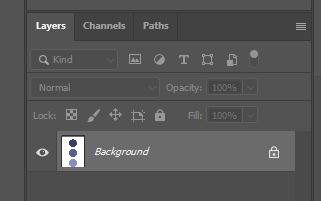
This will combine all the visible layers within your document into a single background layer, as you can see in the Layers Window.
This time, do you notice a difference in the appearance of the document? The background is no longer transparent but has instead been filled with white. This is because the Flatten Image command does not preserve transparency since the layers are combined to form a background layer which is white by default.
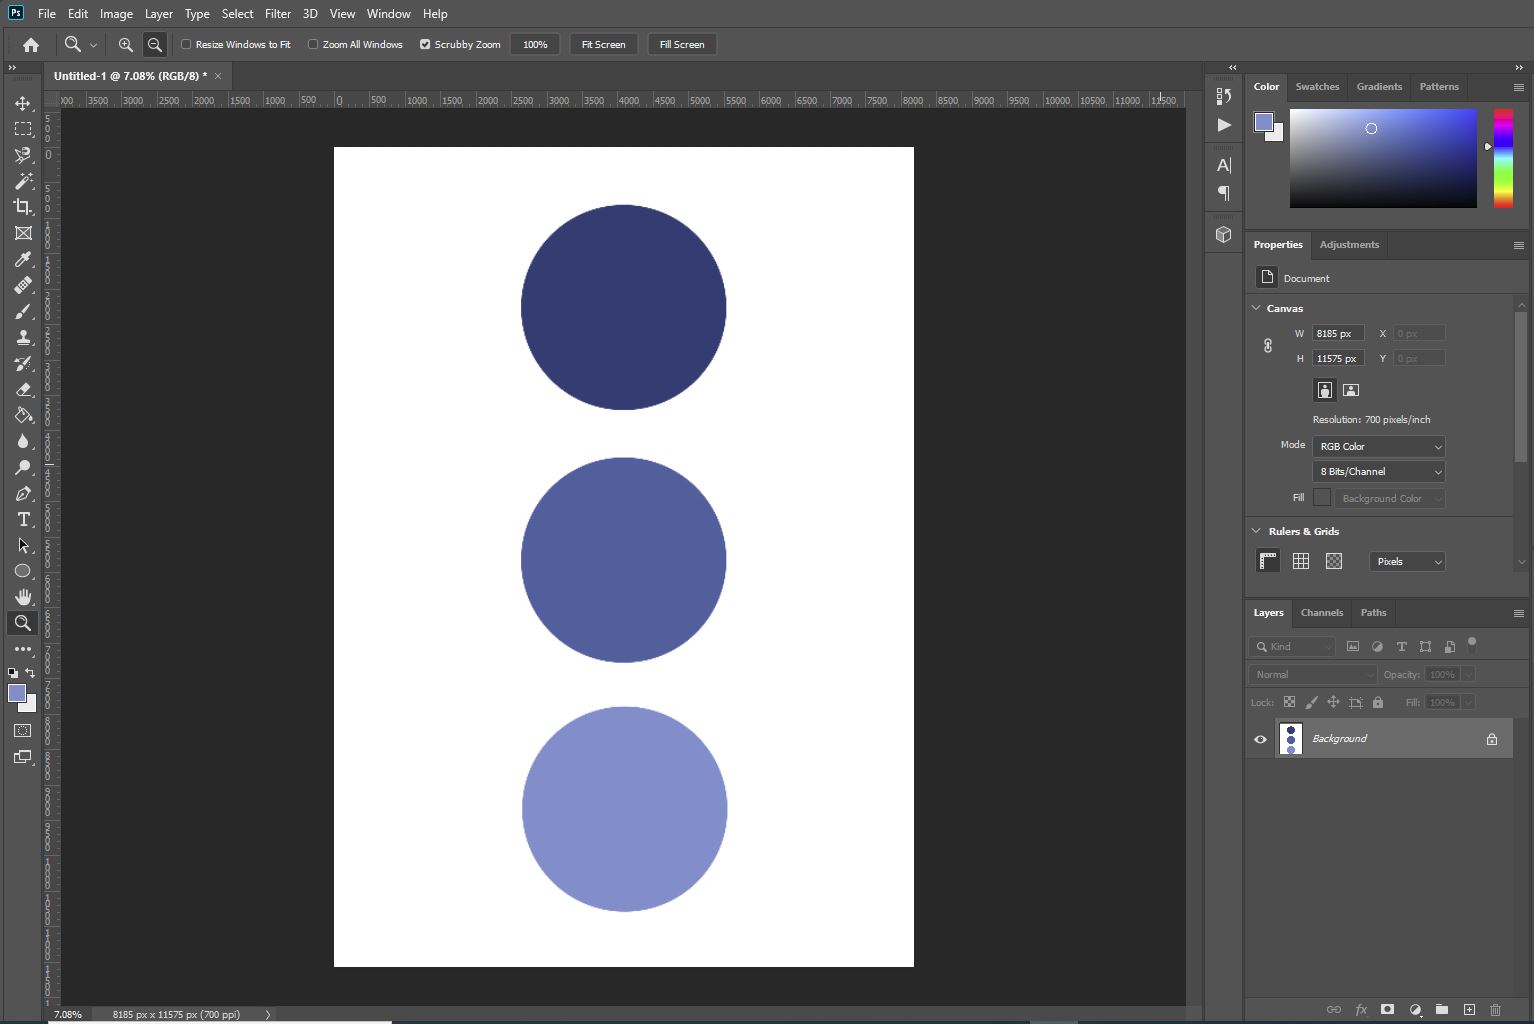
So, if you are looking to preserve the transparency of any empty areas within your document, then you should always opt for the Merge Layers feature.
Difference 2: Selection of Layers to be Combined
The second major difference between the two commands is that the Merge Layers function lets you select which layers are combined whilst the Flatten Image function automatically combines all the visible layers within your document into a background layer.
So, if you want to only combine a certain group of two or more layers within your document, then you should definitely use the Merge Layers command instead of the Flatten Image one.
Another thing to note about which layers are combined upon choosing each command is that the two have different effects on hidden, or invisible, layers.
All layers in Photoshop will be visible by default. However, you can make layers invisible by clicking on the eye icon (as circled below) next to their respective titles in the Layers Window.
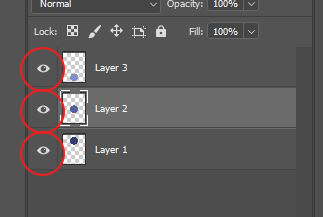
Hence, layers that are invisible will simply have an empty box to the left of their thumbnail and title, where visible layers will have the eye icon.
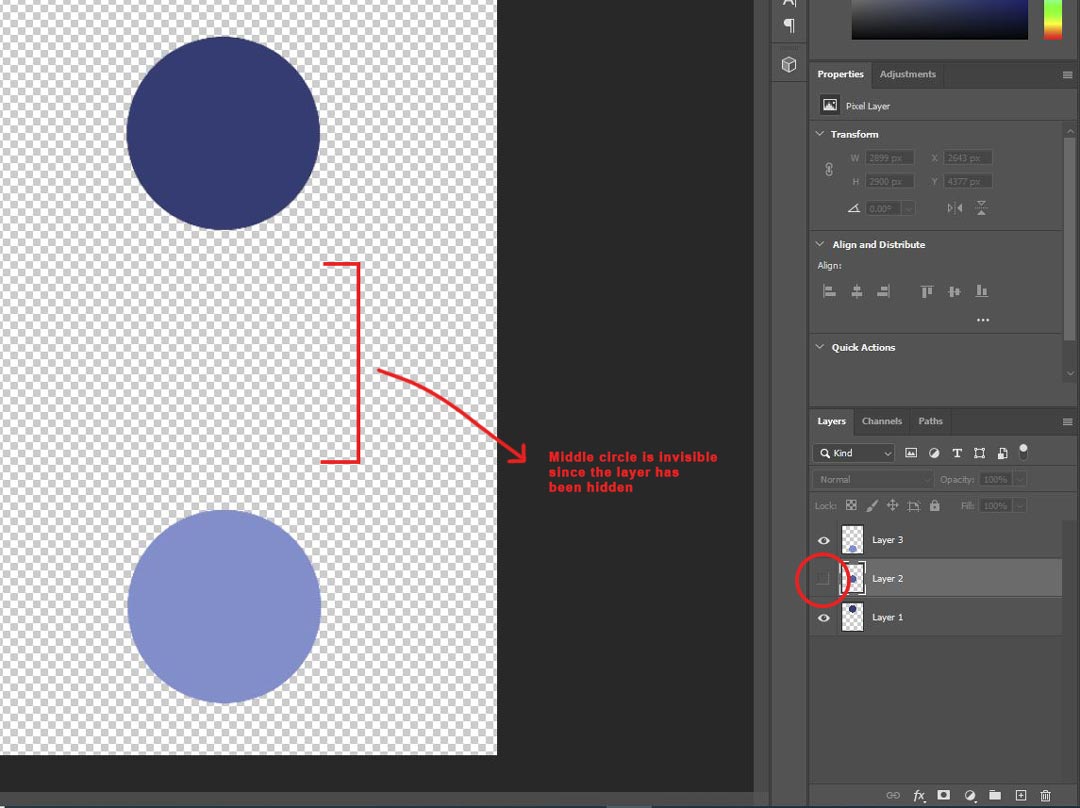
These invisible layers will be affected differently depending on whether you are merging the layers or flattening the image. The Merge Layers command causes Photoshop to simply skip invisible layers and leave them intact. By contrast, the Flatten Image option will cause Photoshop to delete all invisible layers, removing them from the document permanently (unless the action is undone).
Therefore, if you are using the Flatten Image command, you should always ensure that all the layers you want to retain are made visible so that Photoshop doesn’t discard any important ones that you want to keep.
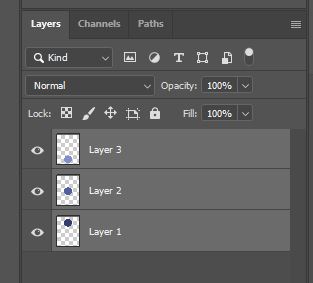
Remember that to merge certain layers using the Merge Layers command, you must first select the ones that you want to be combined. To do this, you can hold down the Ctrl [Win] / Cmd [Mac] key on your keyboard whilst clicking on each of the layers you want to select in the Layers Window.
If they are consecutive (the group is stacked one on top of the other in the Layers Window), then you can select the whole group quickly by clicking on the top layer of the group you want to select then clicking on the bottom one whilst holding down the Shift key. This is particularly useful when you want to select quite a large group of layers.
And that is about all there is to know about the differences between the Merge Layers and Flatten Image commands in Photoshop!
BONUS
If you still want to find out more about how you can differentiate between the functions, or if you would prefer to learn from a video, then take a look at this video by Rick Peterson which provides a well-delivered, in-depth explanation of the topic.
Hey, I'm a Professional Retoucher making $10k a month thanks to Photoshop.Register to my newsletter to get freelancing tips and a FREE Brush Pack in Bonus! My Newsletter


