

The technical side of learning Photoshop is often the most confusing aspect to understand. Have you ever saved the same file through two different routes then noticed a mysterious difference in file size, despite the results looking the same as one another? Or have you ever struggled to decide whether to use Save As or Export As when saving a document? It can be really tricky to initially get your head around, but in this article, we will explain the differences between the two functions and what can cause them to have different sizes.
In short, the difference in the size of files saved using the Save As command and the Export As command is due to the presence of metadata in one version and the absence of it in the other. The functions also differ in terms of their editability, compatibility with file formats, and flexibility in the working process. You should use Export As when saving final versions of your file and Save As when saving versions that you want to work on again later.
Table of Contents
We will explore these differences in further depth in this article and provide an explanation of metadata and why that causes a difference in the sizes of files saved using Save As and Export As.
How to Save a File in Photoshop
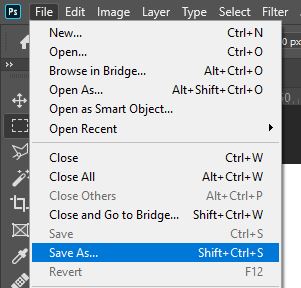
The first method of saving a version of your Photoshop file involves heading along with the menu at the top of the screen and selecting File > Save As.
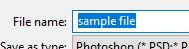
Doing so should cause the Save As Window to open, in which you can go ahead and choose a suitable location for your file to be saved to. Type a name for the file in the bar near the bottom of the window.
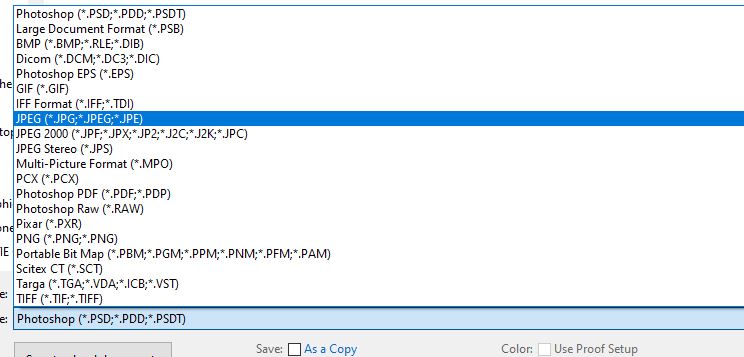
When you are happy with those settings, select the file type you want from the dropdown menu entitled Save as type.
Once you have set the file format, you are all good to click the Save button at the bottom right of the dialog box to confirm the settings and save the file.
How to Export a File in Photoshop
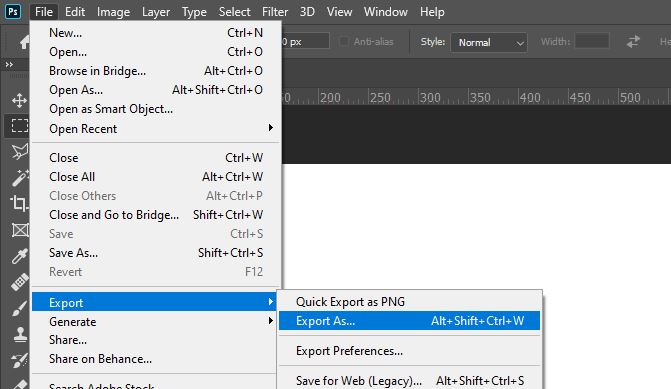
Another way to save a version of your file is to use the Export As command. Simply head along the top of the screen to File > Export > Export As and edit the settings in the window that opens up depending on the properties you want your file to have. We will explore these settings later on in this article.
What’s the difference between export and save as in Photoshop?
Now that we have looked at how to save files using each command, let’s jump right into exploring the differences between them.
The Presence of Metadata
When you save the same file using each of the methods detailed above, you may notice that the files’ sizes are different. The one saved using the Save As command oddly has a larger file size than the one saved using the Export As function. But why is this?
Well, the difference in the files’ sizes is due to metadata. In the file created using the Save As function, the file’s metadata remains present, whereas the file produced through the Export As command has been stripped of its metadata. Uncompressed metadata being present in a file can significantly increase its size.
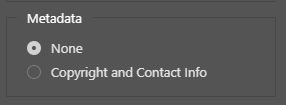
In the Export As Window, there is a section where you can choose whether to let the file include no metadata or just the copyright and contact information, as shown below. The Export As option can therefore strip out the file’s metadata, decreasing the file size.
Keep reading this next section to understand what metadata is!
What is Metadata?
Metadata is an inherent property of files that are worked on for a certain duration of time. When you spend time editing a file in Photoshop, whether you are working with a PSD or a file of any other type, the software automatically spends that time gathering data that represent the history of all your actions. In other words, metadata is the data that is stored to represent and record all the edits that you have made to a file during the duration of its existence.
Since Photoshop causes the metadata to be constantly stored in documents that are being edited in the program, the build-up of the data over time can leave you with a considerably large quantity of effectively useless information. The more time you spend editing a certain file, the more metadata it will contain.
Using the Export As command removes this information from the file, and that is why there is a difference between the sizes of files saved using the Save As function and the Export As option.
The Variety of Available File Formats
Another difference between the Save As and Export As commands is that the former option lets you save a file in a wider variety of formats. Using the Export As Window to save a document only allows you to save your file in four different formats, none of which support the preservation of layers and shapes.
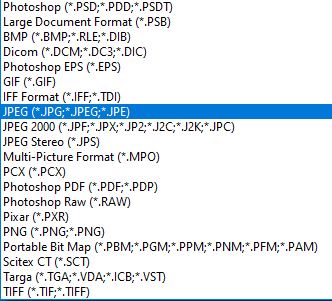
Whilst the Export As command only lets you save the file as a PNG, JPG, GIF, or SVG, the Save As function offers all the formats shown below:
As none of the Export As formats preserve the integrity of the original file, such as its layers, if you are looking to save a temporary version of your Photoshop file that you plan to continue working on later, then simply use the Save As route to save a PSD version of your file. Export As tends to be more suitable for exporting final versions of your document, such as rasterized JPEGs.
Exporting a Document at Different Sizes
If you want to either specify the size of an exported document or save multiple versions of different sizes at once, then the Export As command is undoubtedly the most suitable (unless you want to save a PSD or another file type unsupported by the function).
If you select File > Export > Export As from the bar along the top of the screen, you should see that the Export As Window opens up.
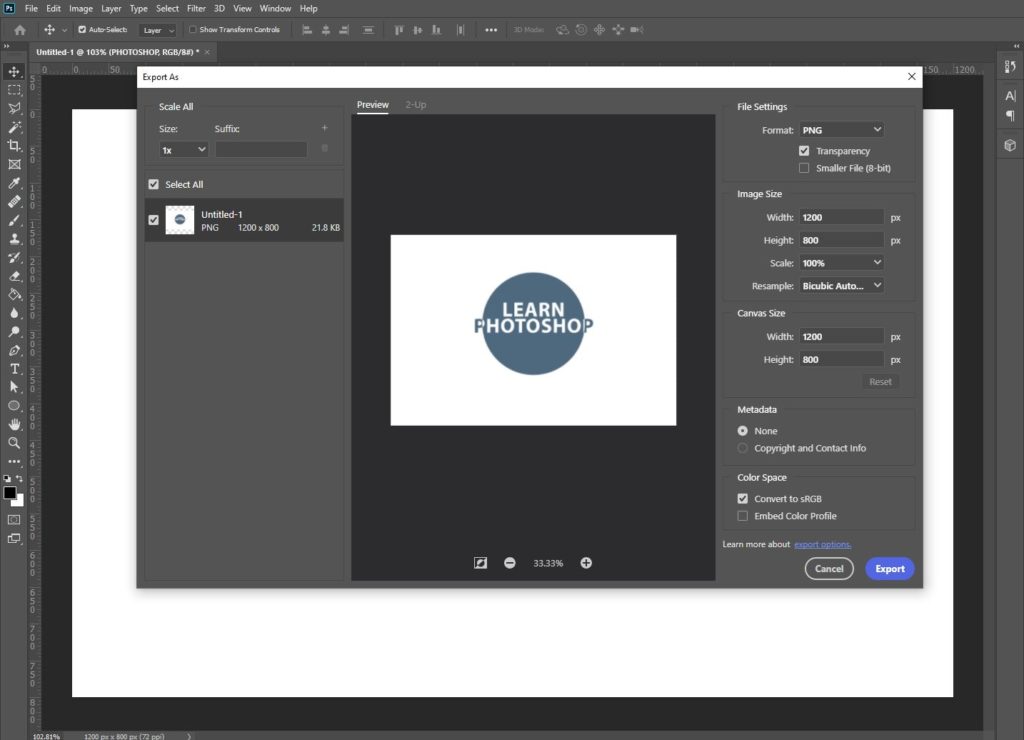
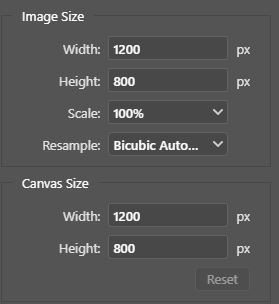
At the right of this window, various settings are letting you customize the size of your file. You can tailor the Image Size and the Canvas Size through the options highlighted below.
Alternatively, you can choose to save multiple different sizes of your document at the same time! To do this, draw your attention to the left side of the window.
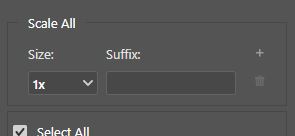
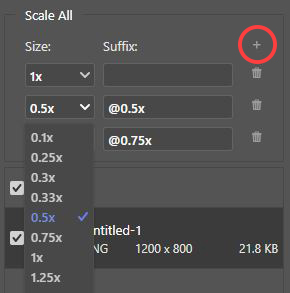
In the section entitled Scale All, you can add new versions of the file to be saved using the plus icon at the top right. Adding a new version brings up a new row where you can set the file’s relative size from the dropdown menu and type a name extension for the new file to be saved with.
And after you have clicked Export in the bottom-right corner of the window, you will hopefully see that the document has been exported multiple times as different files with the sizes you specified previously! Pretty cool, right? Remember that only the Export As feature lets you save multiple versions of a document simultaneously.
Previewing the File
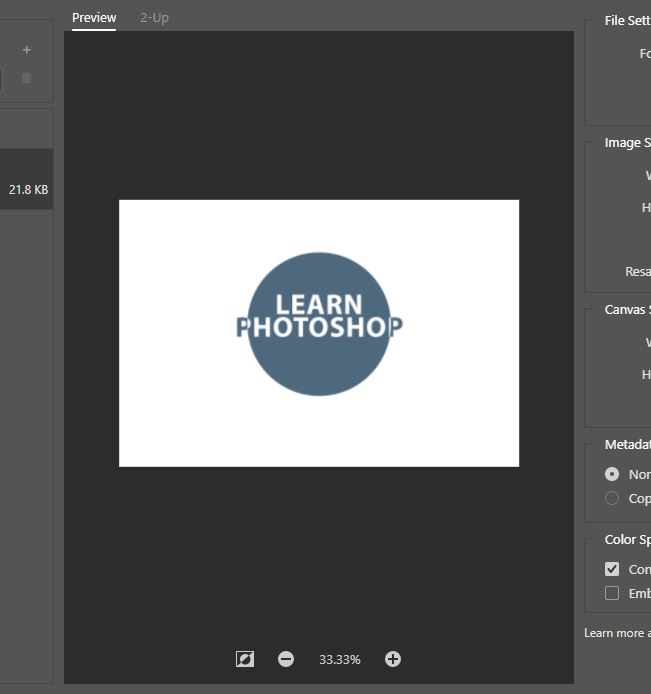
Another difference between the two saving options is that the Export As Window includes an image preview box where you can see the effects of the changes you’re making to the file. In contrast, the Save As Window doesn’t have any preview features.
This means that in the Export As Window, you can edit aspects such as the quality and size of the file whilst looking at a live preview of what effect the changes will have on the appearance of the image. You can then see what settings give you a decent image quality whilst ensuring that the file size isn’t too large.
By contrast, if you’re using the Save As function, you may have to keep blindly experimenting with your document’s size and properties, then repeatedly saving different versions of the file until you reach a point where you are happy, which can be a longwinded and inefficient process.
Saving Certain Layers
Finally, let’s discuss the difference between the functions in terms of how they support individual saving or select groups of layers and artboards.
Selecting File > Save As to save your document leaves you with only the option to save the entire document. Yet if we use Export As, there is a way that we can personalize the range of elements in the document that the program exports.
If you want to export only certain layers of a multi-layer document, then head over to the Layers Window and, whilst holding the Ctrl [Win] / Cmd [Mac] button on your keyboard, click on the individual layers that you want to export to select them all.
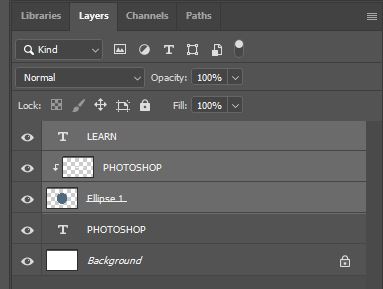
Once they have all been selected, indicated by them being highlighted in the window, right-click on one of them, then choose Export As from the list that comes up as a result.
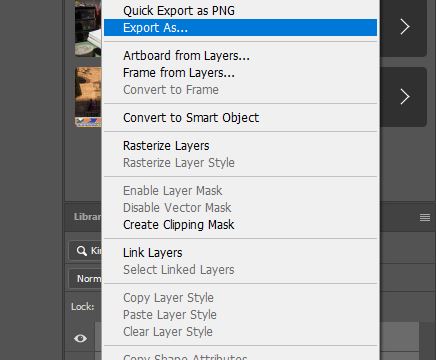
You will then be taken to the Export As Window, where you can export only the layers that you selected and exclude the unwanted layers from the saved image!
For this reason, it is best to use the Export As option in situations where you only want to save certain layers of your document.
VIDEO TUTORIAL
And that is about all there is to know about comparing the two ways of saving files in Photoshop! To recap, Save As is best for saving incomplete versions of your file and for saving documents of diverse formats, whereas Export As is most suitable for saving final rasterized versions of specific sizes.
Want to learn more about the differences between the Save As and Export As commands? Check out this video by PiXimperfect which provides a clear comparison of the two.
Hey, I'm a Professional Retoucher making $10k a month thanks to Photoshop.Register to my newsletter to get freelancing tips and a FREE Brush Pack in Bonus! My Newsletter

