Create a “rule-of-thirds” Grid in Photoshop

A rule-of-thirds grid is a grid that splits your image into nine equally sized rectangles, allowing you to base the composition of your piece around it. Working with one can be the key to making captivating, visually pleasing images.
Luckily this can be created within a matter of seconds. All you’ll need is a computer with Photoshop and an image to work with. If you don’t have an image of your own, feel free to try out the technique with some of these free high quality stock images.
After opening Photoshop, you can open your image by selecting File > Open and choosing the relevant photo from your files. Alternatively, if you want to create a new blank document, then choose File > New.
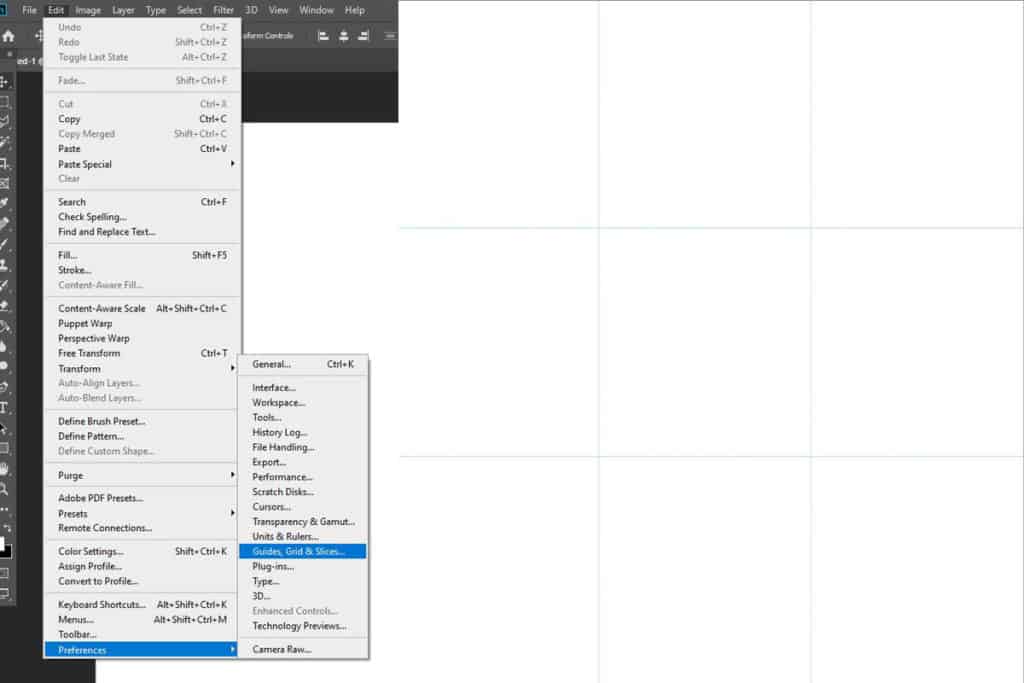
Step 2: Edit the Settings for Guides, Grid & Slices
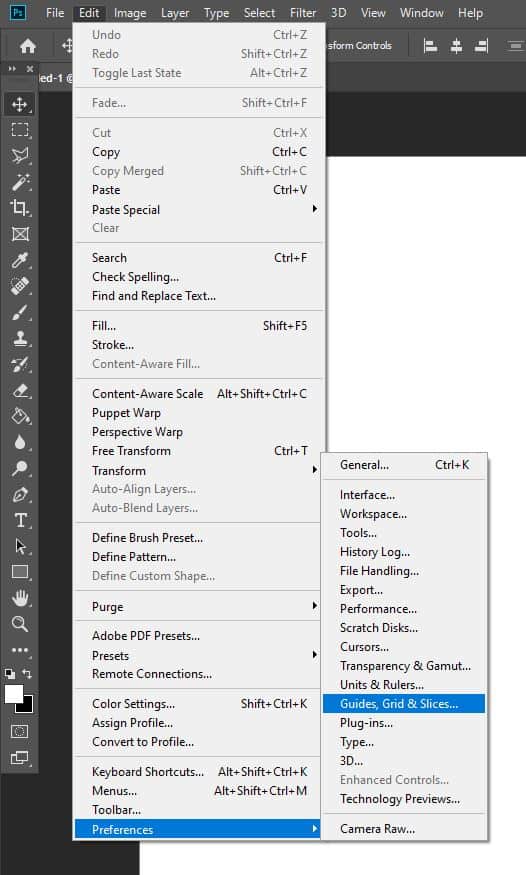
After selecting Preferences, you will now want to click on Guides, Grid & Slices from the list that appears.
Now simply input the following settings into the Grid window.
Gridline every: 100 percent.
Subdivisions: 3
Then just click OK.
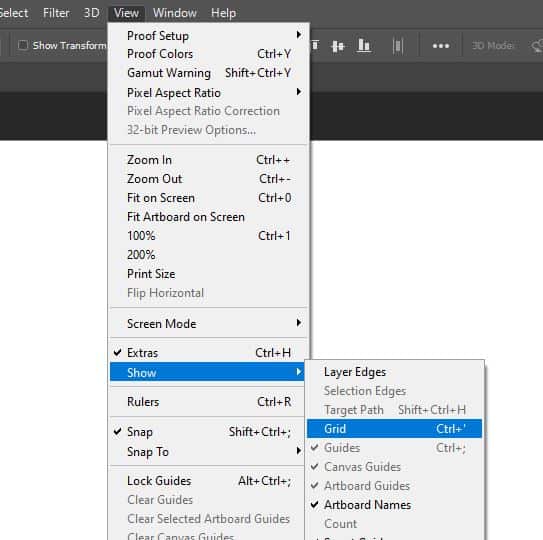
To make the grid show up, select View > Show > Grid.
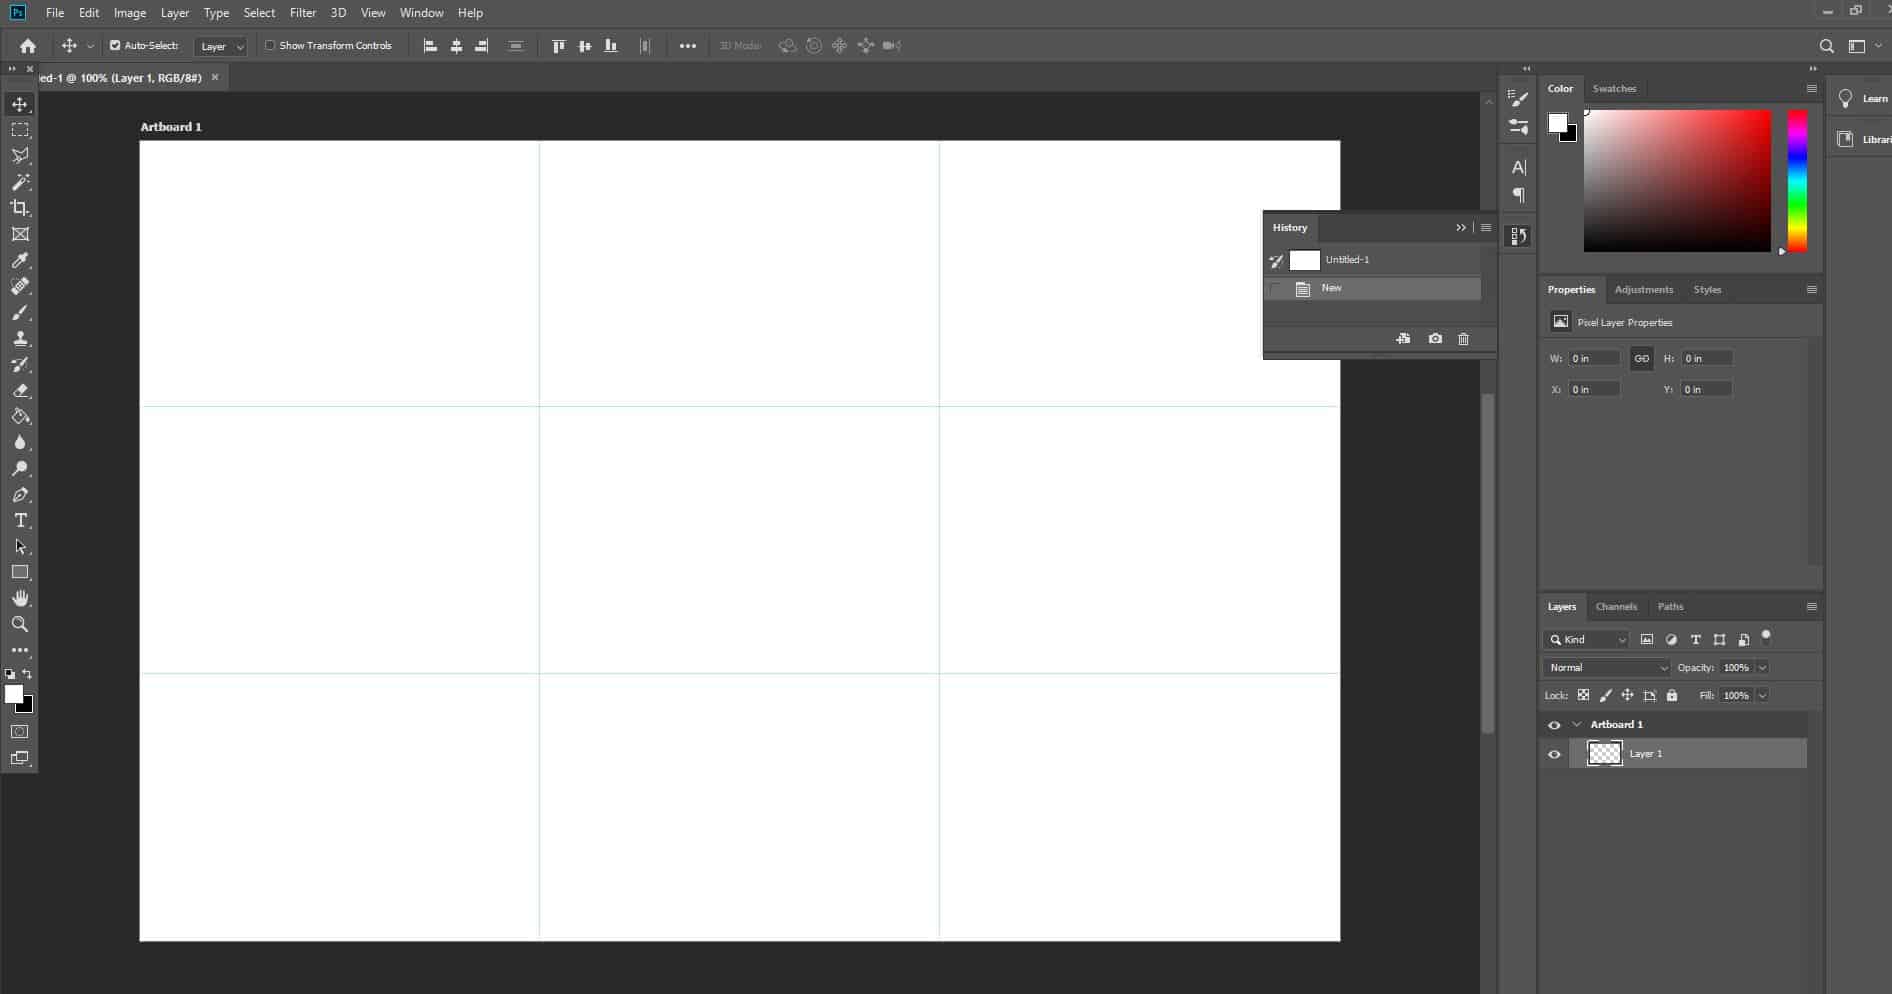
You should now have a grid that ‘divides’ your image into three rows and columns!
BONUS
Want to find out more about how to create a rule-of-thirds grid in Photoshop? Then check out this video by CiprianFOTO that demonstrates the same process.
Hey, I'm a Professional Retoucher making $10k a month thanks to Photoshop.Register to my newsletter to get freelancing tips and a FREE Brush Pack in Bonus! My Newsletter


