Here at Learn Photoshop, we understand how hard it can be to find decent tutorials. With so many to choose from, it can be tricky to know which ones are going to give you the best results or explain the process most accurately.
So, we’ve compiled a list of 50 of our favourite Photoshop editing tutorials to help speed up the process and make things easier for you.
If you want to practice these tutorials but you haven’t got any of your own images to use, then take a look at the sites that we suggested in our list of the top 25 high-quality free stock image resources.
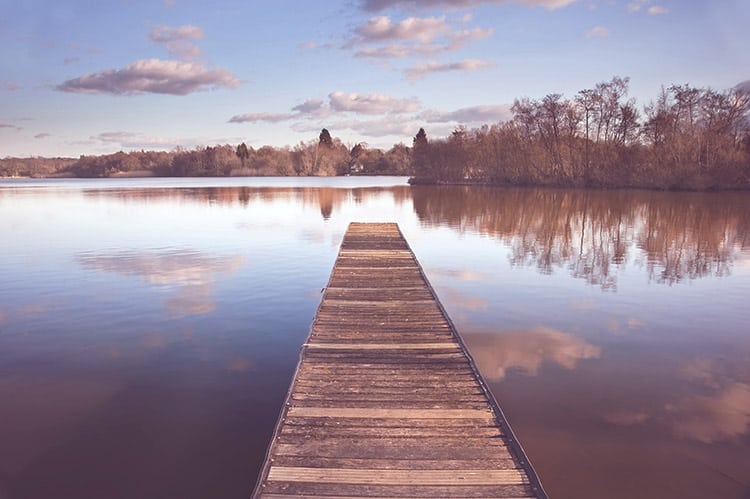
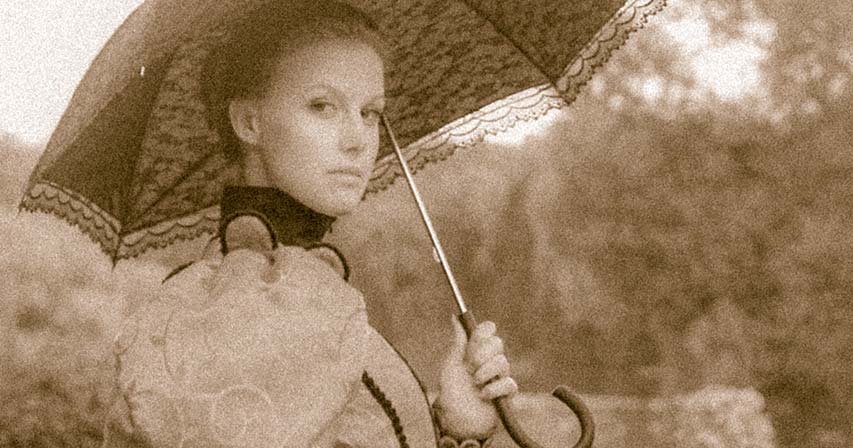
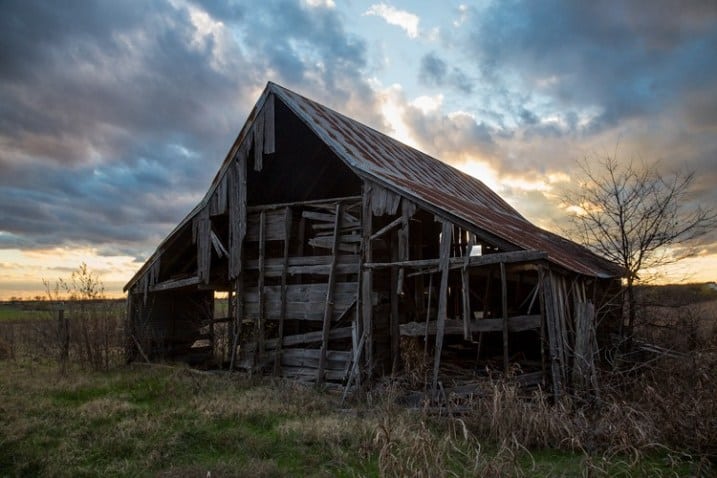
Suitable for beginners, this tutorial will teach you how you can easily give a ‘vintage feel’ to your images. You’ll also learn a lot about basic Photoshop adjustments, making it a really applicable and valuable tutorial.
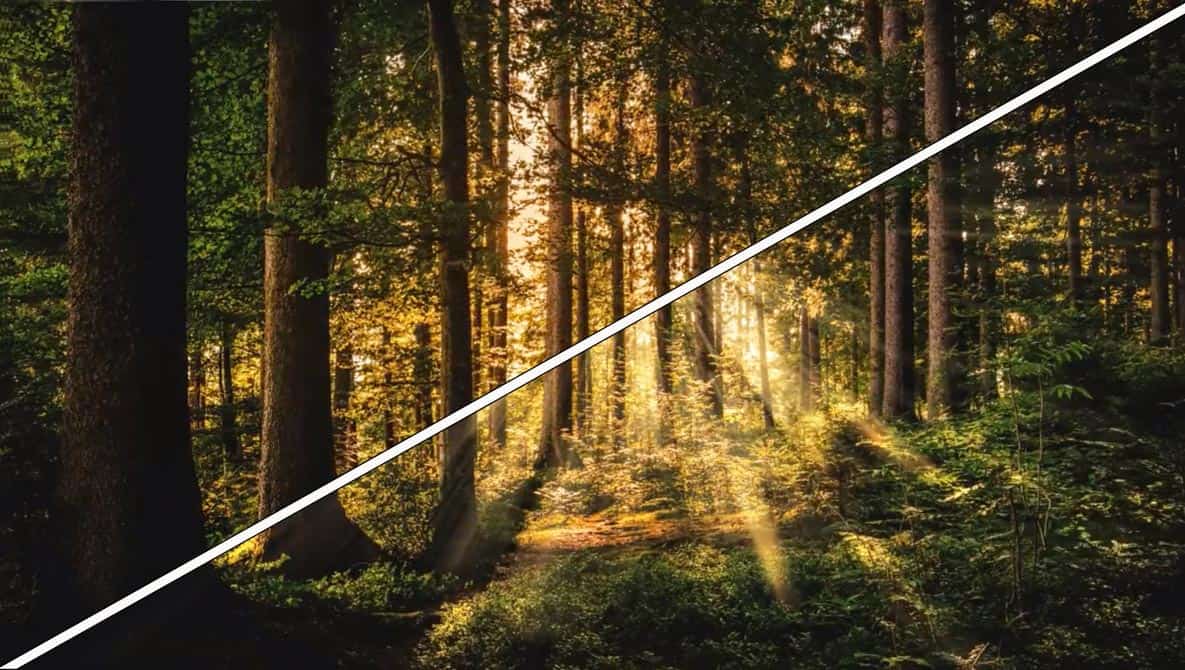
Editing in Camera Raw can be very beneficial, particularly if you are used to working in Lightroom to edit your images. Whilst this is default with RAW files, it can also be used with JPEG files, allowing you access to most of the sliders and settings that you could use with a RAW file. So, it’s a good idea to learn how to use Camera Raw filters as they can come in handy a lot.
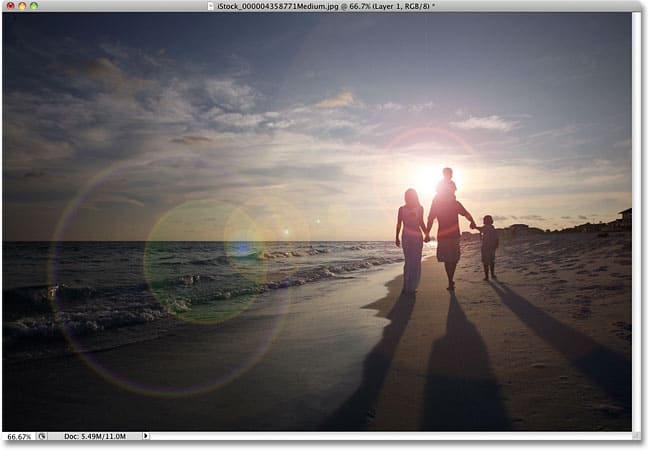
Lens flares are a great way to quickly add life to your photos and are popular amongst photographers and designers. This tutorial details a way in which you can add these to your images without making any permanent changes.
See our tutorial on how to add a lens flare effect in Photoshop.
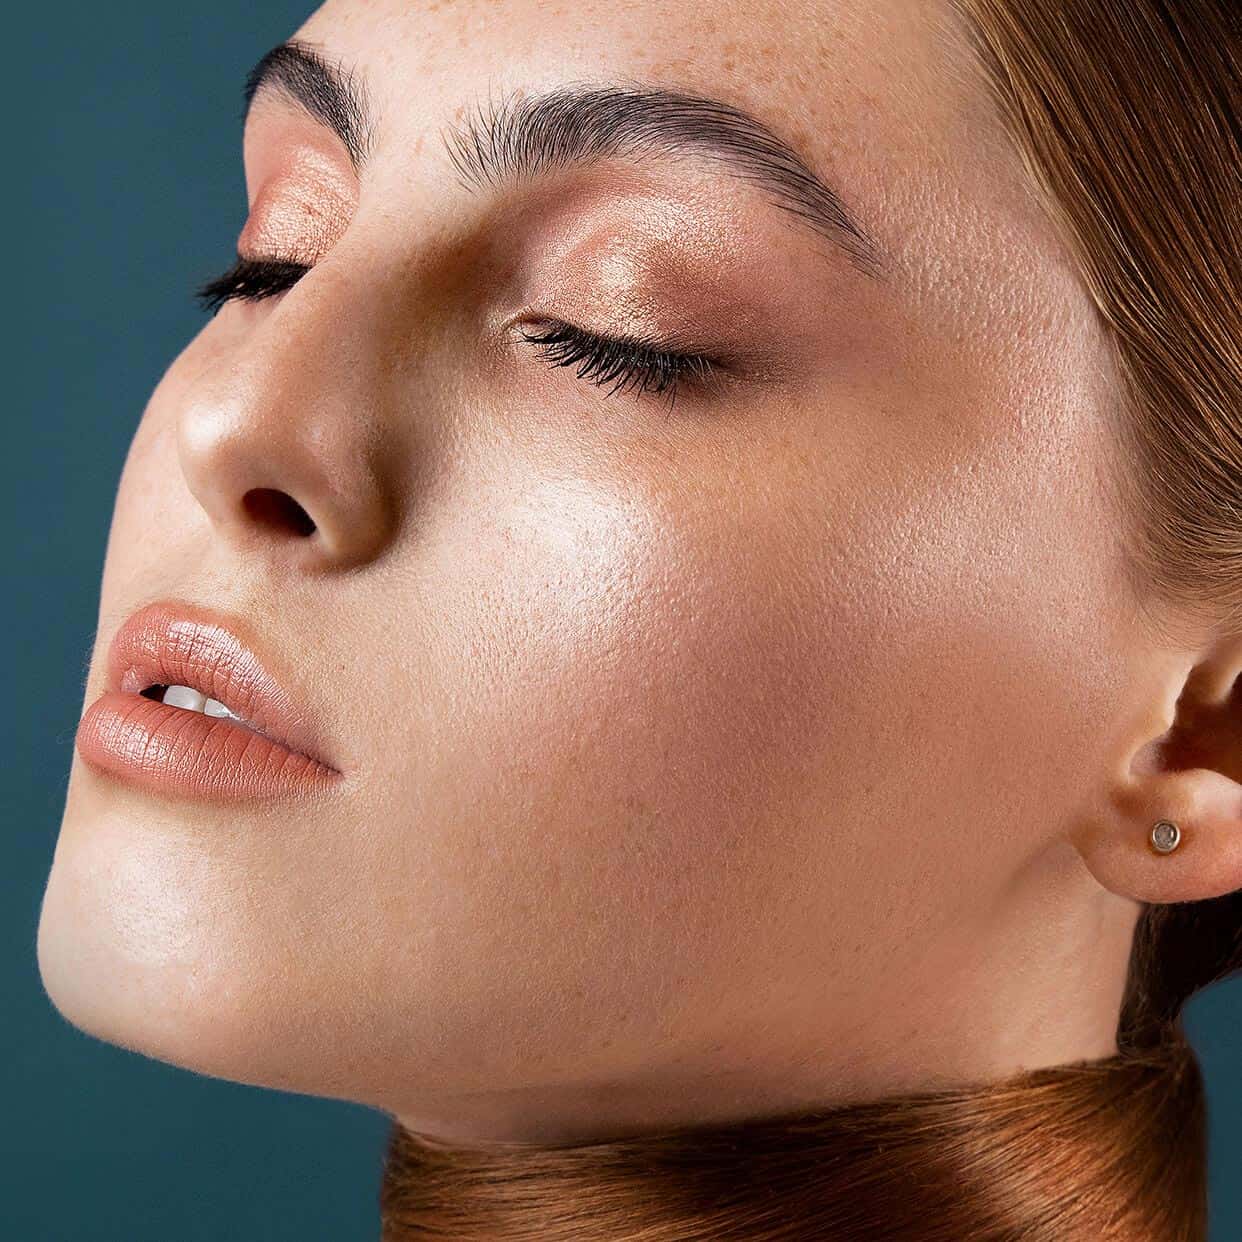
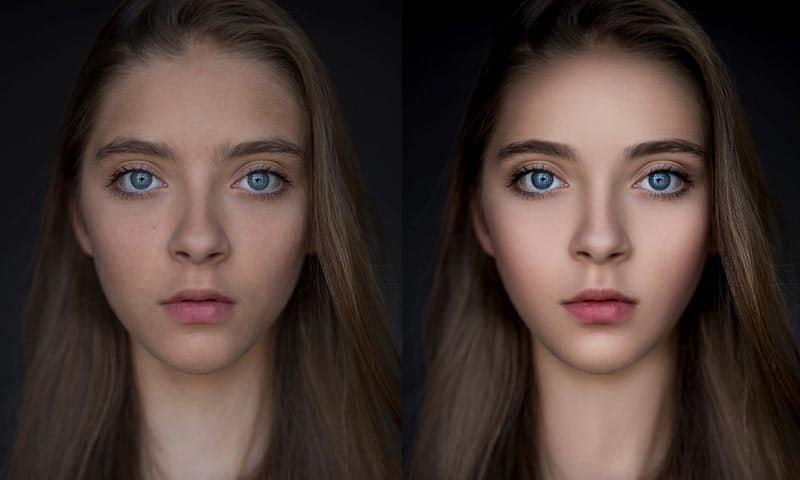
Frequency Separation is one of the most professional methods of portrait retouching in Photoshop, so this one may be more suitable for those with more experience. Once you get the hang of the technique though, you’ll really be able to take your portraits to the next level.
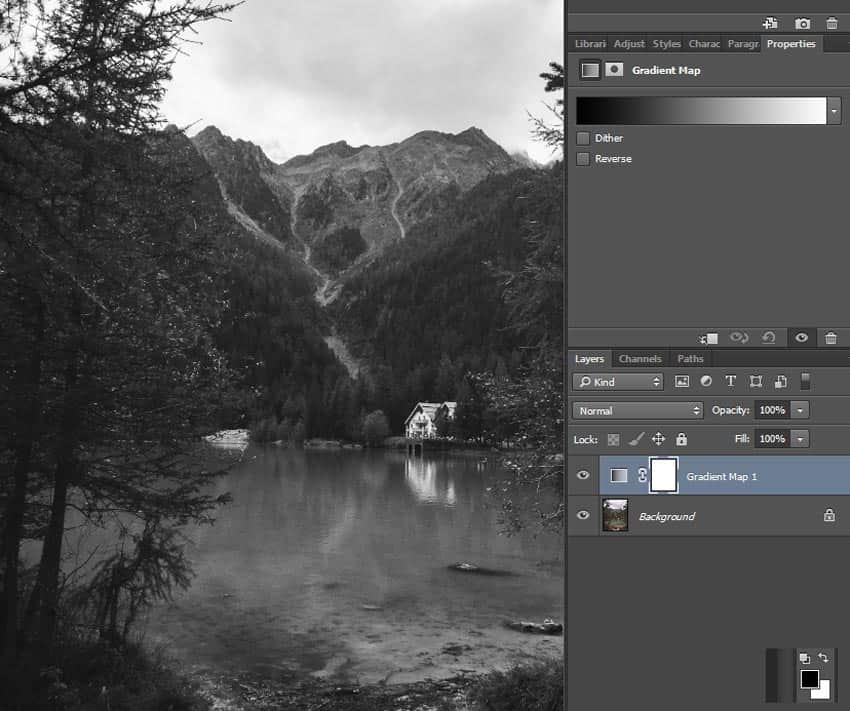
In this tutorial, you’ll learn seven different ways in which you can add a black and white effect to your images. They’re all good for quickly changing the atmosphere of a photo or creating continuity within a set of images.
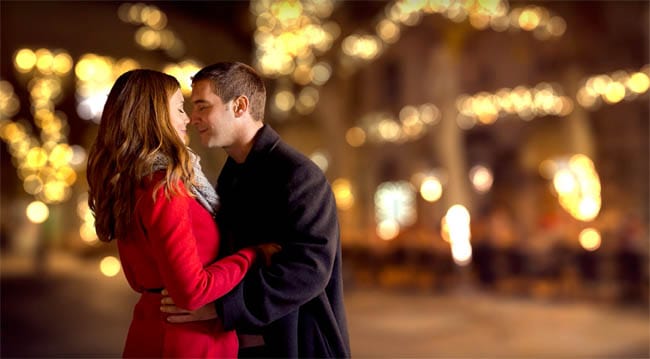
See how you can create a piece like the one above, using 50s-style text and visuals, by discovering some of the most important techniques used to do so.
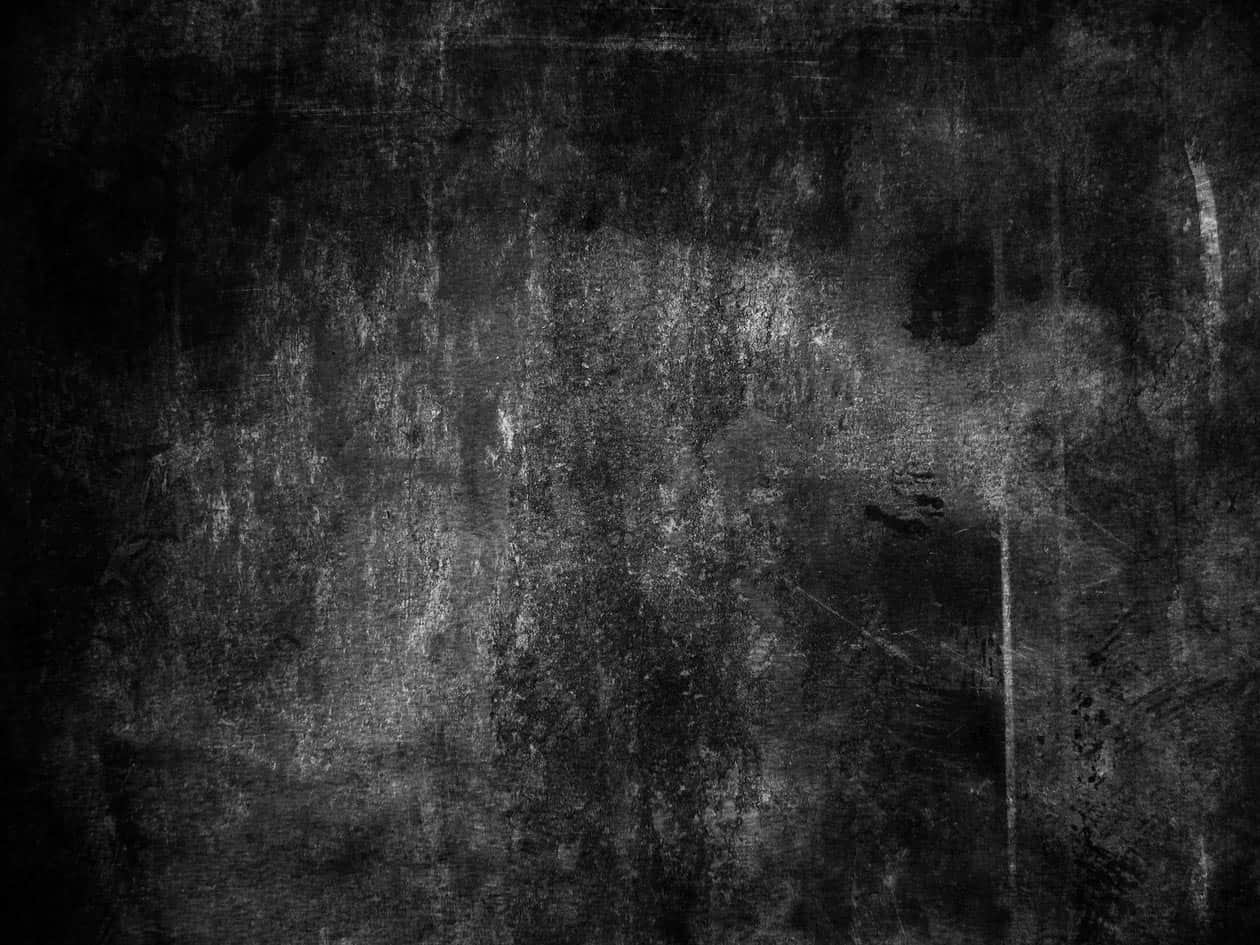
This tutorial explains a quick method that you can use to add any sort of texture to your photos. It’s really quick, definitely suitable for beginners, and helps teach you more about blending modes.
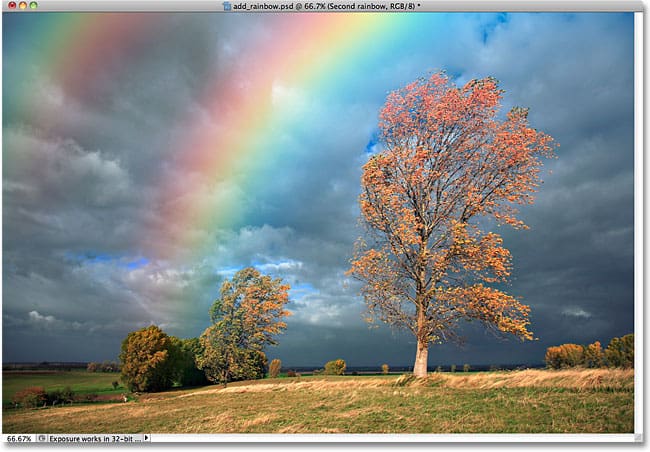
With this tutorial, you’ll never have to try and get the perfect shot of a rainbow again! You can easily add a convincing rainbow to your landscape photos with the simple process discussed in the article.
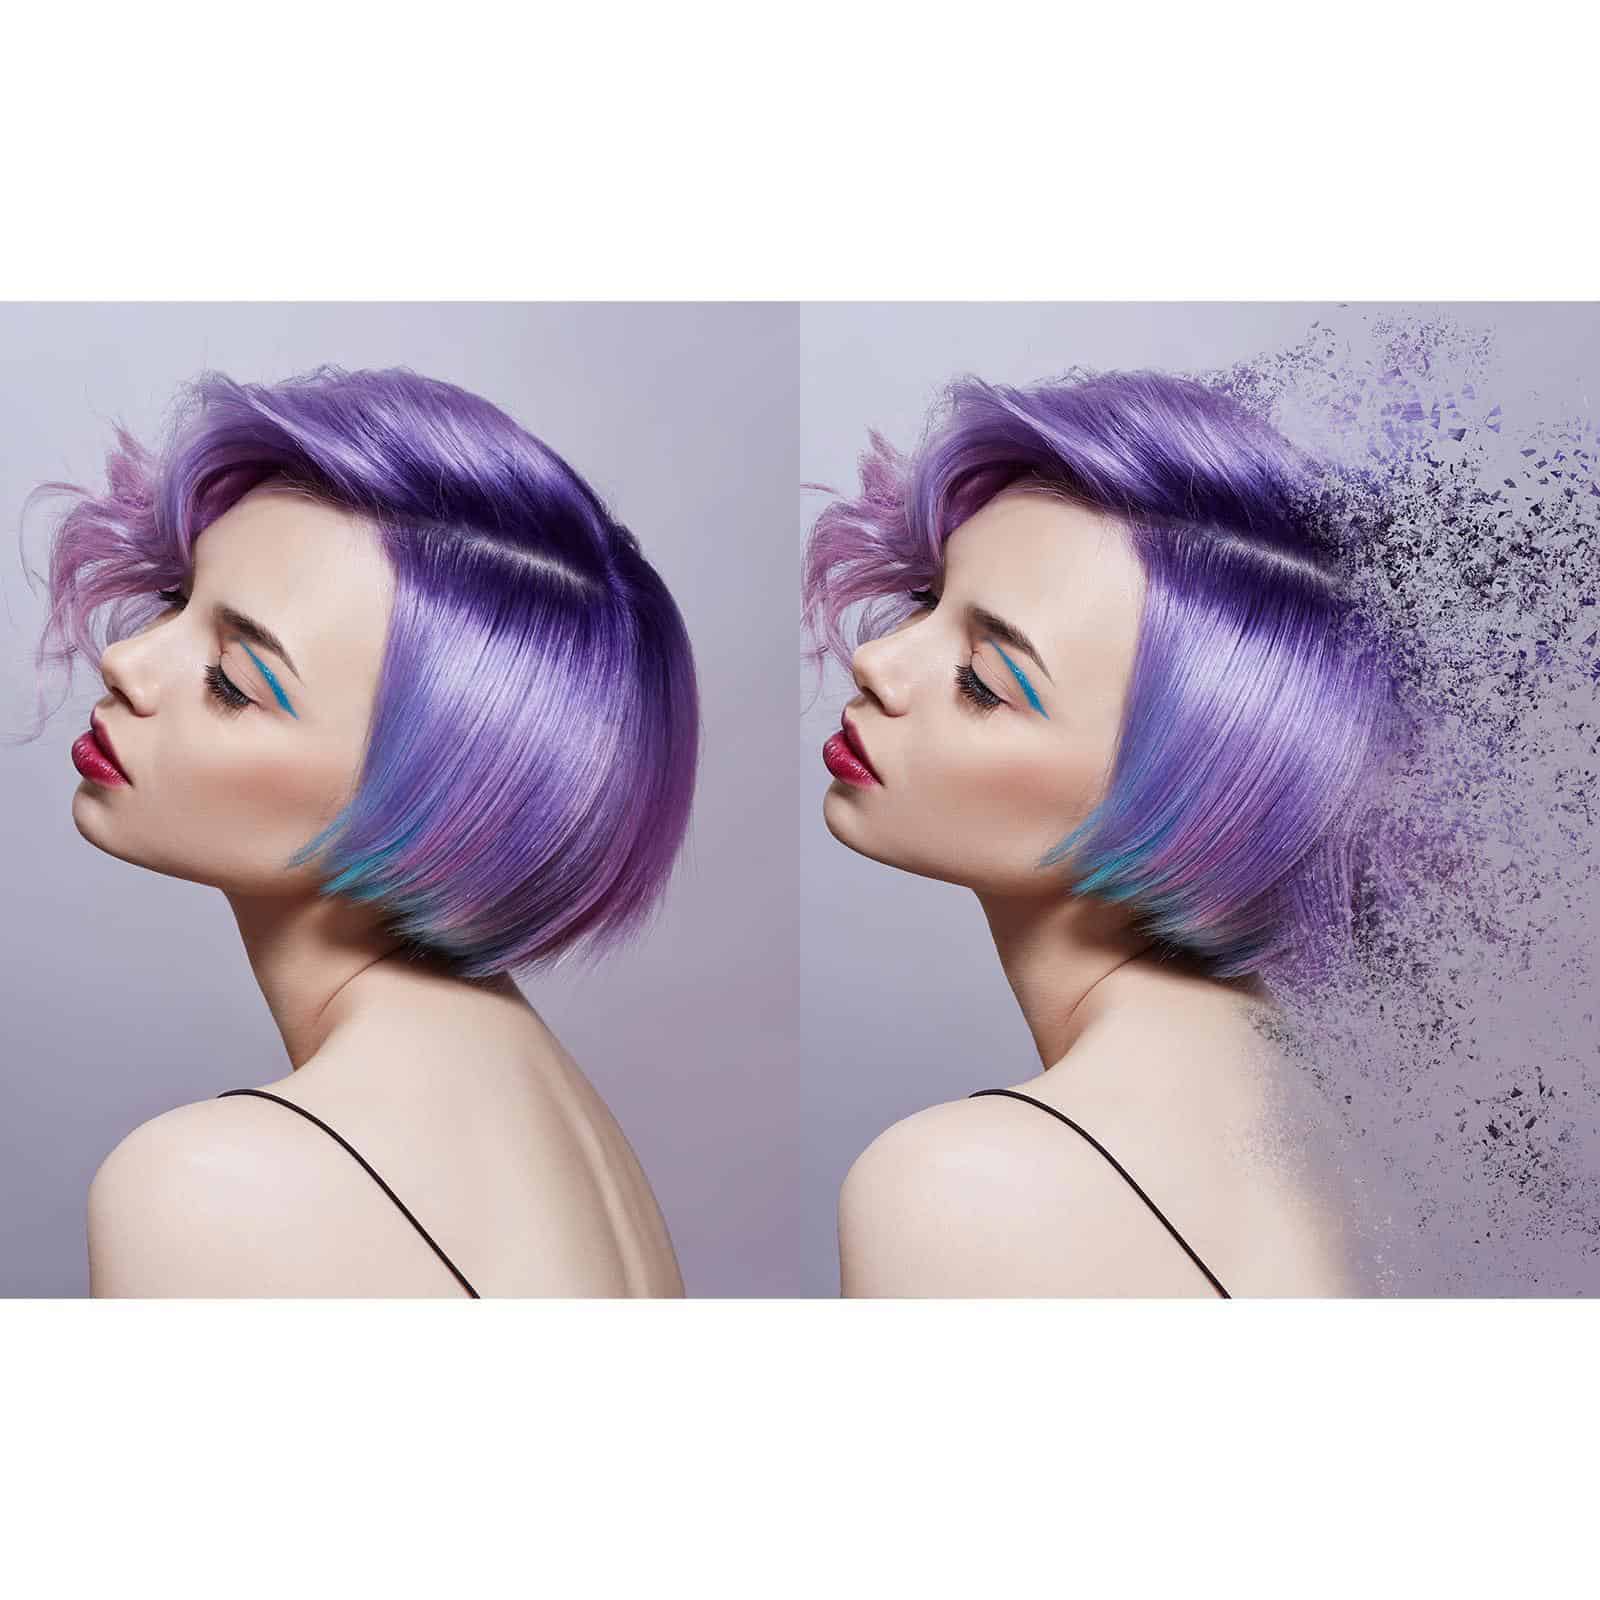
This tutorial will teach you how to create the popular dispersion effect! It may look tricky, but it’s not actually too difficult and will help you learn so much about many of the tools in Photoshop. (Note that for this tutorial you will need to download your own brushes from the internet. Check out our tutorial on how to download and use brushes in Photoshop to find out how you can do this.)
See our tutorial on how to create a dispersion effect in Photoshop here.
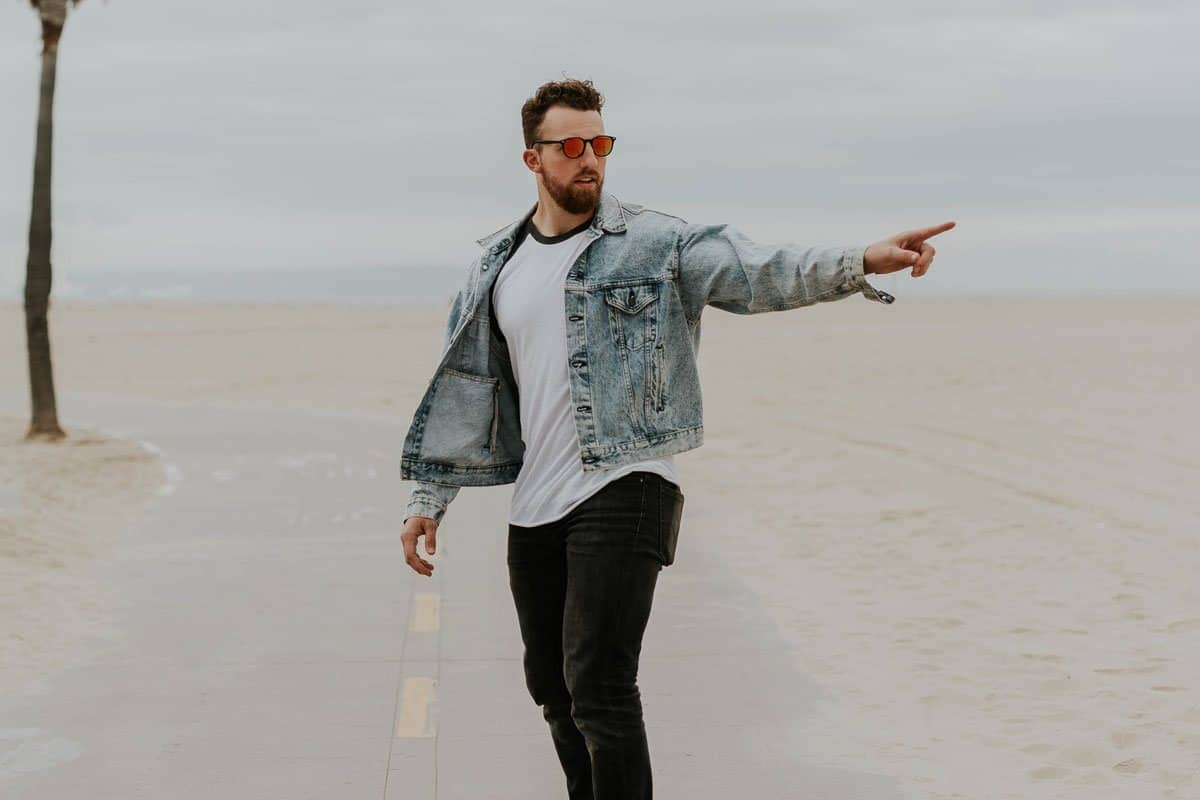
One of the most irritating things for a photographer is when you must decide between an image with a tilted horizon and bad composition, or a rotated image that forces you to lose the edges of your original photo. Luckily, this tutorial teaches you how to get the best of both worlds.
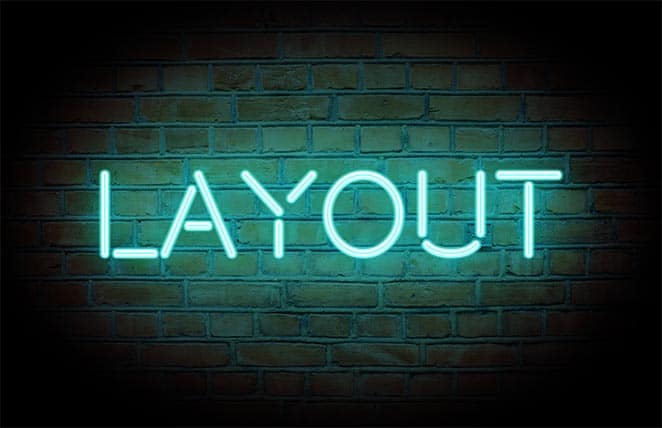
Neon text is definitely a huge design trend, and it couldn’t be easier to create. This tutorial will show you a quick method to use to take your typography to a whole new level.
(You may wish to download your own font for this effect, as the default selection on Photoshop can be limiting. If so, check out our tutorial on how to download fonts and add them to Photoshop.)
Taking it back to the basics, this tutorial is all you need to develop an understanding about adjustment layers in Photoshop, allowing you to make basic, non-destructive adjustments to your photos.
This tutorial will teach you how you can use Photoshop brushes to their full effect to produce an incredibly creative piece that combines photography and digital painting!
(Note that for this tutorial you will need to download your own brushes from the internet. Check out our tutorial on how to download and use brushes in Photoshop to find out how you can do this.)
Photoshop’s Pen Tool is infamous amongst designers for being notoriously hard and frustrating to use. But tackle your fears by reading this tutorial and learning how you can use it, with quick tips and tricks along the way.
Have you ever taken a brilliant photo, but the sky is just ruining it? Then this tutorial on how to replace the sky in Photoshop is perfect for you, and should yield convincing, realistic results.
Click here to see our tutorial on how to replace a sky using Photoshop.
Whether you want to add life to an old photograph, or simply experiment and improve your understanding of color, this tutorial is extremely useful and will teach you how to colorize a black and white photo, with a focus on portraits.
Whether you want to add life to an old photograph, or simply experiment and improve your understanding of color, this tutorial is extremely useful and will teach you how to colorize a black and white photo, with a focus on portraits.
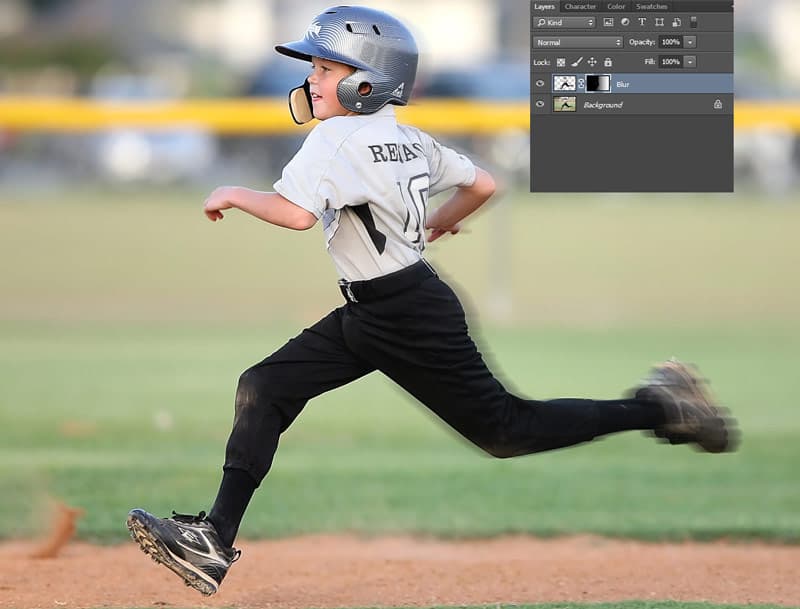
This tutorial shows the process of adding a motion blur effect to images in Photoshop, giving two examples. It’s quick, easy and suitable for beginners.
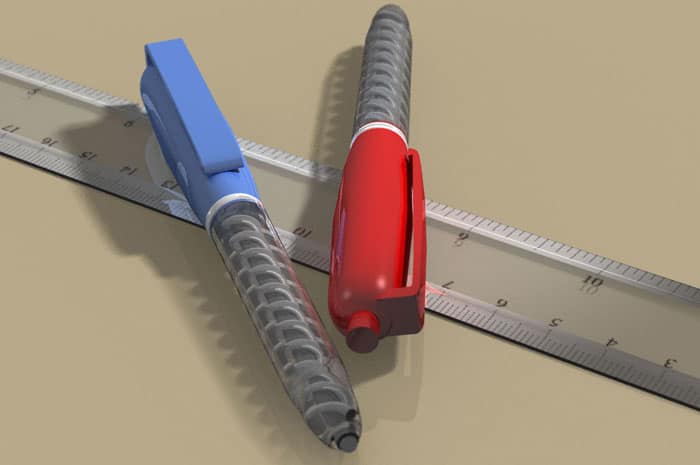
This is definitely one of the most impressive tutorials in the list. With its detailed, extensive explanations, it’s sure to help you in understanding Photoshop’s 3D Workspace. It can be difficult to get the hang of at first, but I’ve personally used 3D Workspace a lot and have loved the results. So, check this one out if you fancy a challenge!
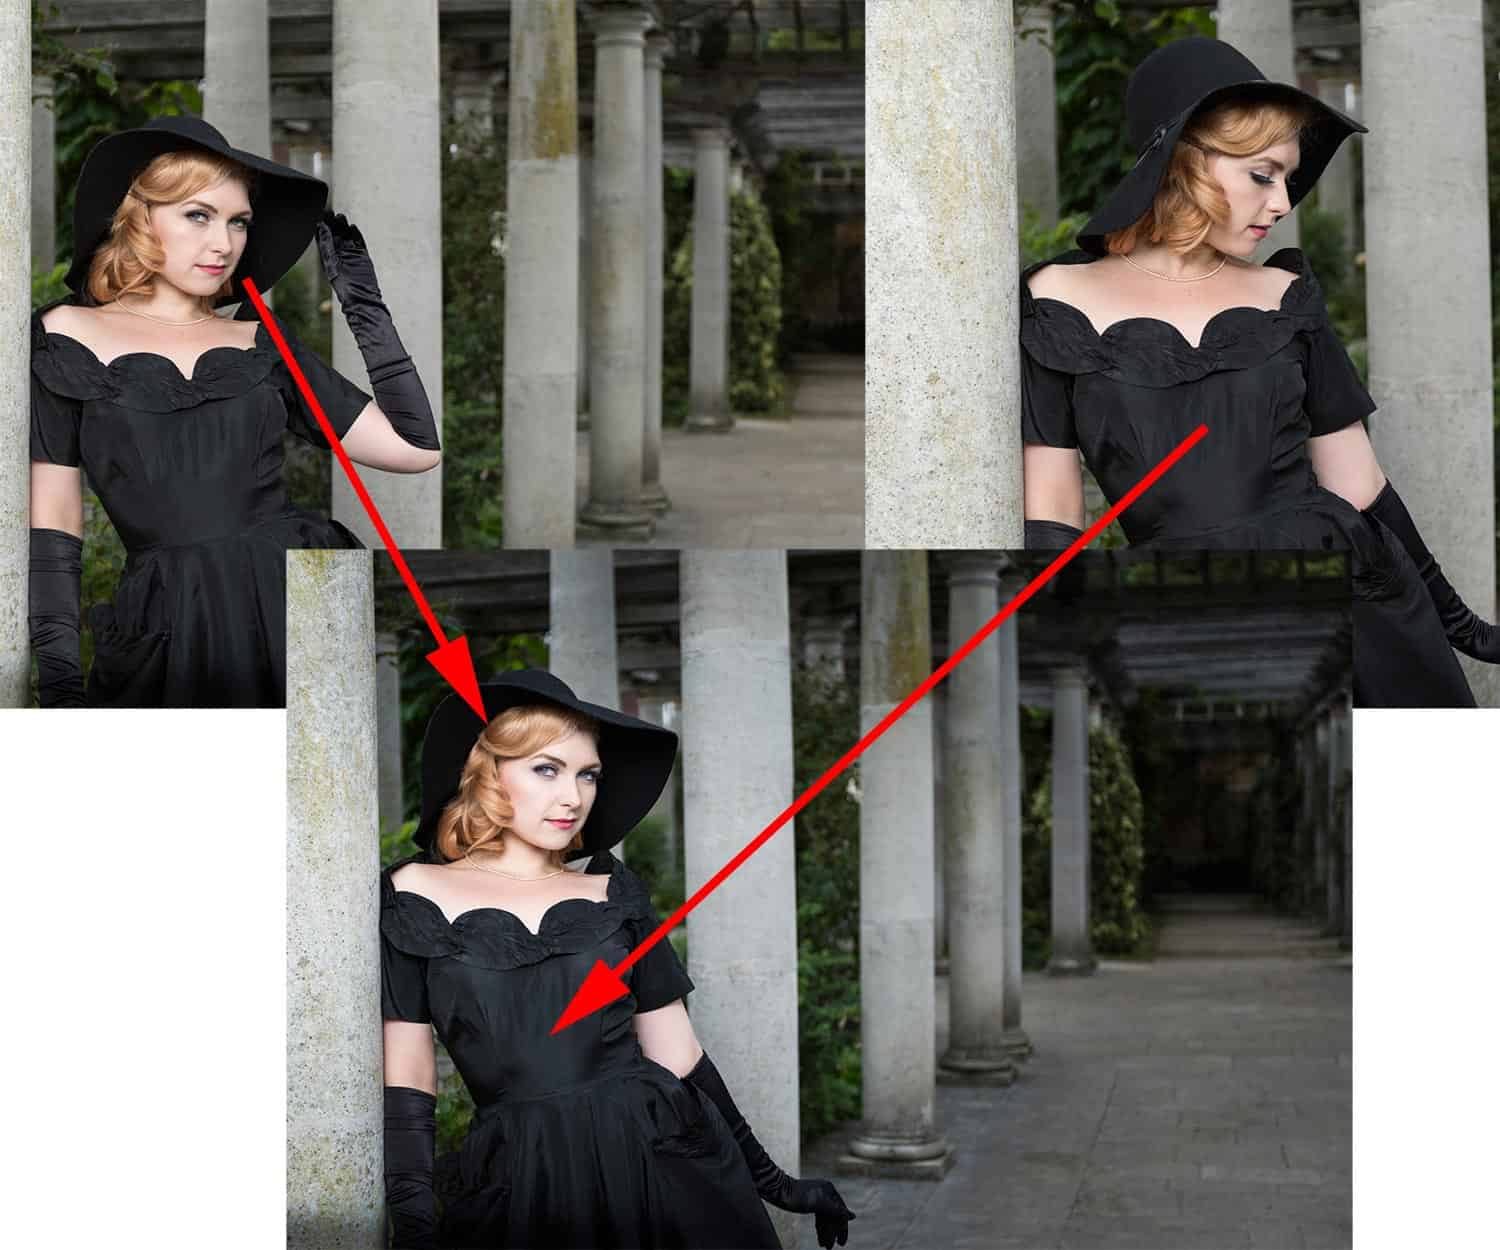
This tutorial is useful for portrait photographers and can solve that all-too-common problem of having one shot with the perfect facial expression, and another with the perfect body positioning and composition.
In this tutorial, Fabio Sasso walks you through how to add frost to anything in Photoshop, giving your designs a wintry feel.
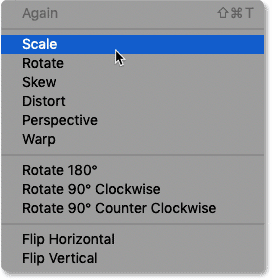
More aimed towards beginners, but suitable for designers of any level, this tutorial goes through the ins and outs of Photoshop’s useful Free Transform option, which is an absolute staple in the production of any design.
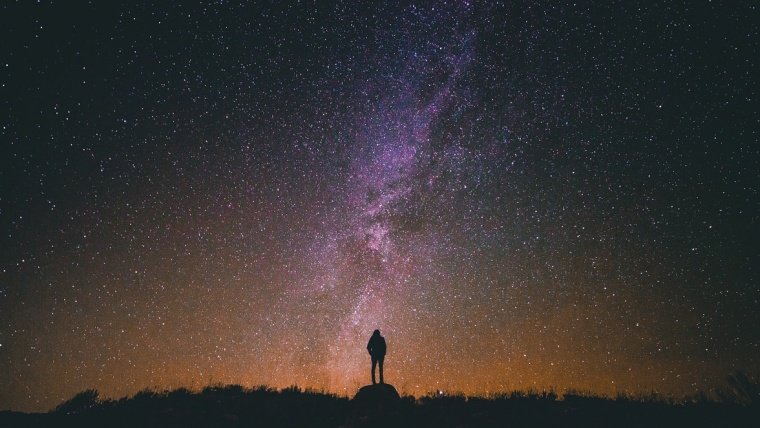
This tutorial will guide you through how to create a beautiful starry night scene using Photoshop, by first creating a custom brush, and then using elements such as Angle Jitter and Gaussian Blur to add convincing stars.
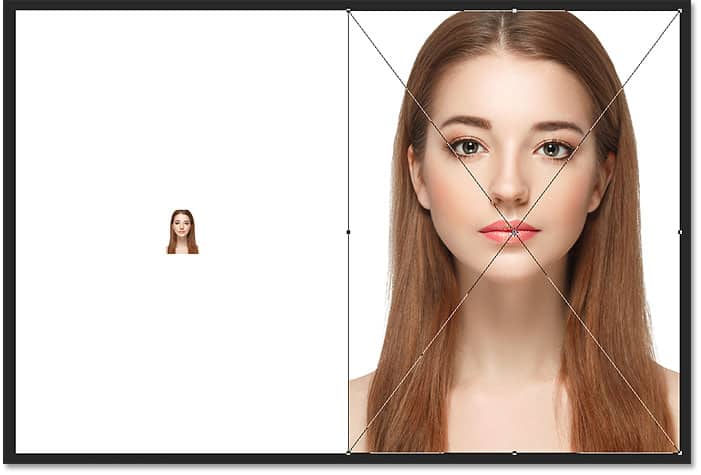
One of the biggest pains for a designer is quality loss when enlarging or upsizing an image. But this doesn’t have to be a problem anymore, as this tutorial discusses ways in which you can combat the issue using Smart Objects.
Layer masks are a fundamental aspect of Photoshop, and they are often described as what makes the program unique. Therefore, this guide is inexplicably valuable to beginners or those who are unfamiliar with the workings of layer masks.
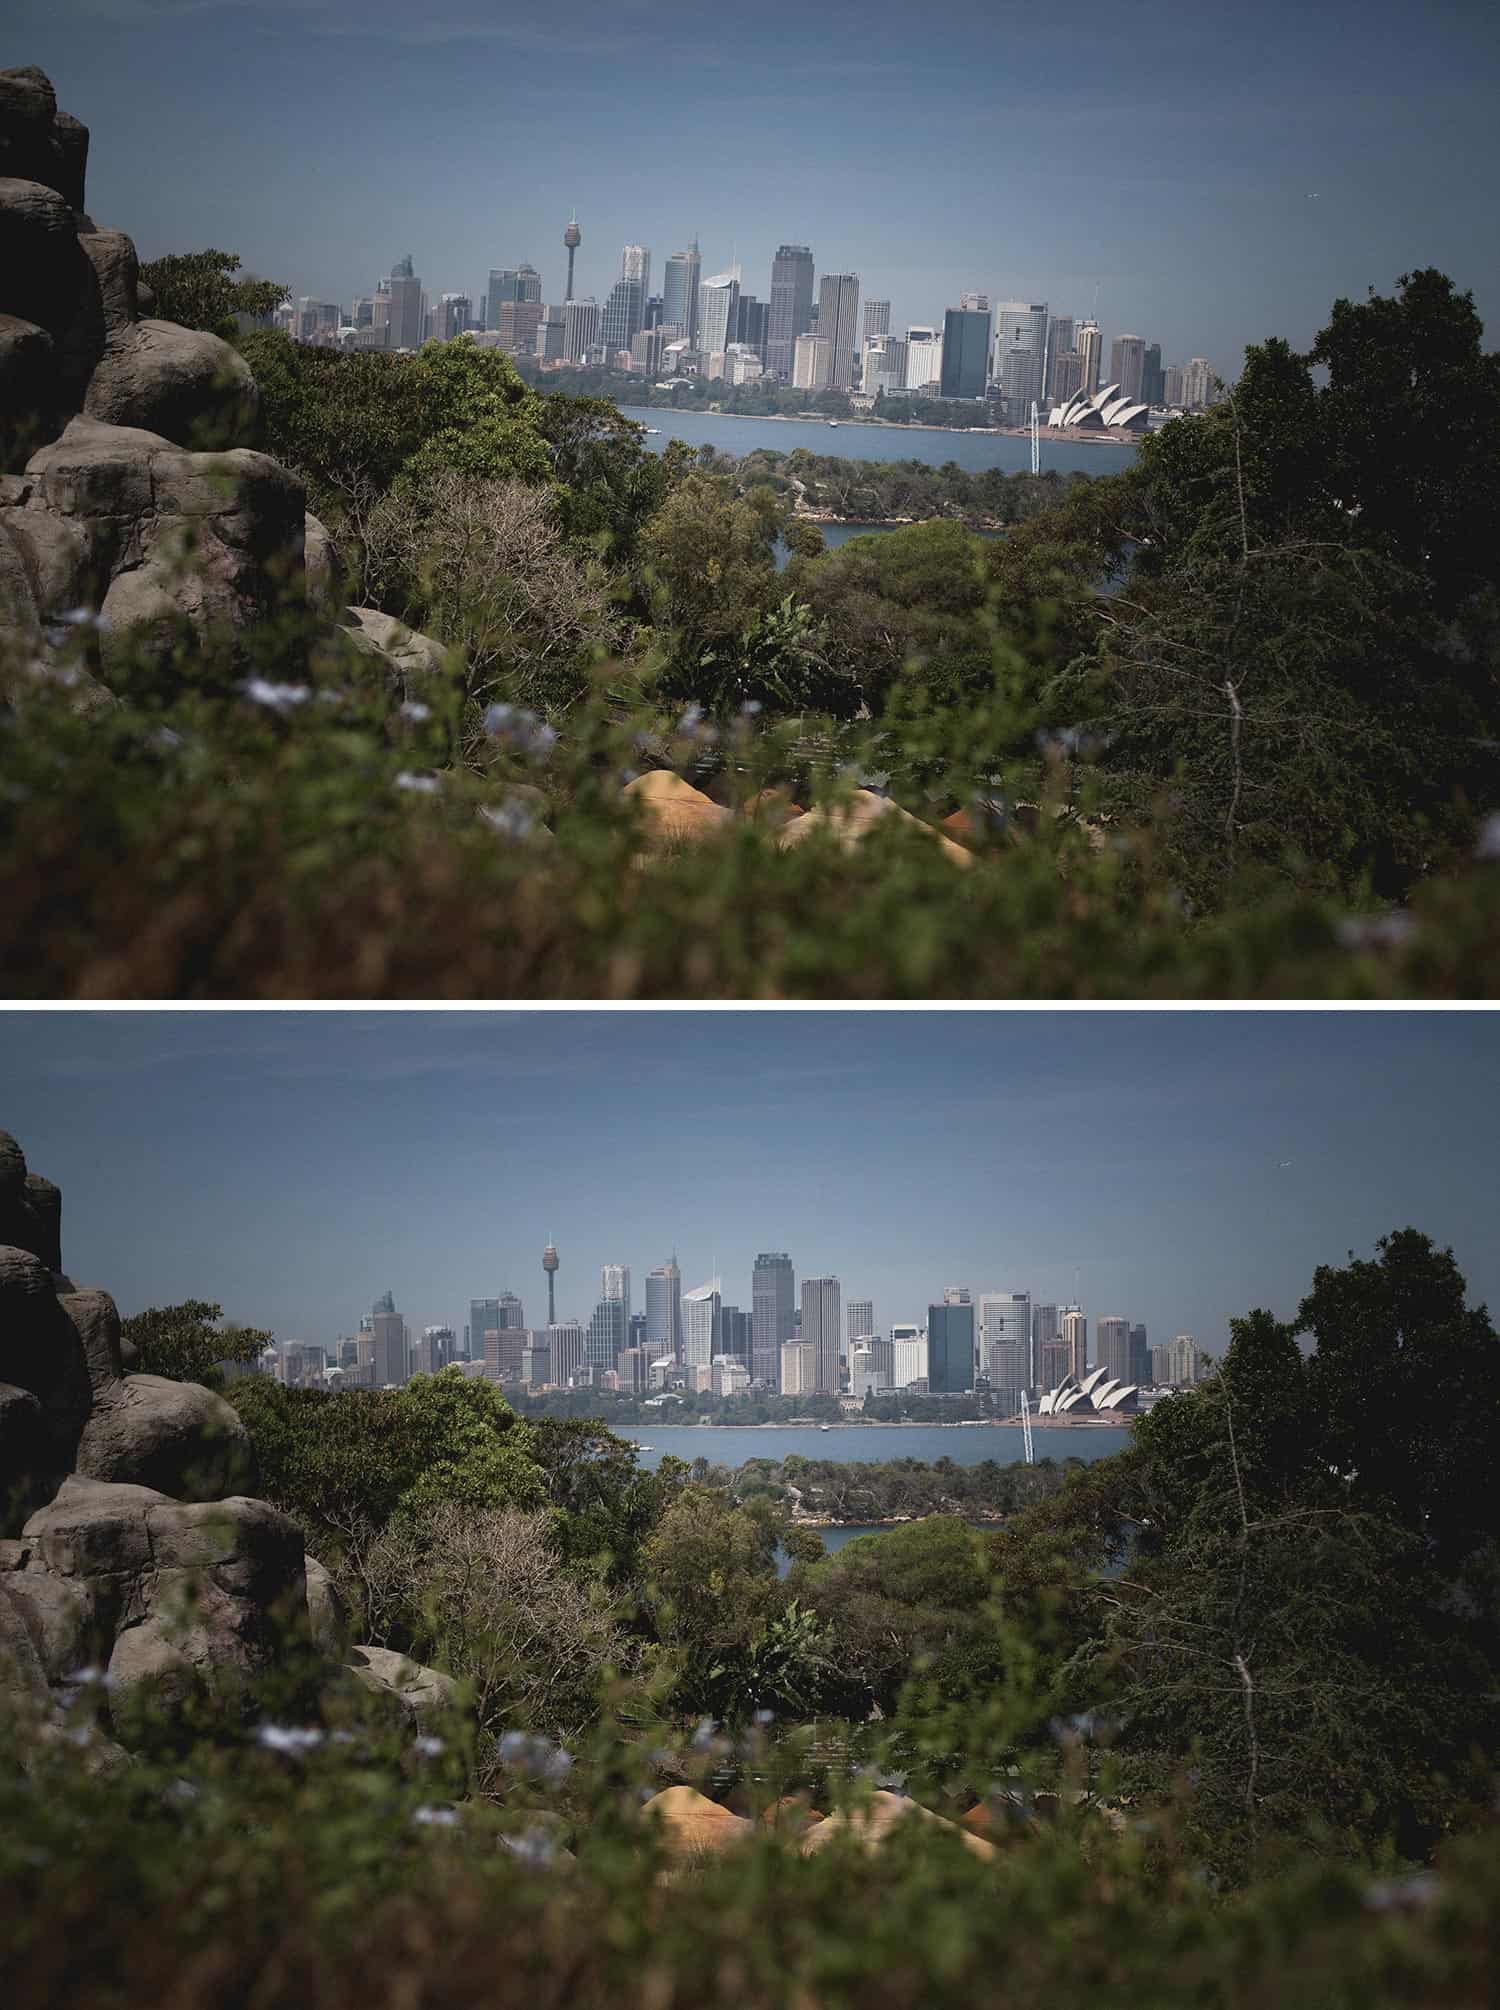
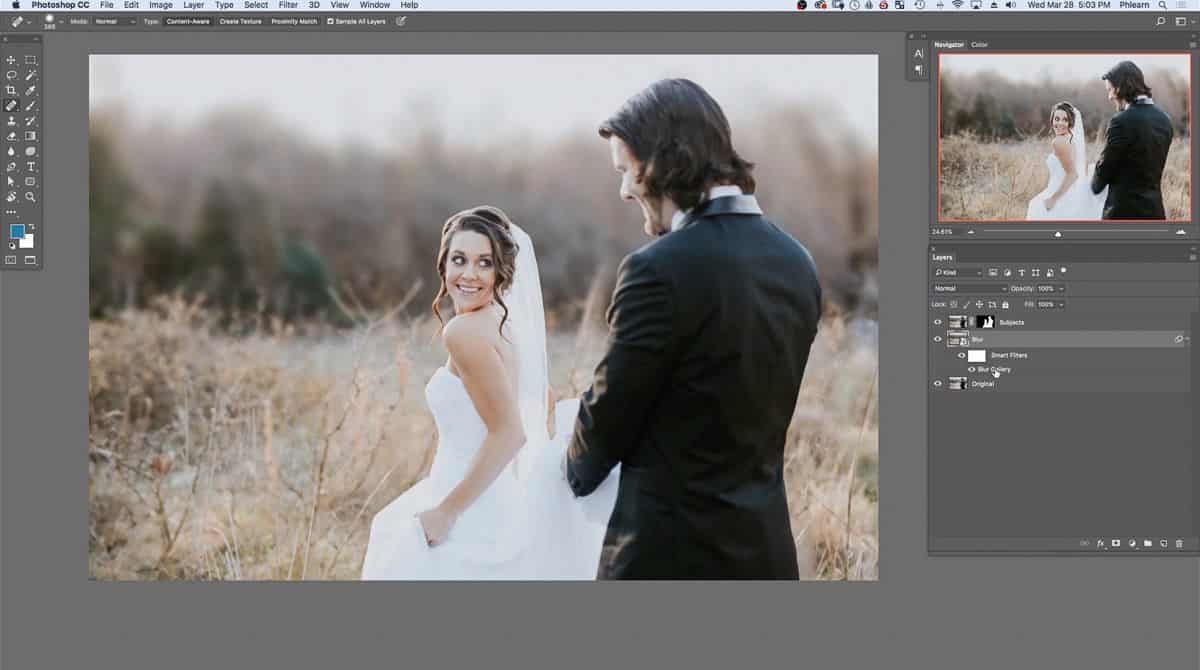
Of course, the best way to create a background that is out of focus is to alter the aperture settings on your camera. But when this isn’t possible, or if you have already taken the photo, this tutorial will show you how to salvage the image and add in the depth of field effect.
The dodge and burn tools are useful when it comes to portrait retouching, so master them with this tutorial and you’ll be all set up to edit and enhance your portraits.
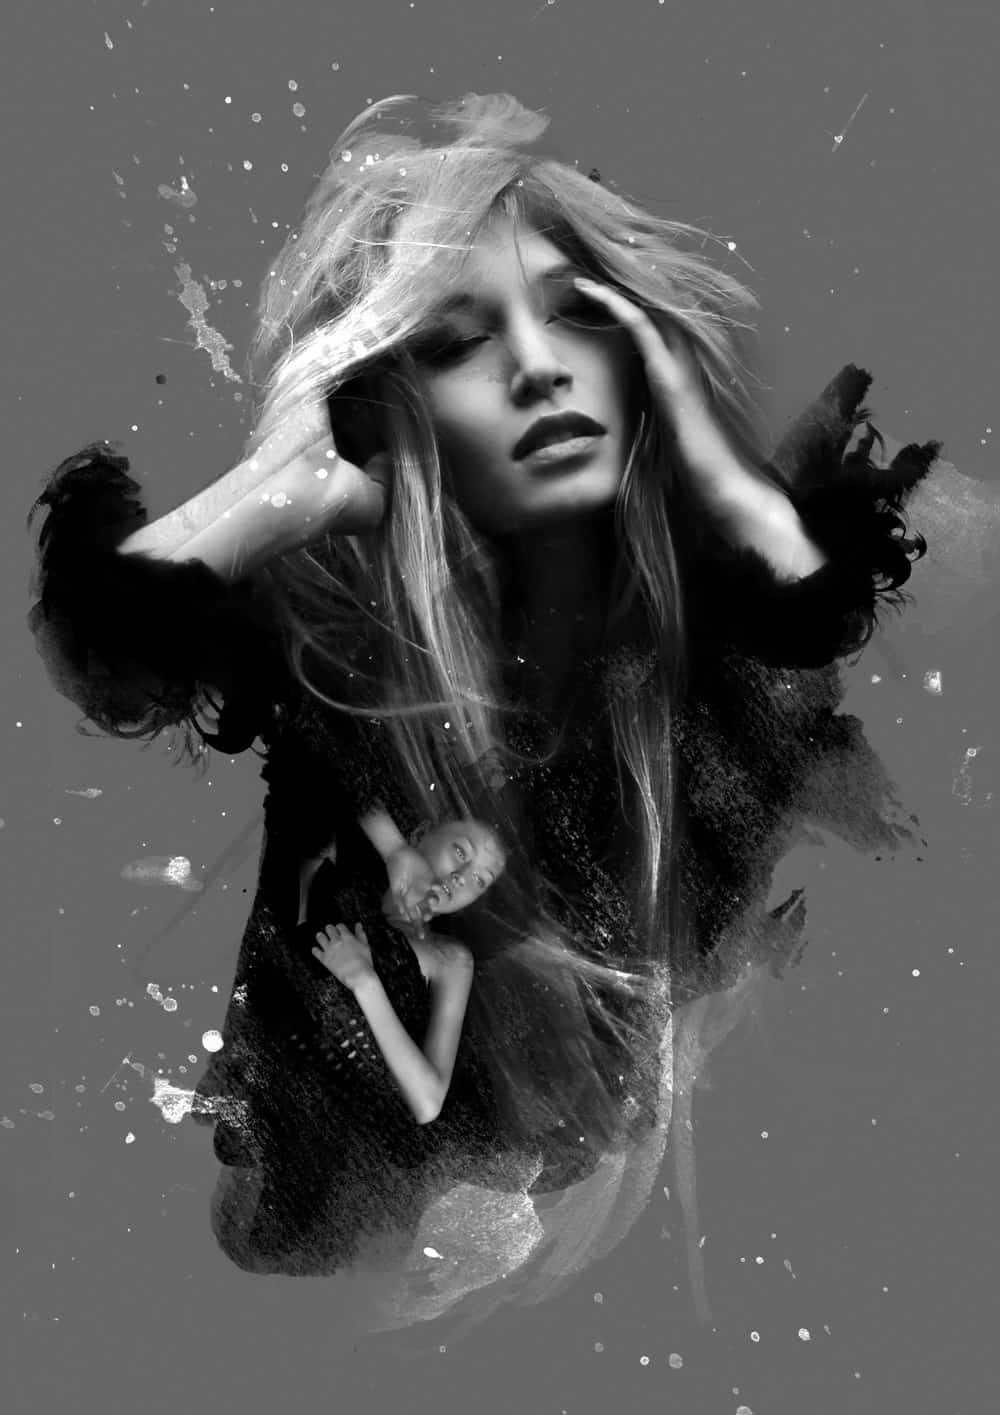
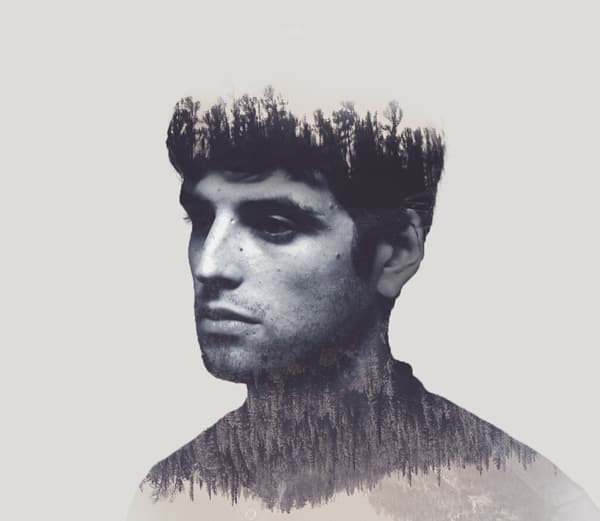
Double exposure edits are an effective and visually appealing way of combining two images. By using a process that is reliant upon layer masks, you can create your own version of a double exposure.
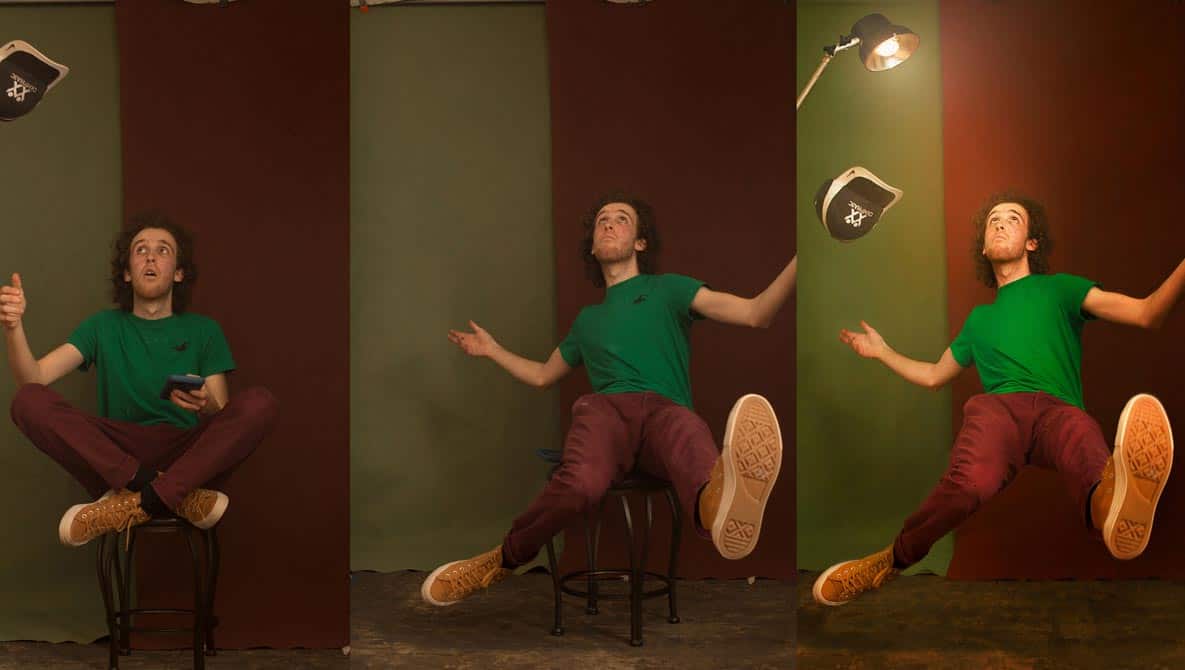
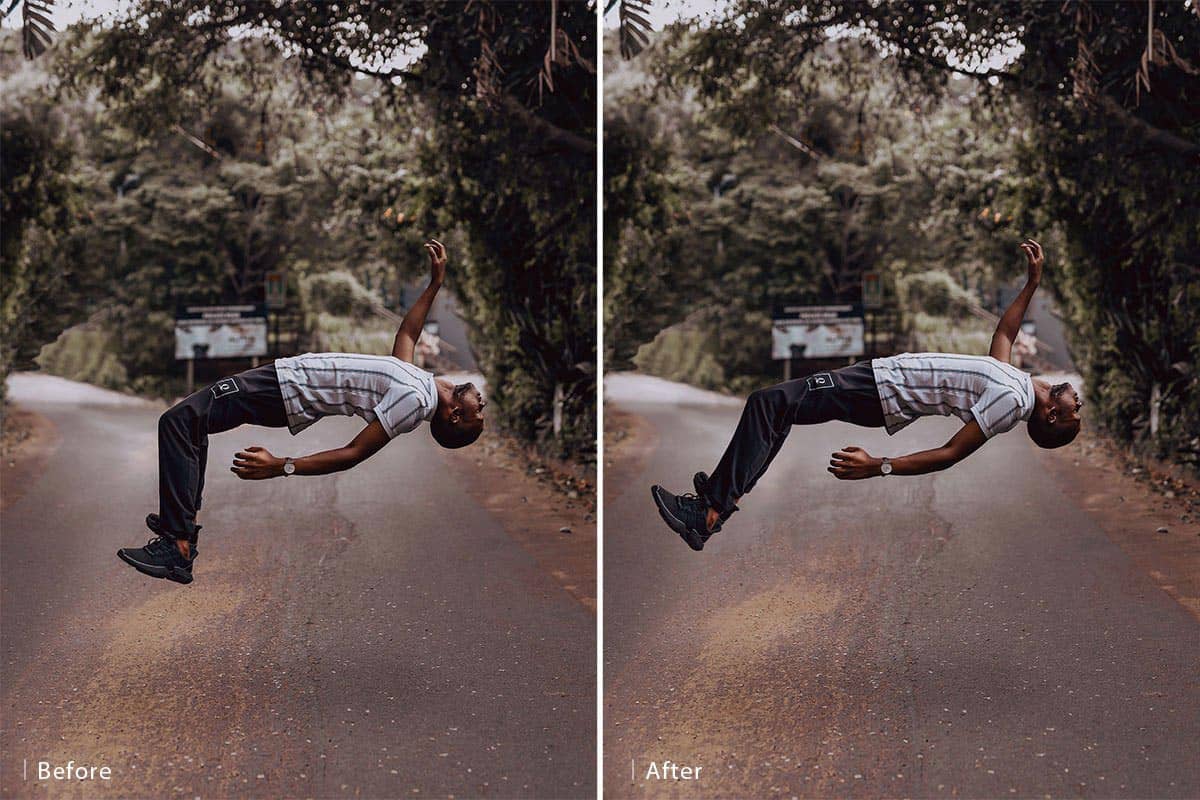
By just taking a few photographs and quickly editing them in Photoshop, you can create an awesome levitation effect and leave your friends wondering how you did it! Magic? Or just Photoshop?
See more details on how to create this effect in our list of ten video tutorials to help you learn Photoshop.
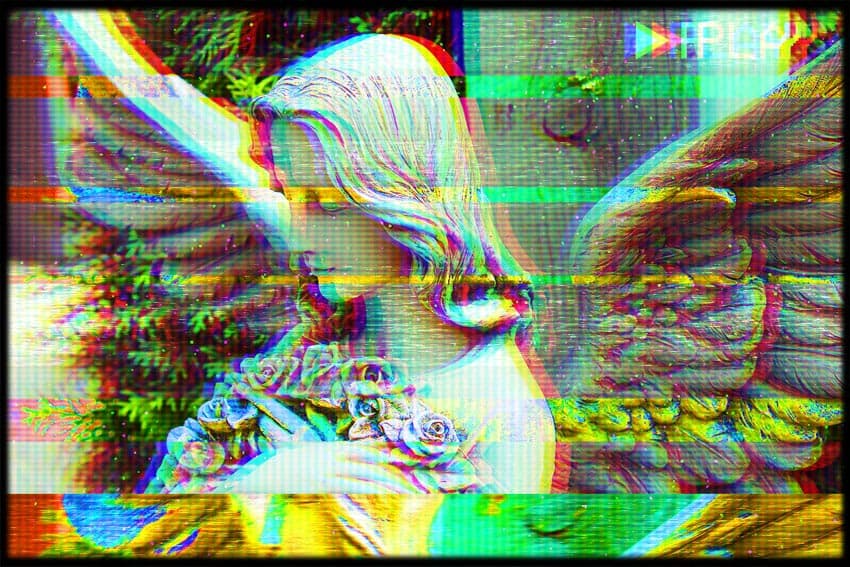
Glitch effects are slowly becoming a major design trend, and in recent years, designers have turned to Photoshop to help them create the effect. You can do the same, with this tutorial on how to create VHS glitch art in Photoshop. It may be lengthy and more difficult, but it is so worth it to create such a great outcome.
See our tutorial on how to add a glitch effect to text here.
There are so many reflection tutorials out there but what makes this one so great is its efficiency- you can do the whole process in under 10 minutes, and still get a convincing outcome. Creating a realistic reflection should be in the skillset of any photographer or designer.
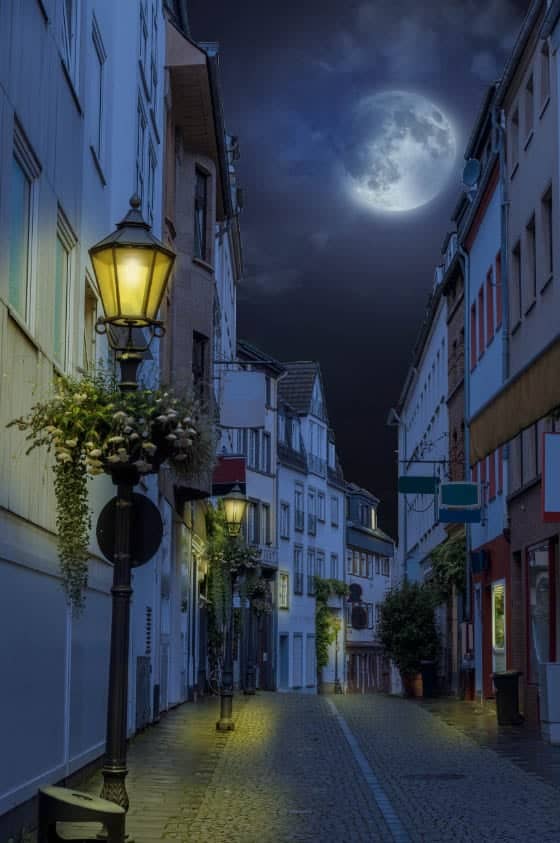
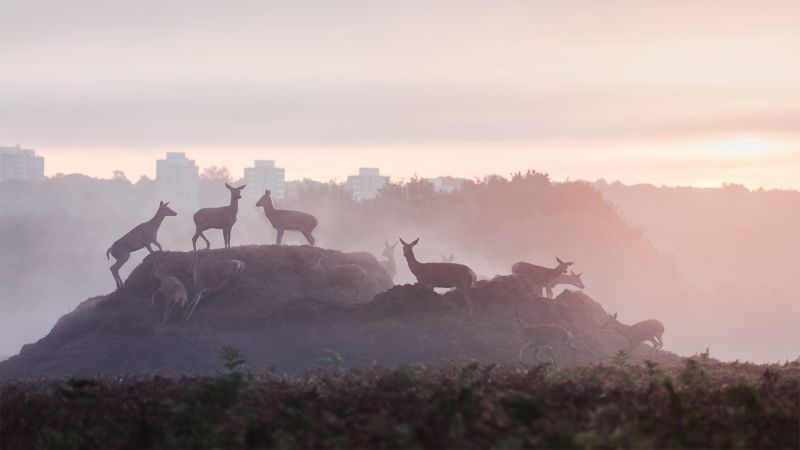
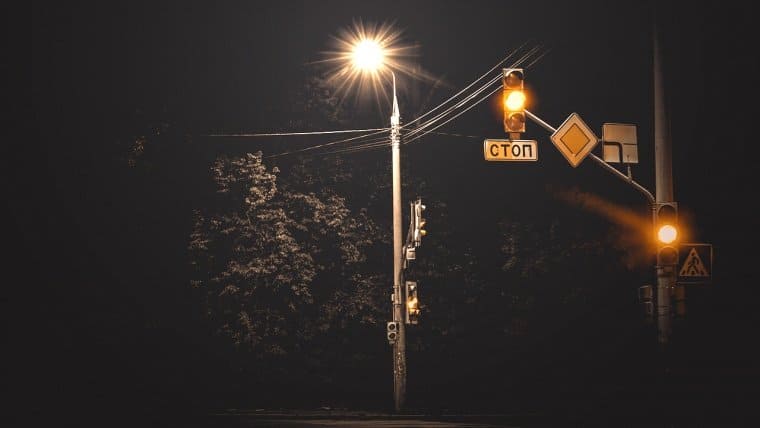
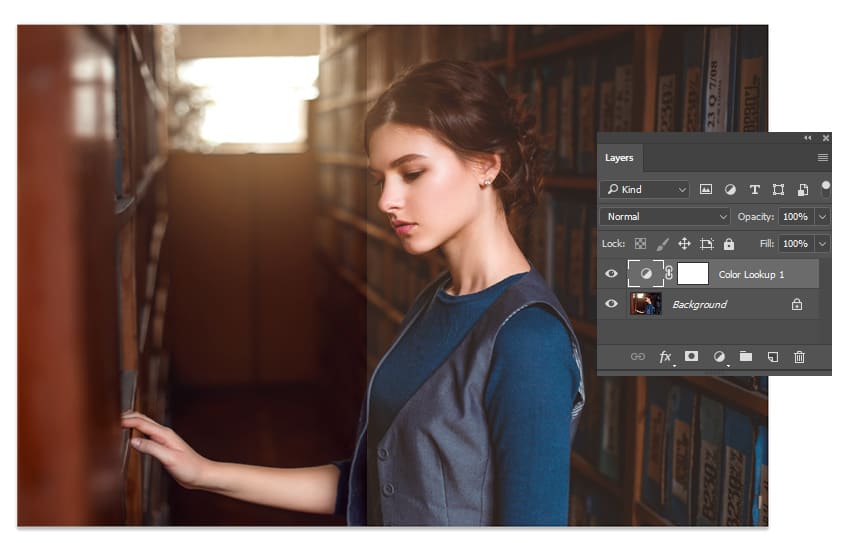
This tutorial explains a quick way in which you can edit a photo taken during the daytime to make it appear as though it was taken at night, using sky replacement and a LUT.
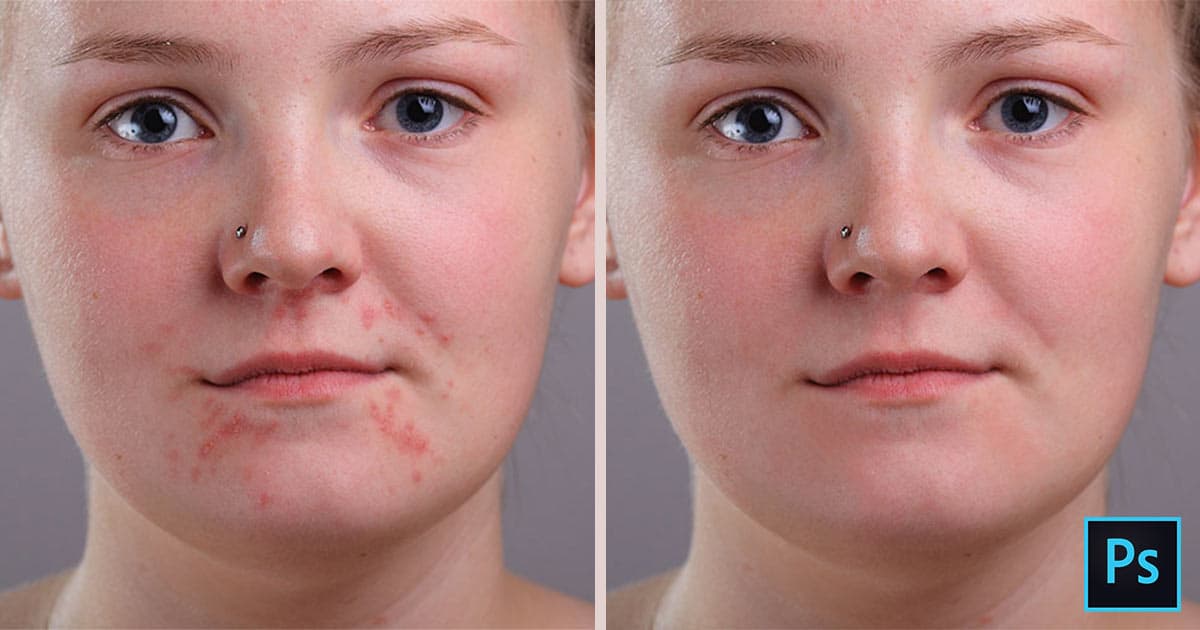
The spot healing brush is one of the most popular tools amongst beginners when it comes to skin-retouching, due to it being quick and easy to use. This tutorial shows how you can use it effectively to create realistic outcomes almost instantly.
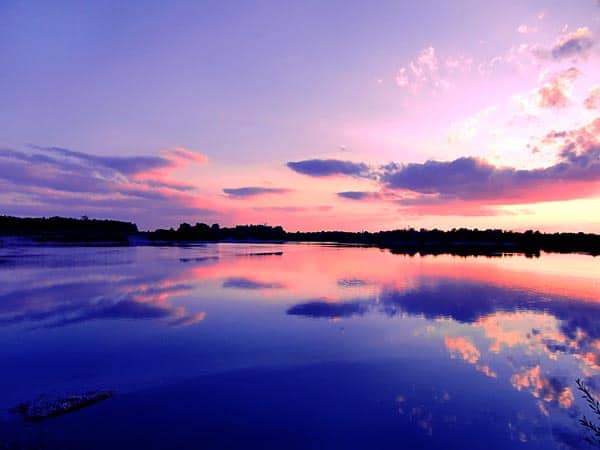
This tutorial leads you through five ways in which Photoshop can be used for color grading and manipulating the colors in an image.
One of the best aspects that makes Photoshop unique is the ability to apply blend modes, allowing you to determine the ways in which the contents of different layers interact. This tutorial, therefore, is absolutely essential for those who are less familiar with how blend modes work.
Every photo, inevitably, is bound to have some sort of distracting element within it. Whether that’s crowds of people or just a single bird in the background of your landscape photo, you can get rid of it by checking out this tutorial.
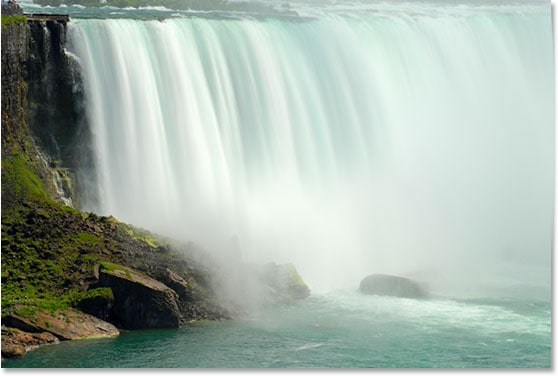
A long-lasting stylistic trend amongst landscape photographers has been producing images in which water appears to be smooth. This is usually created with a long exposure, but if you’ve already taken the photo, or don’t have access to a professional camera, then you can still create the effect by following this tutorial.
This tutorial demonstrates how you can quickly and easily straighten the buildings and horizons in a photo through using a less-well-known method that produces amazing results every time!
Learning how to use the puppet warp tool is a really useful thing to do, as it can help you out in a lot of situations. This tutorial is great if you need to perfect the composition in an image, or just make slight changes to the position of the subject’s body.
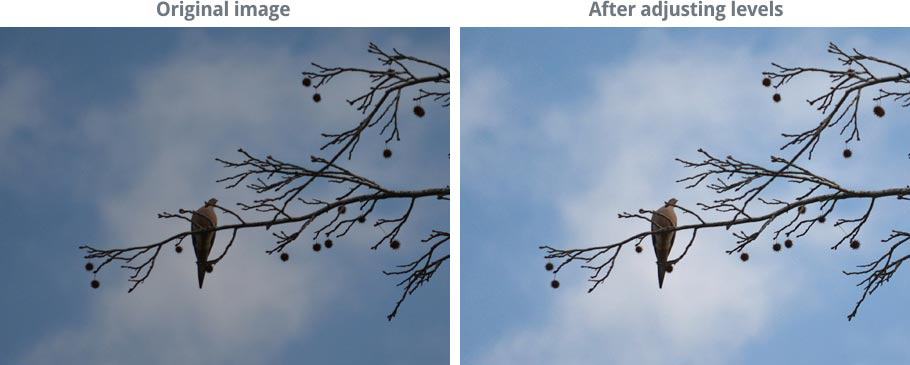
Levels and Curves are some of the more advanced adjustment tools offered in Photoshop, and can do so much to improve an image. I’d strongly advise you to refer to this tutorial, which acts as a quick but detailed guide to teach the basics of the adjustment tools.
This tutorial explains the ins and outs of the three different styles of lighting that you can incorporate into your photos using Photoshop’s Lighting Effects rendering tool- the point light, spotlight, and infinite light.
Another photography trend is bokeh, which is that background blur that you get with the right lenses or camera settings. Haven’t got the right equipment, or you’ve already taken the photo? Well fear not, as you can read this tutorial to find out how you can easily create the same effect in Photoshop.
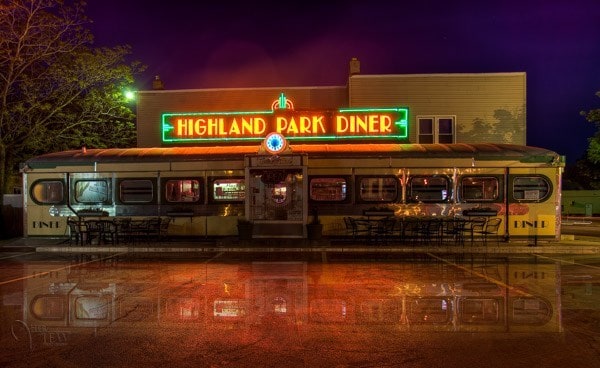
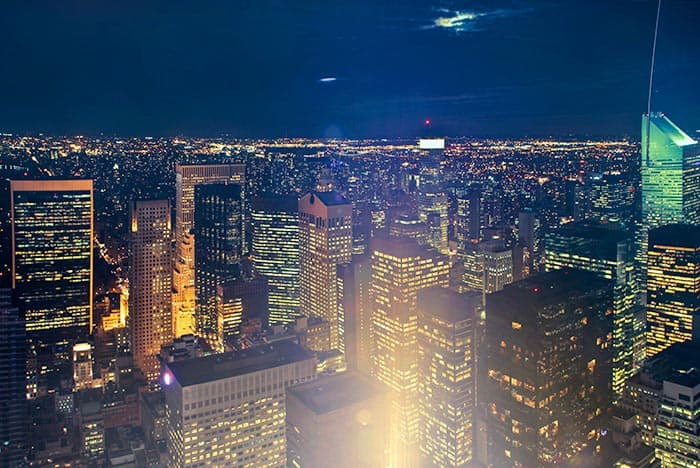
This tutorial demonstrates how you can quickly improve your photographs, particularly those taken at night, by creating a glowing effect using the Gaussian Blur tool. Accompanied by a very professional-looking outcome, it’s sure to make you want to find a way to work the technique into your own photographs.
Noise can be really irritating for photographers, as it ruins the quality and appearance of images. If you need help reducing it, check out this tutorial to find out the best techniques you can use to do so.
Take your landscape photographs to the next level with this simple but incredibly effective lighting technique, through just 6 steps!
A popular function of Photoshop is removing red eyes. It can be so annoying when you’ve taken a photo in a dark setting and the subject’s eyes appear red. Combat it within seconds with the quick, simple technique discussed in this tutorial!
Check out our tutorial on how to remove red eyes in Photoshop here.
This tutorial takes you through a really easy way to get rid of those irritating clothing wrinkles using Photoshop’s Mixer Brush Tool and a Curves Adjustment Layer.
Whether you’re experienced in matte painting or you’re just starting out, follow along with this tutorial to create a stunning, cinematic landscape in Photoshop.
If you want to delve deeper into matte painting, then check out our list of 20 video tutorials that we think will be helpful.
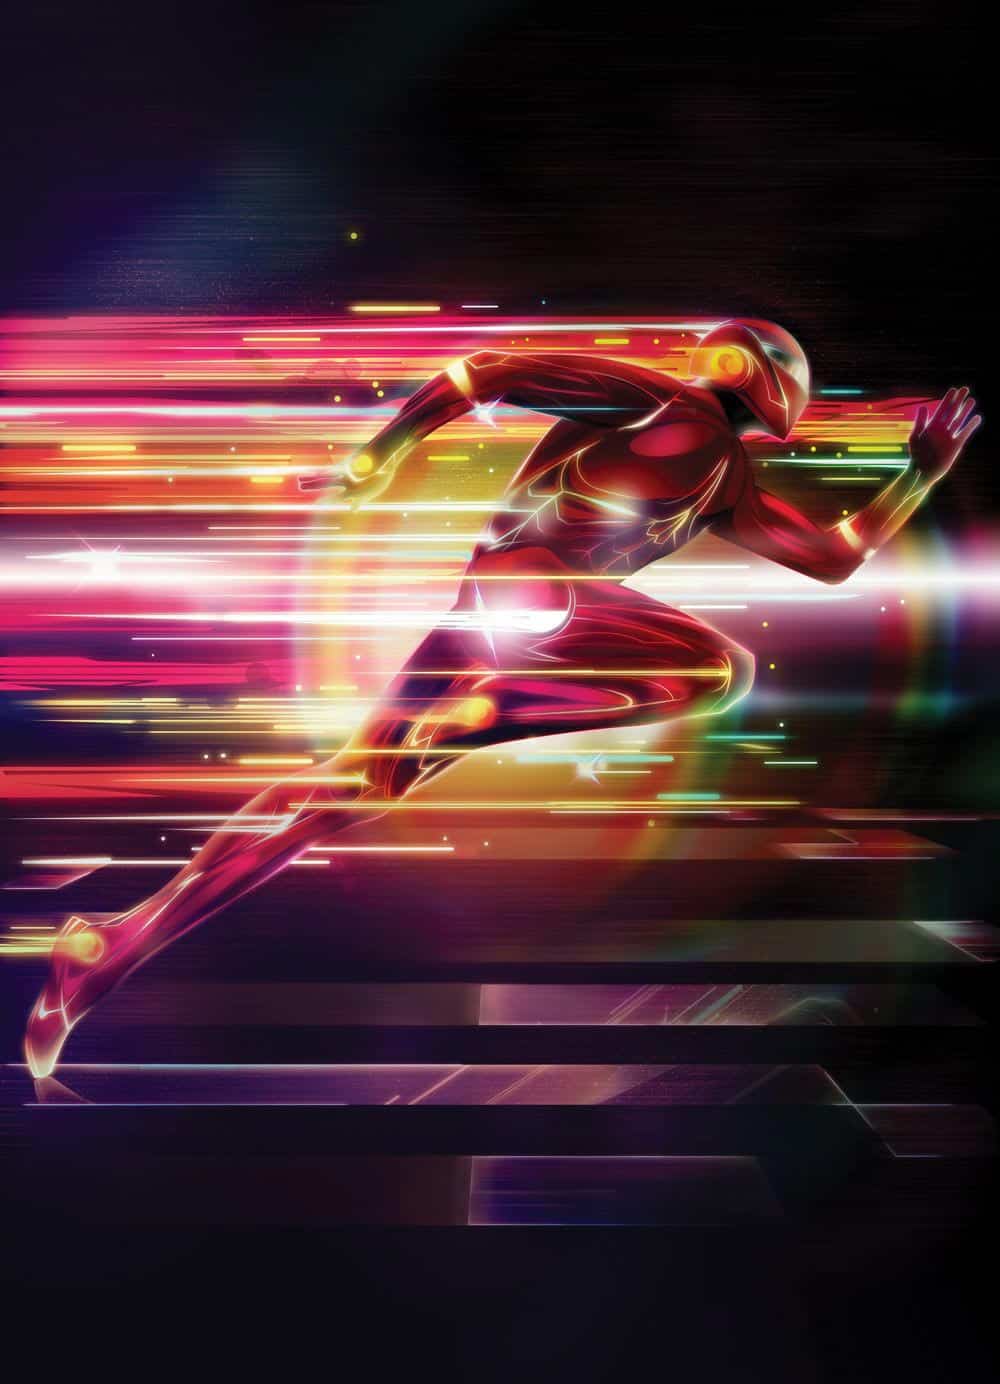
Why not practice some more advanced Photoshop skills by following along with this tutorial to create an incredible, futuristic superhero, utilising glow effects and layer styles?
And for the last tutorial in our list, we wanted to share a tutorial that compiles pretty much all the basics that a beginner will need to know about Photoshop. Make your way through this tutorial and you’ll be more than ready to start working with more advanced techniques!
There you have it. A list of 50 of the best Photoshop tutorials to help you to either learn more about tools or general processes, or create a more specific, special piece.
Want to learn Photoshop skills and develop your skill set further? Check out this video by Photoshop Training Channel that takes you through 19 Photoshop tricks, tips and hacks.
Hey, I'm a Professional Retoucher making $10k a month thanks to Photoshop.Register to my newsletter to get freelancing tips and a FREE Brush Pack in Bonus! My Newsletter

