
Utilising grids, guides and rulers in Photoshop is a great way in which you can quickly and easily improve the compositions of your pieces.
To show Rulers in your Photoshop Document you can either go to Menu > View > Rulers, or simply use the shortcut CMD+R (Mac) or CTRL+R (Windows)
They allow you to align visual elements and place components at regular intervals, and they don’t show up when printing or exporting a document, which is a handy bonus when it comes to displaying both printed files and exported files on screen.
Whether you use them to simply centralise a single aspect, or to align hundreds of objects in a piece, rulers and grids are guaranteed to become a staple part of every designer’s creative process at some point. So how can we integrate them into our routine?
Well in this article, we’ll discuss the ways in which you can work with rulers and grids in Photoshop, and the real-life examples of when they might be useful. If you don’t already have Photoshop, you can purchase it here.
Table of Contents
- How to Show Rulers in Photoshop
- How to Change Unit / Increment of your Rulers
- How to Add a Guide Lines in Photoshop
- Reposition a Guide by Clicking and Dragging
- How to Lock your Guides in Photoshop
- How to Delete a Guide in Photoshop
- Snap Objects onto Guides or Grids
- How to Create a Grid in Photoshop
- How to Change your Grid Layout
- Bonus Video
- Here are some of my favorite Photoshop tools:
How to Show Rulers in Photoshop
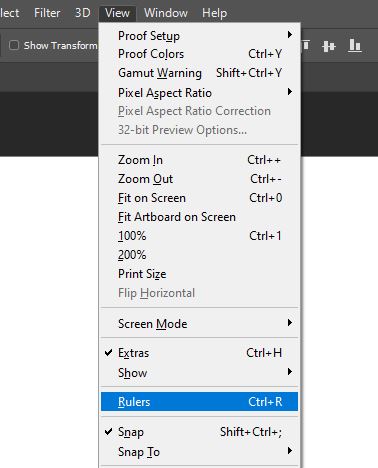
With a document or image open, we’ll first want to begin with setting up Photoshop so that it shows rulers that we can use to place our guides.
To do this, head along the top bar to View > Rulers (Ctrl + R [Win] / Cmd + R [Mac]). To hide the rulers at any time, simply do the same thing again.
How to Change Unit / Increment of your Rulers
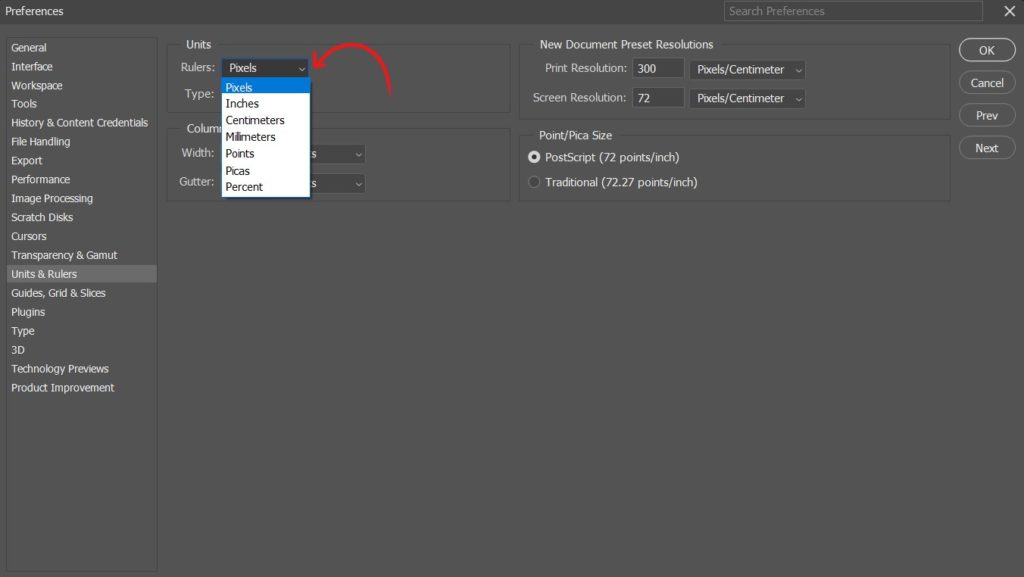
To change the unit of measurement, right-click on either the horizontal or vertical ruler and choose the respective unit from the dropdown menu that appears.
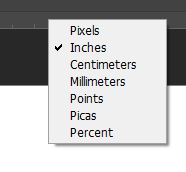
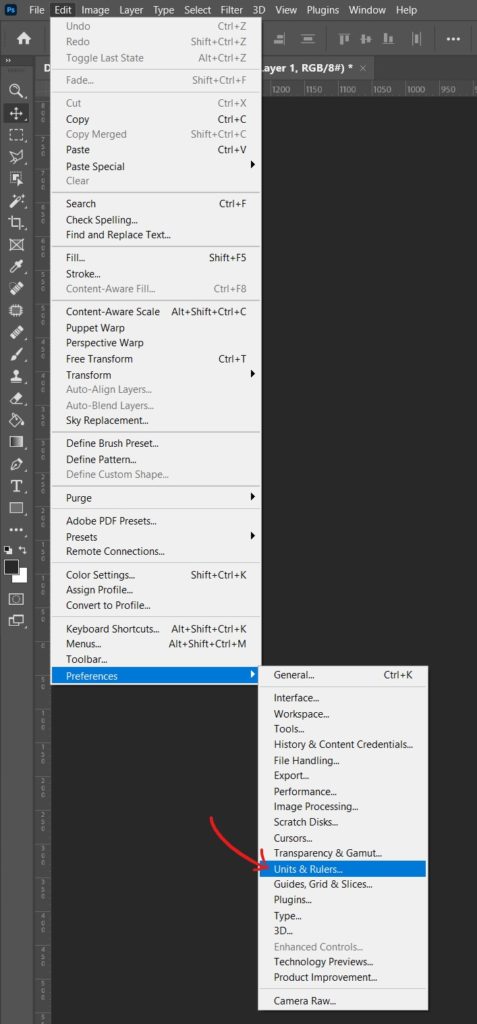
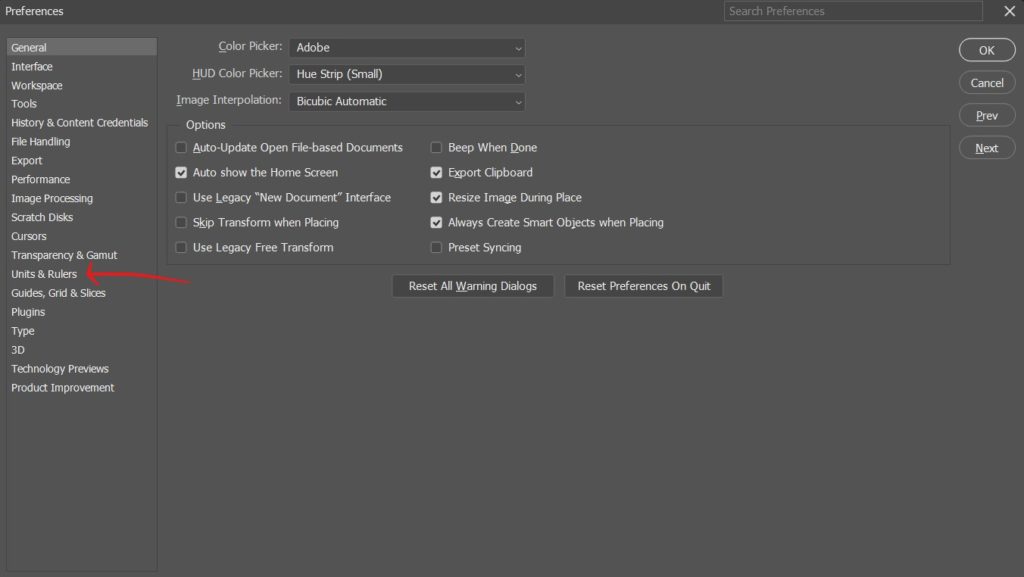
You can also change the unit of your Rulers in your Preferences. Go to Menu > Edit > Preferences > Units & Rulers and choose from the drop-down menu.
How to Add a Guide Lines in Photoshop
With the rulers set up, you’ll now want to go ahead and add a new guide. To do this, click and drag from either of the rulers (the top one for a horizontal guide, or the side one for a vertical guide).
The cursor will turn into a double arrow as you click and drag your mouse across the screen. Simply release the mouse to place the guide wherever you want it!
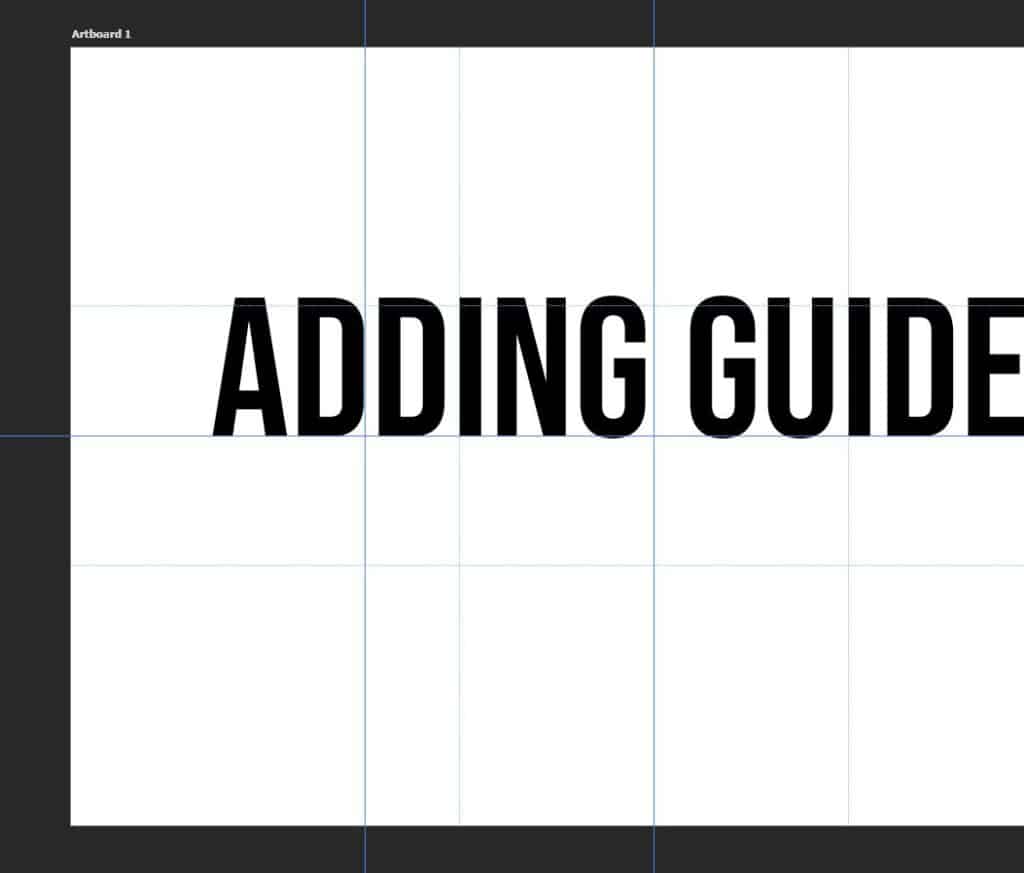
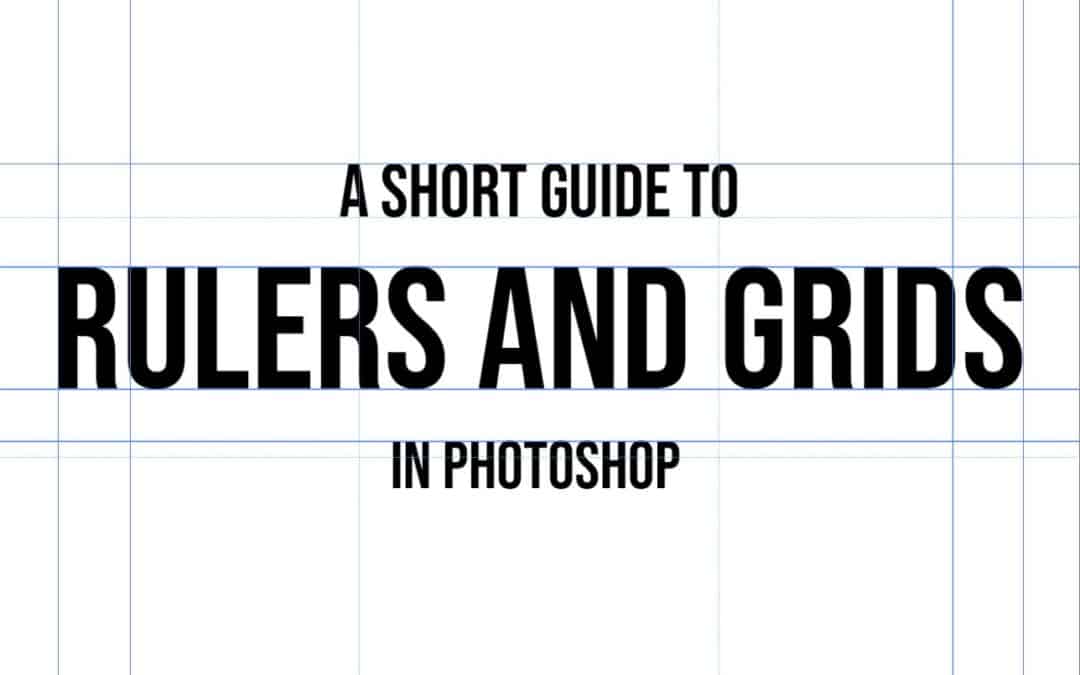
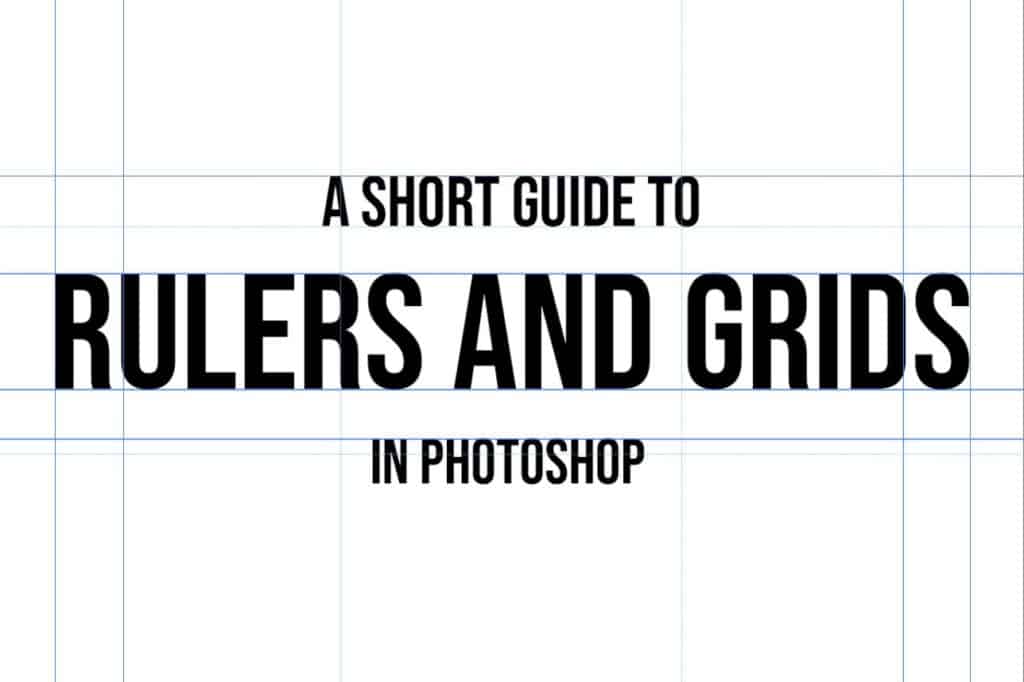
Adding guides comes in handy when you’re trying to align text, for instance, in attempt to make the edges of each line be in the same place.
For example, in the image below, we’ve demonstrated how you may want to add in guides at the vertical line at which you would like each line of text to end.
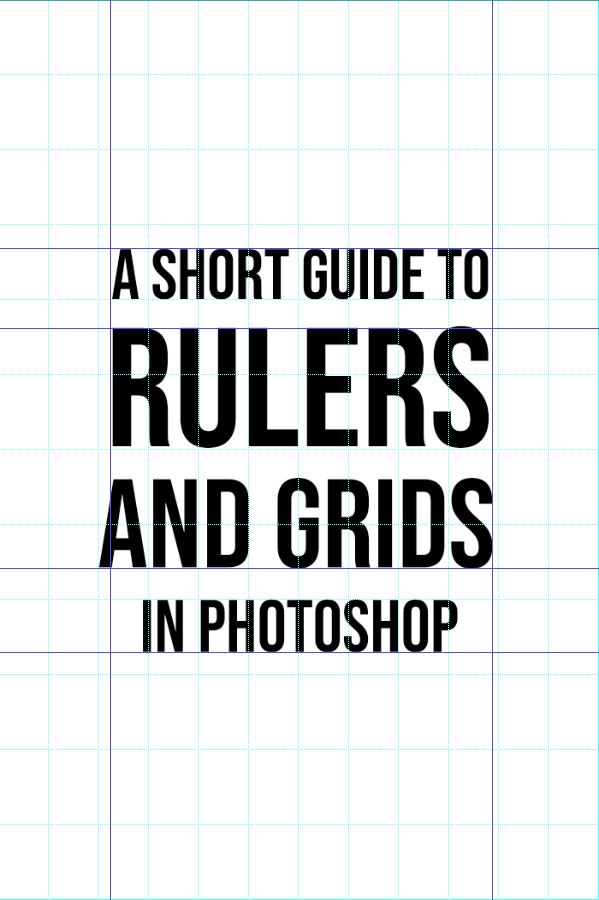
You can resize or move elements towards the relevant guides, referring to them to ensure that all the objects are in line.
Reposition a Guide by Clicking and Dragging
If you decide that you wish to move a guide to be in another position, then we can reposition it using the Move Tool, represented by the icon shown below.
Then just click on the guide that you want to move and drag it to its new position.

How to Lock your Guides in Photoshop
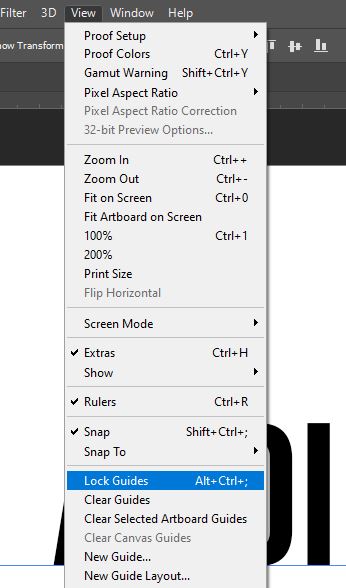
When working on a document with guides on it, it can be frustrating when you’re trying to move elements of the piece, but you keep accidentally moving the guides out of place instead.
To solve this issue, head to View > Lock Guides to temporarily disable them, meaning that you won’t accidentally move them when working with other components of your document.
How to Delete a Guide in Photoshop
If you want to get rid of an individual guide, you can click on it and drag it with your mouse, releasing it when it lies over one of the rulers.
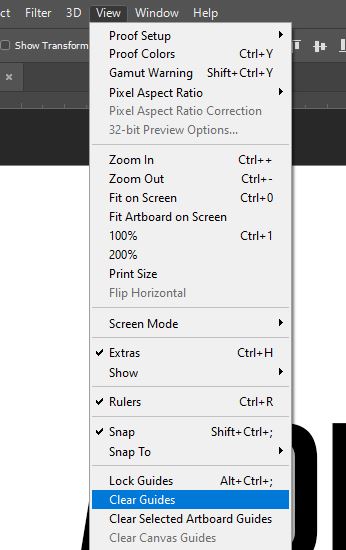
If, instead, you need to get rid of all the guides in your document, select View > Clear Guides. This will clear your workspace and allow you to either add new guides from scratch, or work without them.
Snap Objects onto Guides or Grids
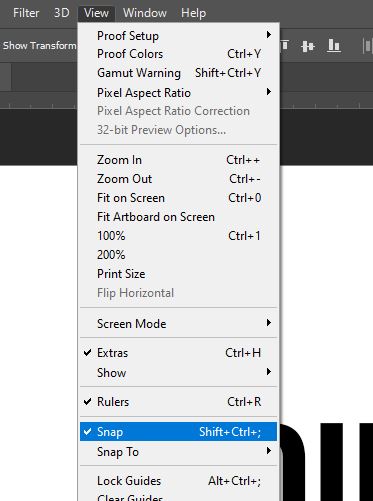
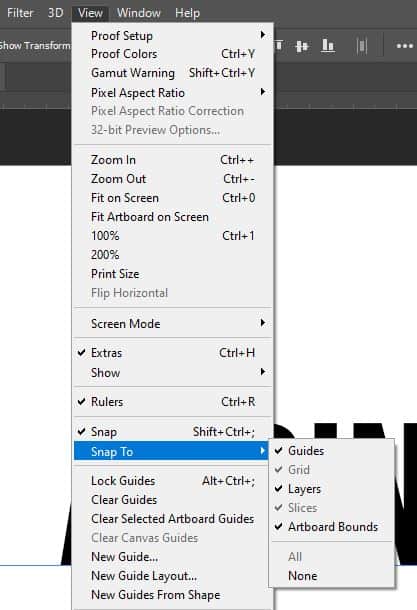
To really utilise the full effect of guides, you can turn on Snapping to make the guides or grids in your document act like magnets, allowing objects to, in effect, be attracted to the guides.
To do this, head to View > Snap, located in the bar along the top of the screen.
If you want to choose specifically what your objects snap to, then choose View > Snap To, then select the relevant items from the dropdown menu.
How to Create a Grid in Photoshop
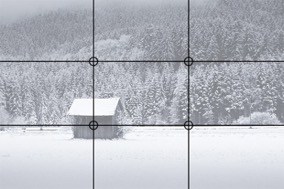
As well as guides, grids are a really useful way of aligning the visual elements that make up a composition. They’re used all the time by designers, especially as they allow for the application of the rule of thirds.
For instance, in the example below (image by Martin Gommel, taken from ‘Photography Mad’ ) you can see how a grid would be useful when checking the composition of photographs- both landscapes and portraits.
To create a grid in Photoshop, go ahead and select from the bar along the top of the screen View > Show > Grid (Ctrl + ‘ [Win] / Cmd + ‘ [Mac]).

How to Change your Grid Layout
Selecting this will, by default, add a grid to your workspace in which the lines are spaced an inch apart, with four subdivisions. We can change the style of our grid within the Preferences Window.
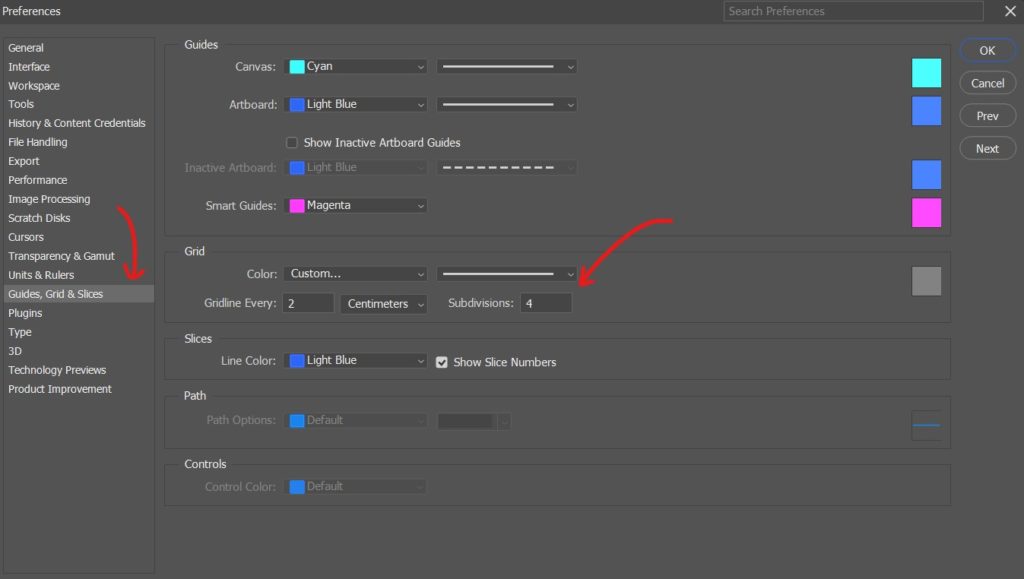
With the window open, you can now edit the properties of your grid based on how you want to divide your workspace. If you wish to hide the grid at any moment, select View > Show > Grid again to temporarily disable them.
Bonus Video
And that’s about all there is to know about rulers, guides and grids in Photoshop! Want to find out more about the topics discussed in this tutorial? Check out this video by Peachpit TV which explains the process further.
Here are some of my favorite Photoshop tools:
Thank you for reading this article. I hope you found it helpful as you’re using Adobe Photoshop. Here are some tools that I use daily while retouching or editing that made my life easier. I hope you’ll also find them as useful as me. These are affiliate links, so if you do decide to purchase any of them, I’ll earn a commission.
But in all honesty, these are the exact tools that I use and recommend to everyone, even my closest friends and family.
Tablet: I remember purchasing my first tablet back in 2011. It was the smallest Wacom available at that time, I think it was an A5 format. Tablets make a huge difference with Photoshop and I can’t work without one nowadays. I recently switched to the amazing Xencelabs Medium Bundle and I just love it.
Quick Fixes: Whenever I need to edit pictures quickly, I use the AI-powered Luminar photo editing tool.
Content Creator Essentials: If you’re taking pictures, video footage, or any other types of media, I recommend you the Samsung T5 external SSD to safely backup and transport your files. Regarding my working station, since I’m always moving from one place to another, I’m using the ASUS ZenBook Pro Duo 15. Its second screen comes in really handy when working on Photoshop.
Hey, I'm a Professional Retoucher making $10k a month thanks to Photoshop.Register to my newsletter to get freelancing tips and a FREE Brush Pack in Bonus! My Newsletter

