How To Outline Text In Photoshop to Make it Stand Out
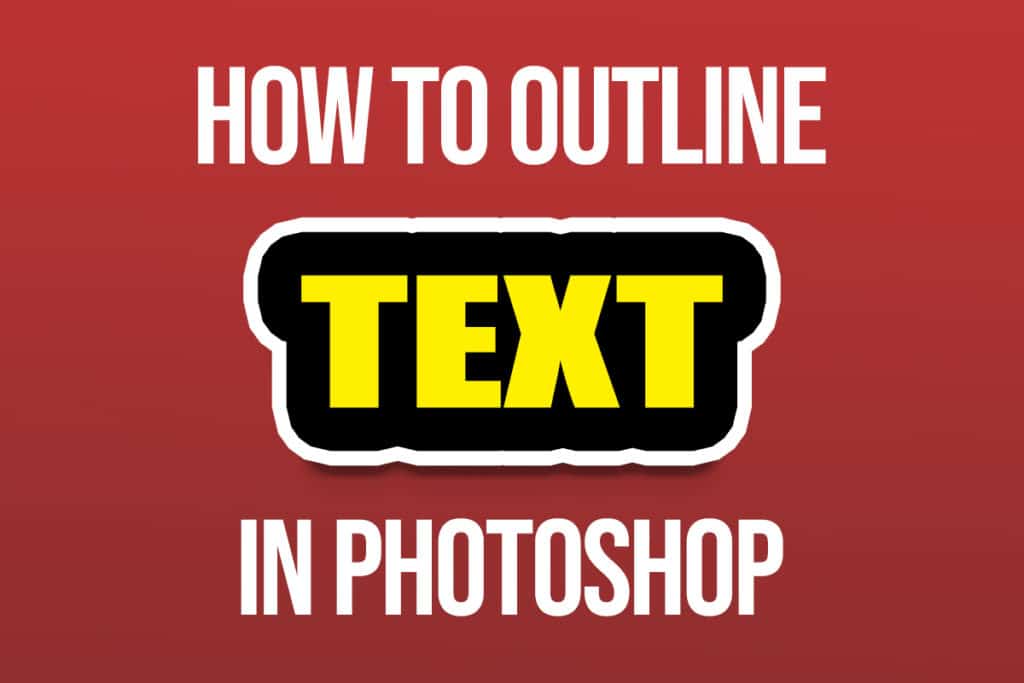
In today’s edition, we explore how to outline a piece of text inside Photoshop. This technique could be really useful if you plan to use Photoshop to do some typography.
Typography is the art of type and text. It is a form of visual poetry, where the aesthetic and the meaning of a word as well as its letters come together to create a sum that is greater than the whole.
In the long list of creative pursuits that Adobe Photoshop allows, typography is also one of them. So, we are going to explore the many ways in which your typography and calligraphy ideas can be brought to life inside Photoshop.
Before we begin, you should already have a piece of text open. If you do not know how to do that, you can learn how here.
Step 1: Preparing The Background
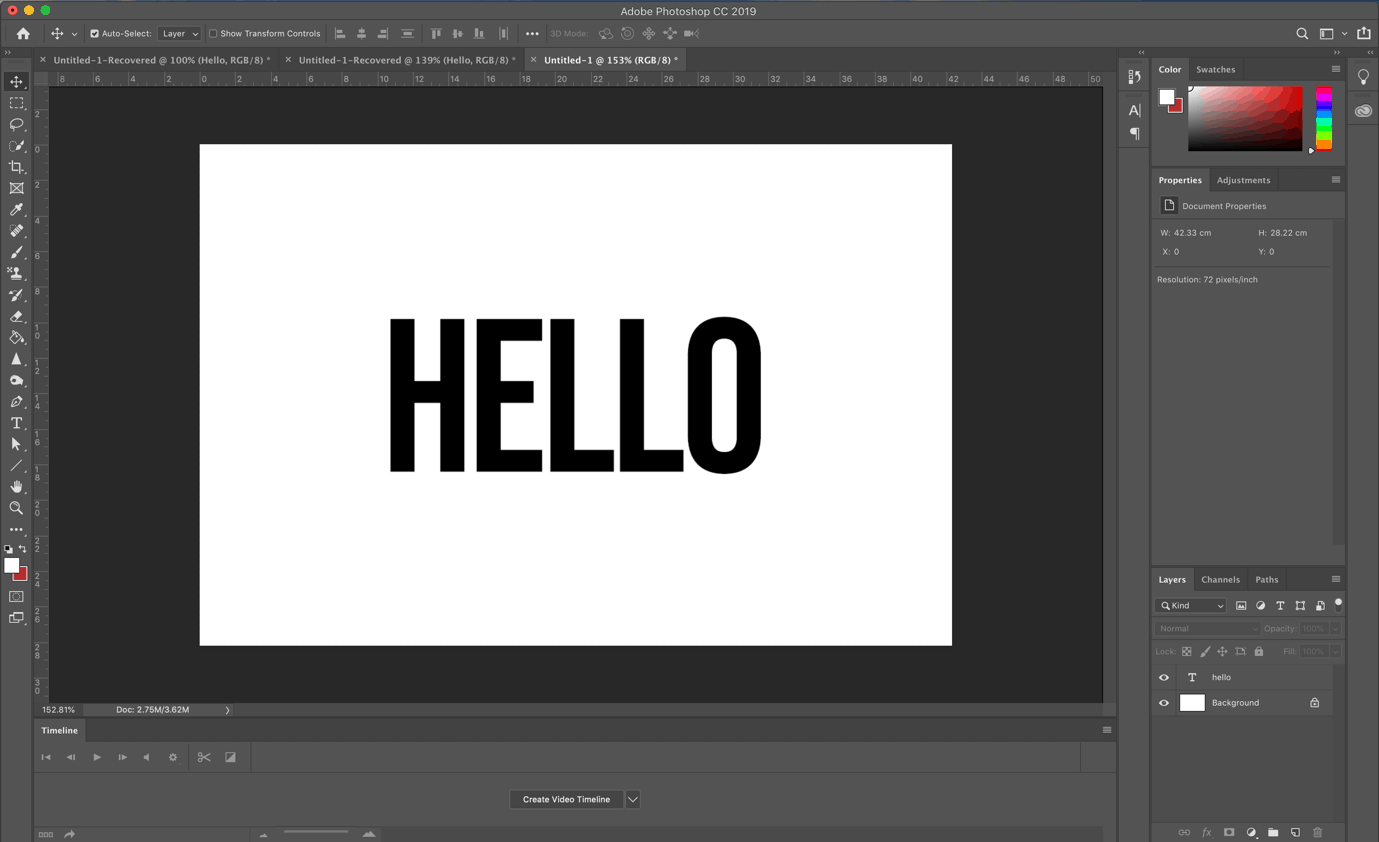
I have used for this tutorial the sample word HELLO.
As you can see in the final image above, the background is a bright shade of red. To do that, we need to go to the Tools Palette and select the Paint Bucket tool. We are going to use this to paint our background.
At the bottom of the Tools Palette are the Foreground and Background color pickers. They are set by default to Black and White, respectively.
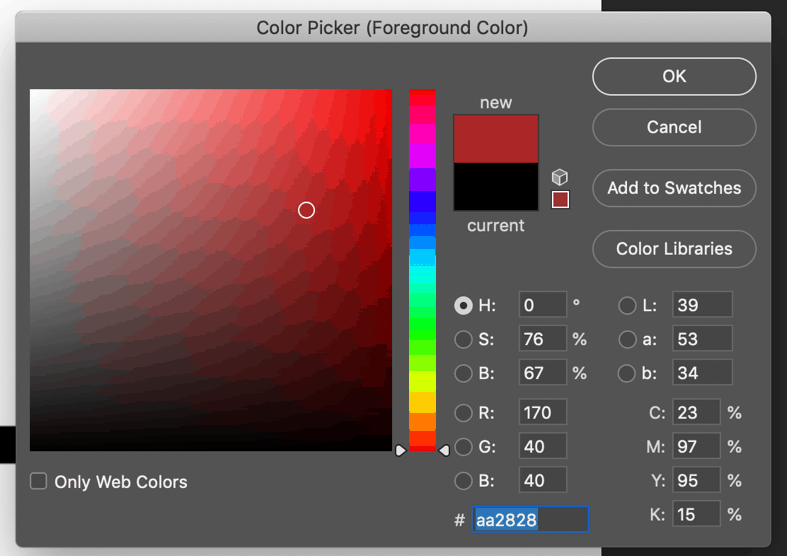
To paint the background, we need to change the Foreground Color. So, click on the black swatch to bring up the Color Picker.
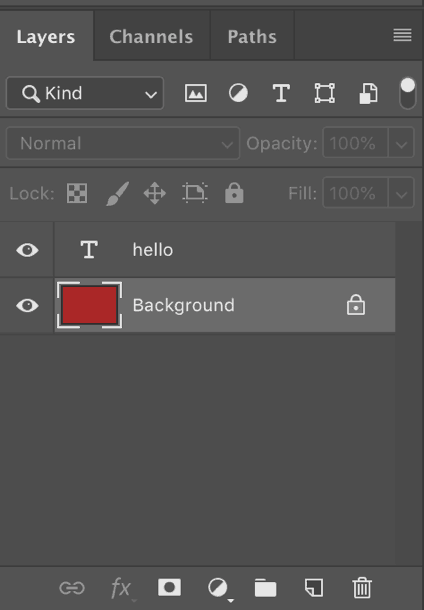
Use the circular tool in the Color Picker to select your color. You can alternatively also enter the HEX code. Mine is #aa2828. Once this is done, hit OK. Now, with the Paint Bucket tool still selected, click on an empty portion of the white background.
Make sure that the Background layer is selected when you do this.
Step 2: Preparing The Text
We will now change the text color. The final image shows the text as a bright shade of yellow, whereas the default text color is black.
Go ahead and select the Text layer. Now, at the top of the screen you will find the Text Editor.
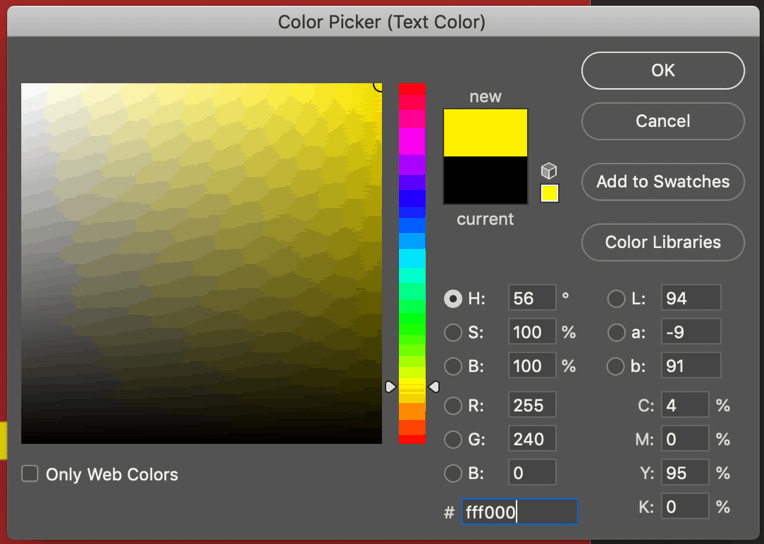
In the menu, you will see a black rectangle. Click it; this will bring up the Text Color Picker.
Use the Color Picker to select your text color. Mine is yellow with the HEX code #fff000.
Your image should now look like this.
Step 3: Outline the Text
Now to the star of the show: the outline process.
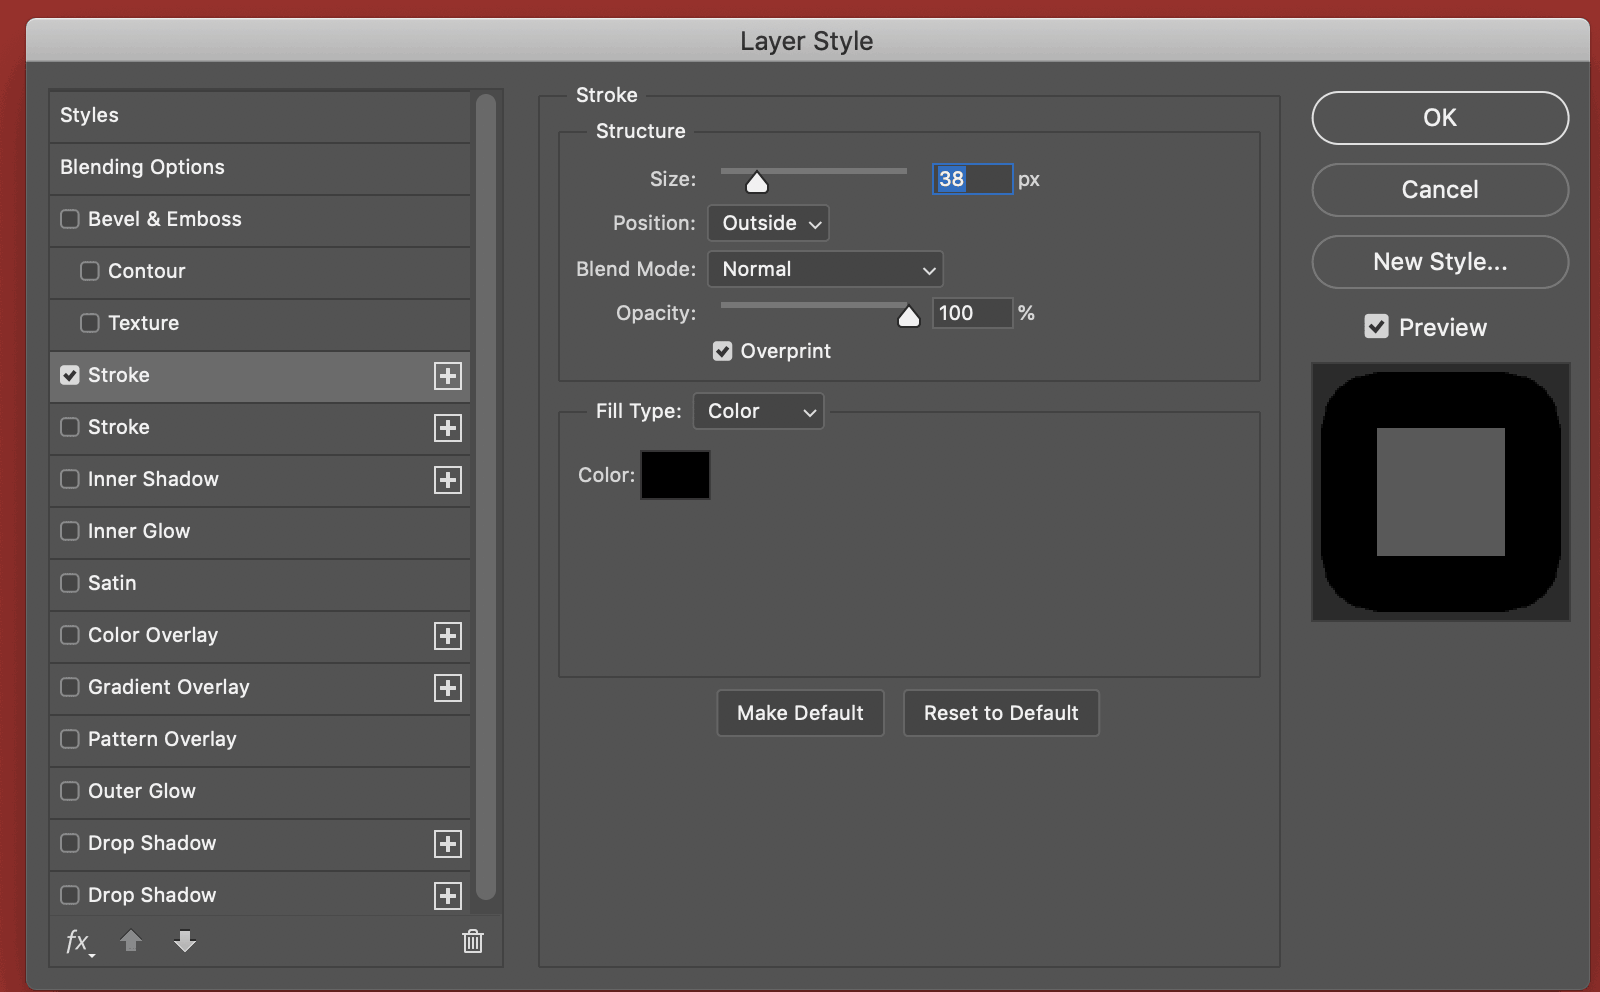
Make sure that the text layer is selected in the Layers Panel. In the main menu bar, go to Layer > Layer Style > Stroke. Alternatively, you can click the empty space in the text layer box. This will bring up the Layer Style menu.
In the menu, change the Position to Outside, and increase the size until the outline is thick and covers all the gaps in the text such as the center of the ‘O’. You may have to experiment with this. Also, make sure the color is set to the default Black.
Your image will now look like this.
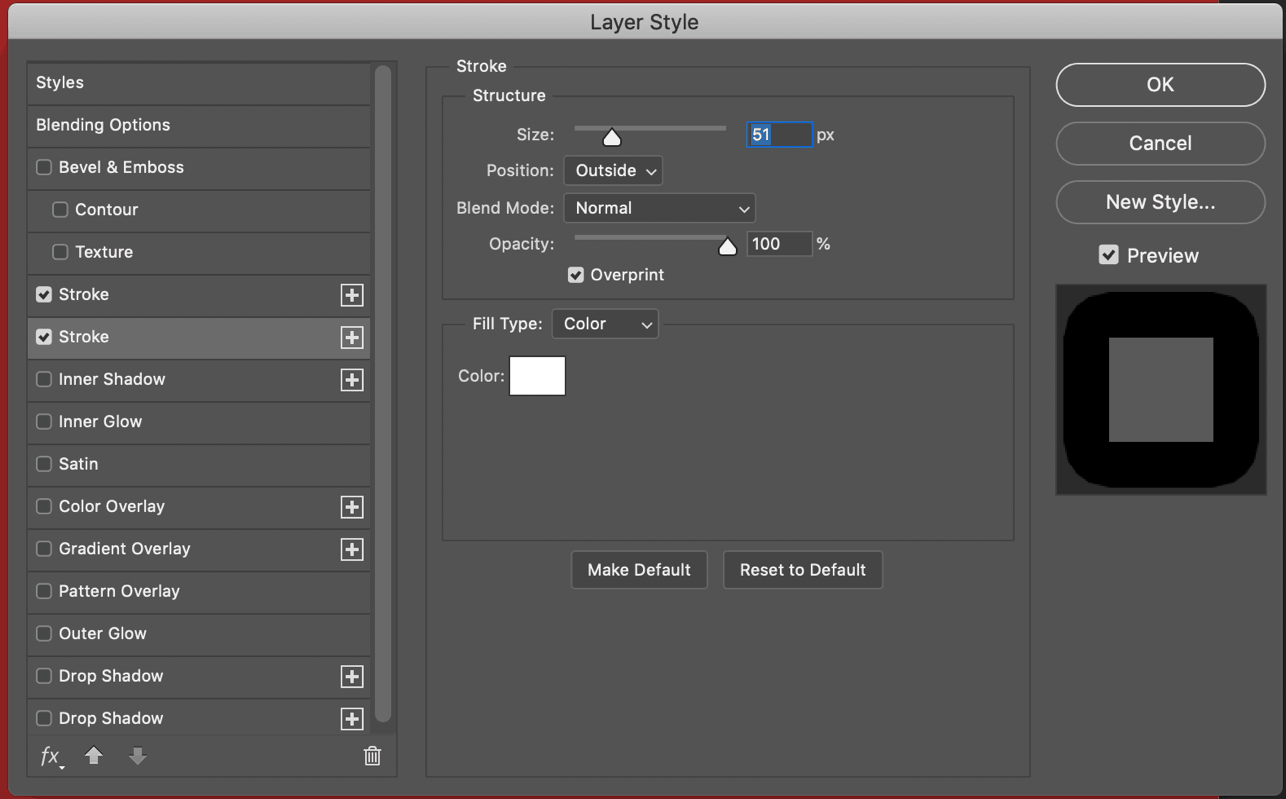
On the left side of the Layer Style menu, there will be a ‘+’ symbol next to Stroke.
Click the ‘+’ button to create another stroke layer.
This new layer will have the same settings as the previous layer. Use the Color Picker to change the color to White and increase the size to about 51%, and hit OK.
Your image will now look like this.
There we go! A cool and easy way to create striking outlines inside Photoshop. You could stop here if you want, but I’m going to continue refining the image a little bit.
Step 4: Finishing Touches – Lighting
We are now going to enhance the image by creating some 3D lighting effects that will make the image pop and look more professional.
Let us start by creating a realistic shadow for the text.
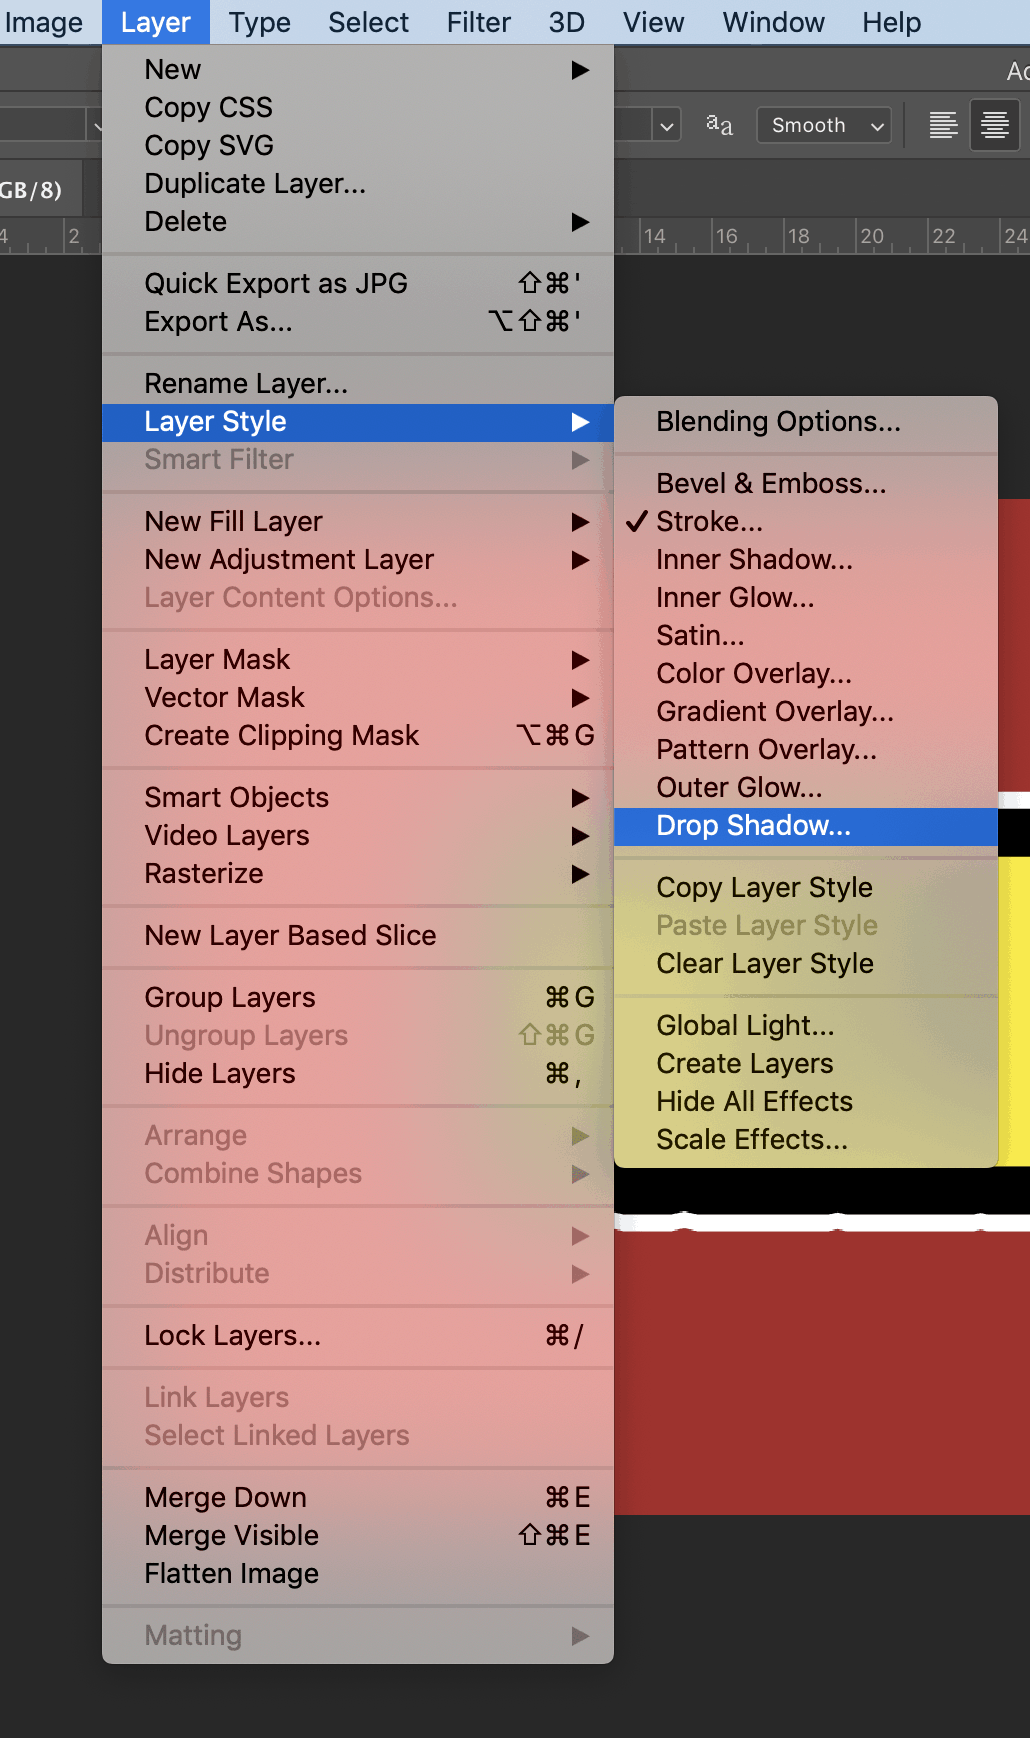
To do this we need to go to the Layer Style menu. In the main menu bar, go to Layer > Layer Style > Drop Shadow. Alternatively, you can click the empty space in the text layer box.
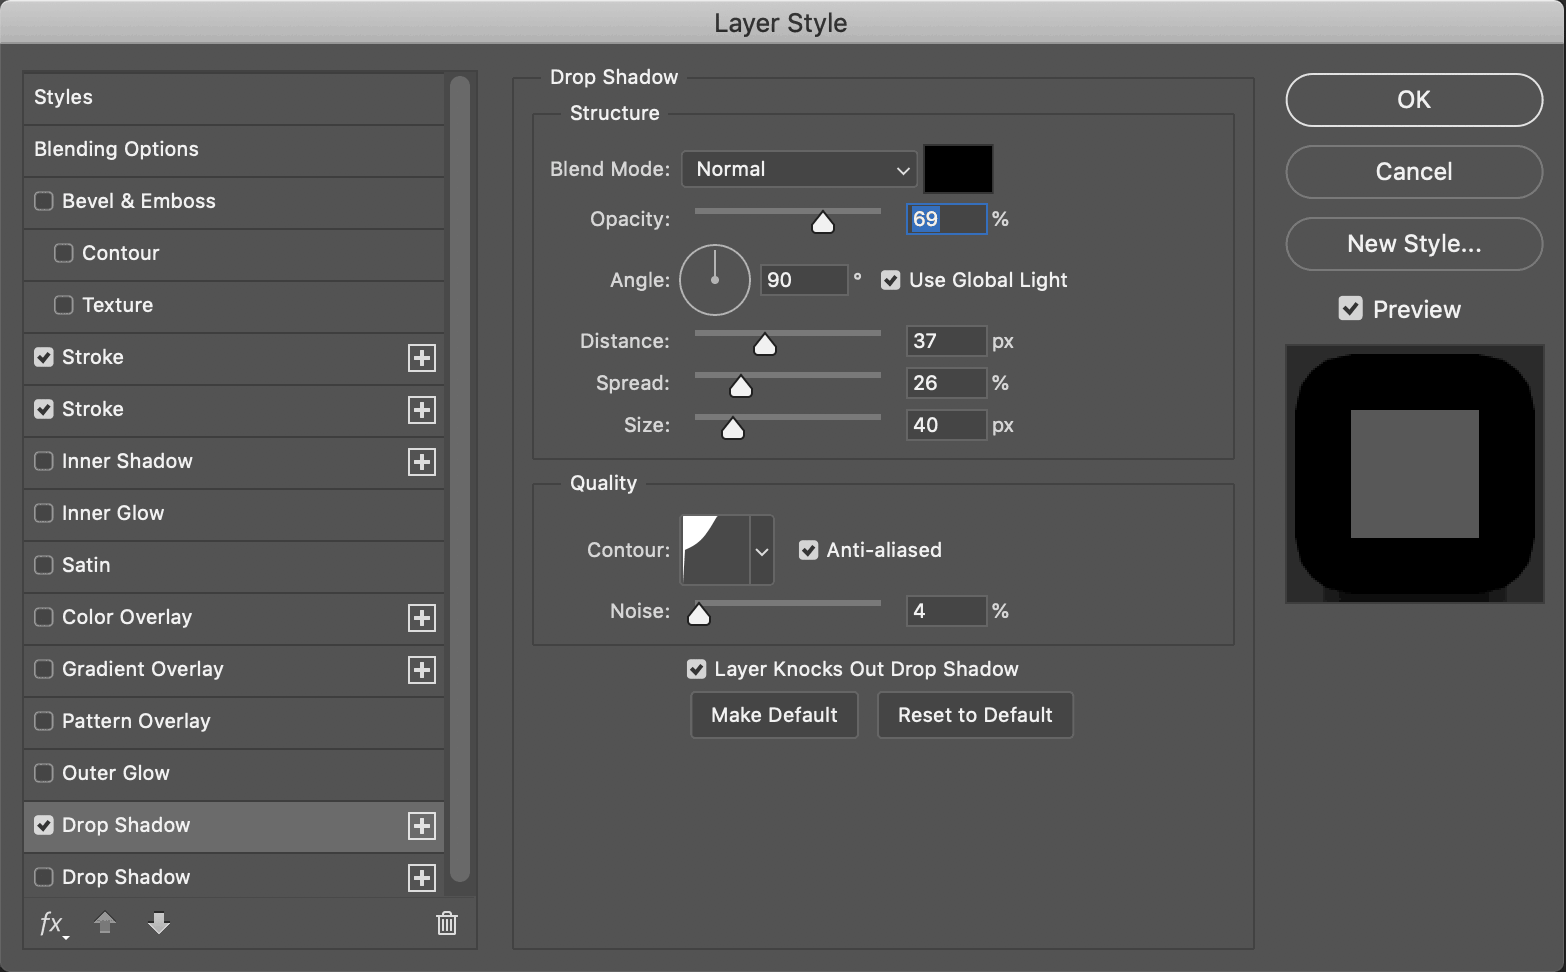
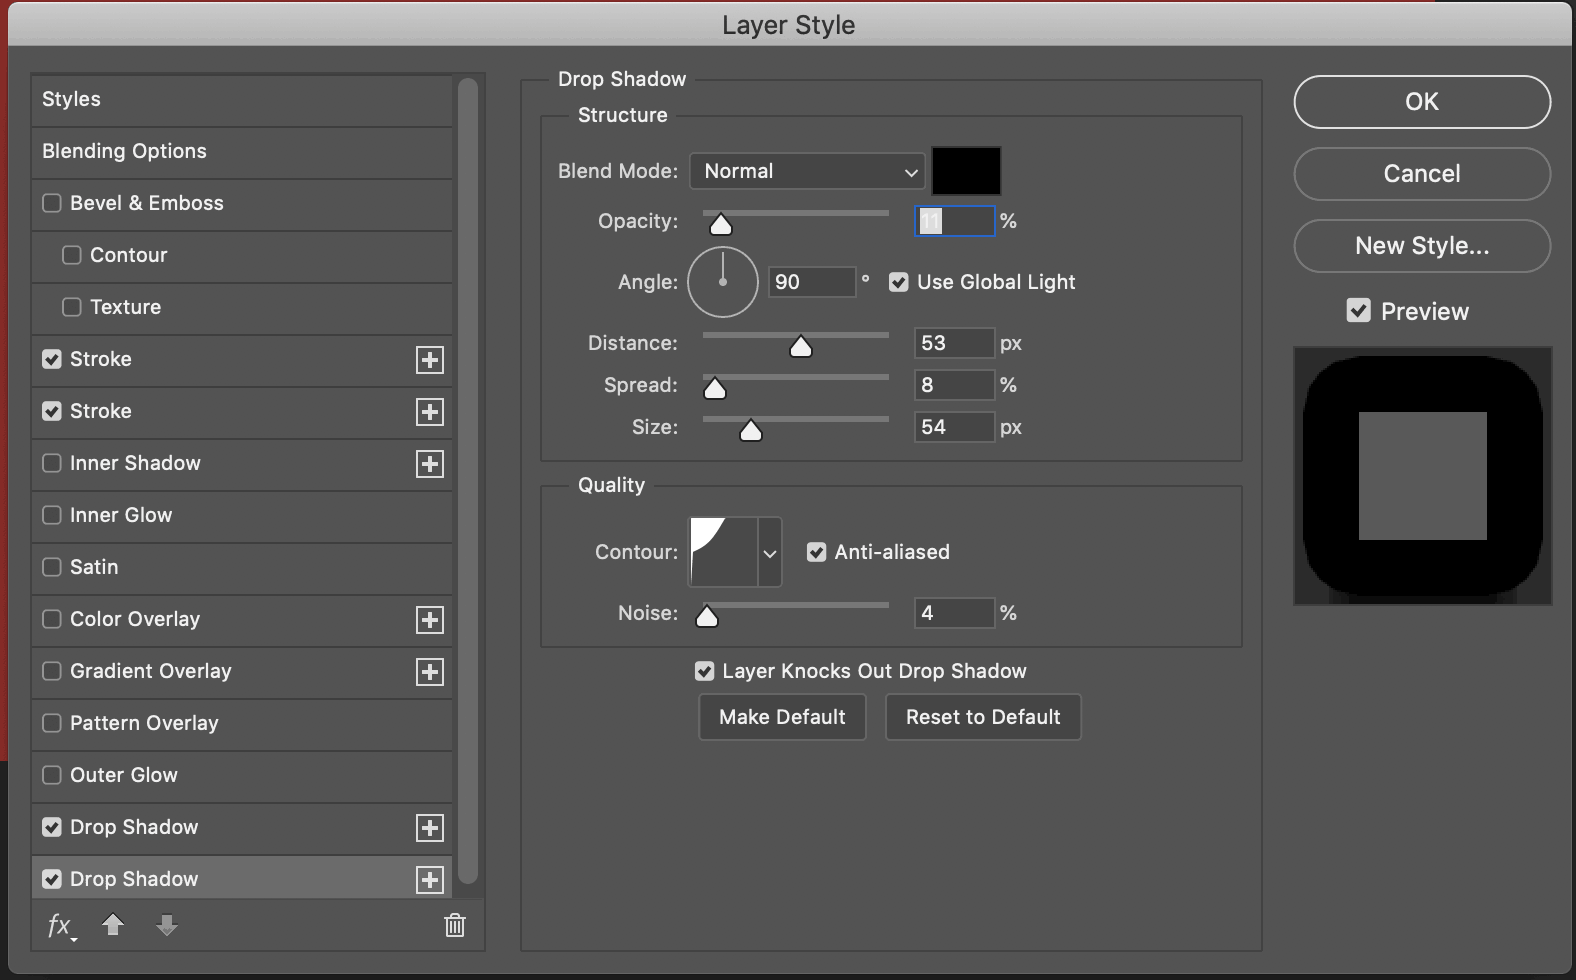
This will open the Layer Style menu with the Drop Shadow option active. Drop Shadow is a Photoshop tool that creates a realistic shadow, and you can control various parameters of the shadow such as the angle, intensity, and spread of the shadow to simulate the effects of different types of light falling on the object. Today we are going to simulate a soft bright light coming from just above the image.
I took some time to play with the Opacity, Distance, Spread, and Size options in the menu. Since the light is falling from just above the image, make sure the angle remains at 90˚ and ensure that Use Global Light is checked.
Now, we need to note that Drop Shadow is only a digital tool and can only create a single patch of dark pixels as defined by the user. This does not necessarily create a realistic shadow, which is usually a result of multiple light sources of different spreads.
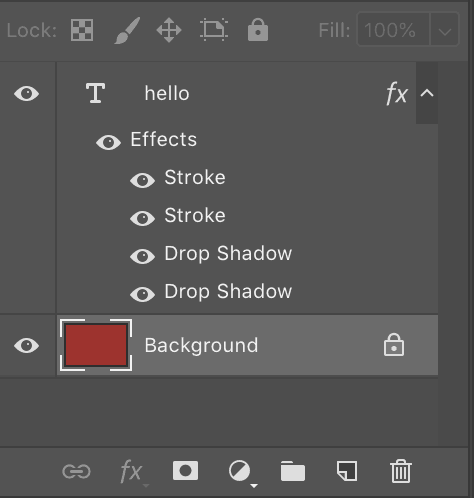
Therefore, we need to use multiple Drop Shadows. Just as with the Stroke option, you will notice that there is a ‘+’ symbol located next to Drop Shadow. Click it to create a second Drop Shadow.
Again, you will need to experiment with these values for yourself to find what works best with your image. I wanted a softer and much more subtle shadow that falls off the first shadow, and these are the values I came up with.
This is what your image should now look like.
Almost at the finish line now. For the final step, we will add a gradient to the background so that the illusion of our top-down lighting is made more believable. To do this, we will create the gradient such that it is brighter on the top of the background and fades to a lighter color on the bottom.
Go to the Layers Panel and double click on the layer Background to make sure it is selected and active.
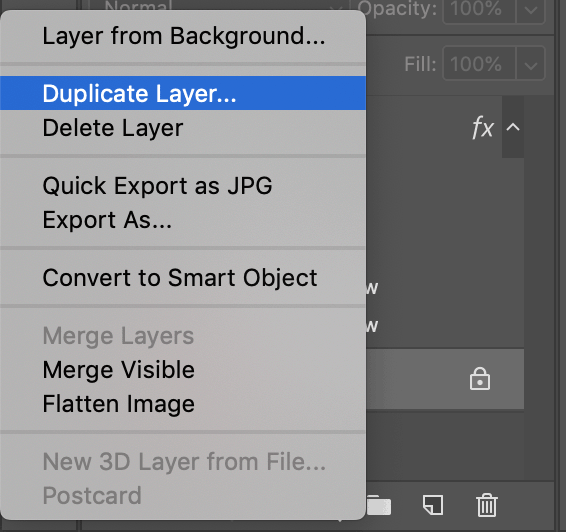
Note that the Background layer is not directly editable and so we will have to make a copy of the layer. Therefore, right click on it and select Duplicate Layer.
This will create a layer called Background copy. Make sure it remains selected.
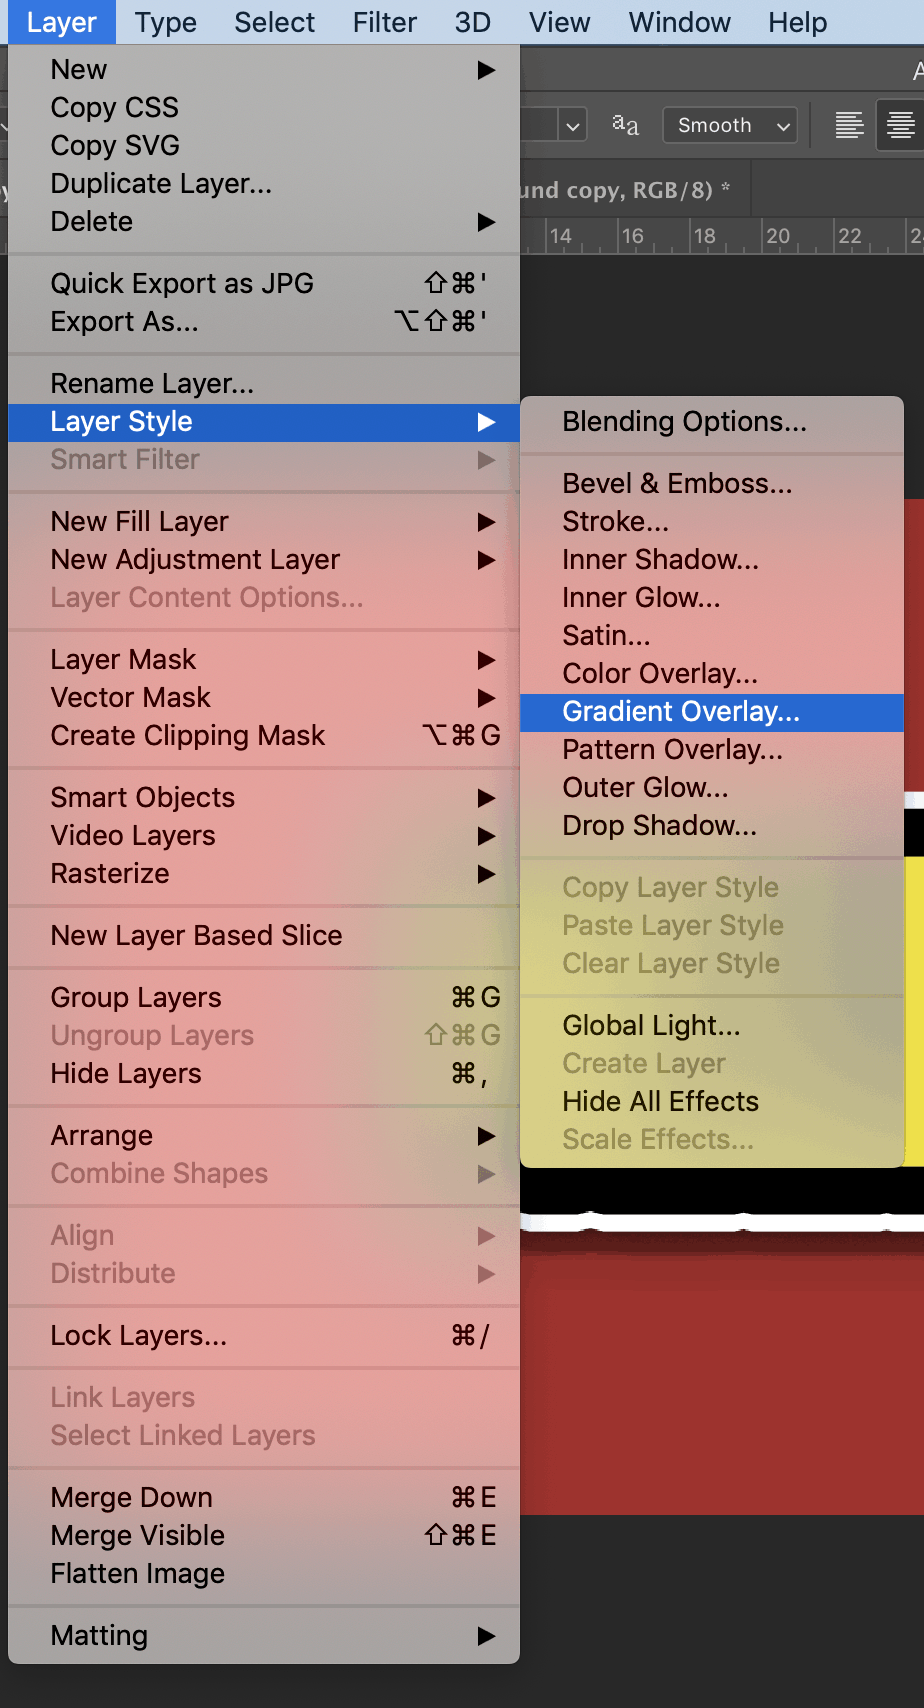
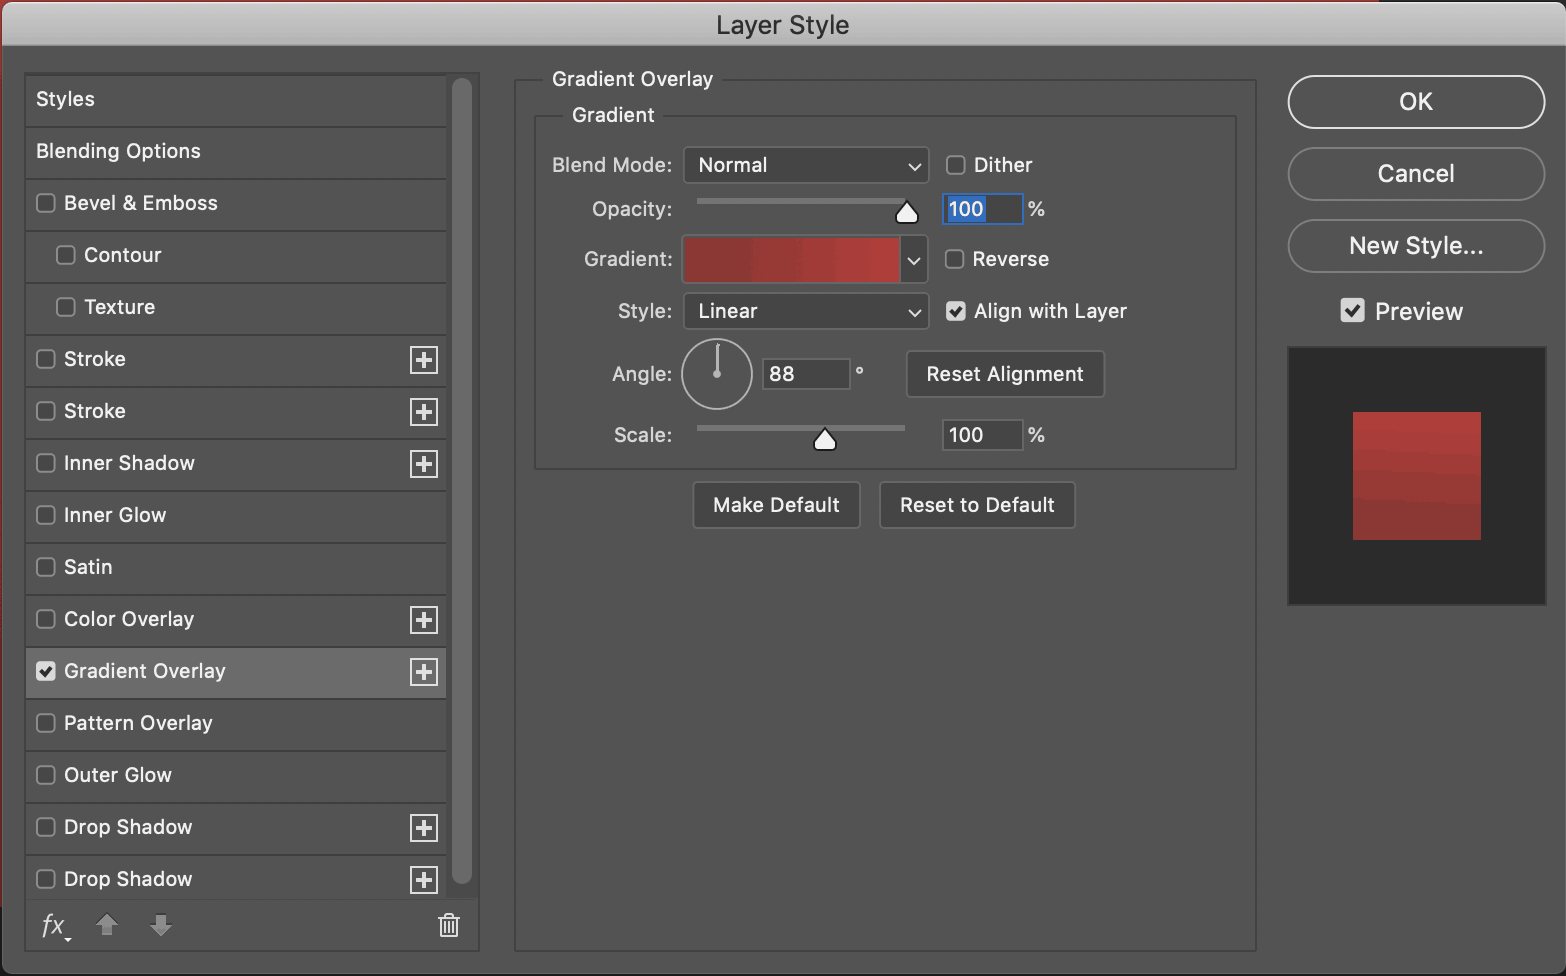
Now, go to the menu, and select Layer > Layer Style > Gradient Overlay.
This will bring up the Gradient Overlay menu.
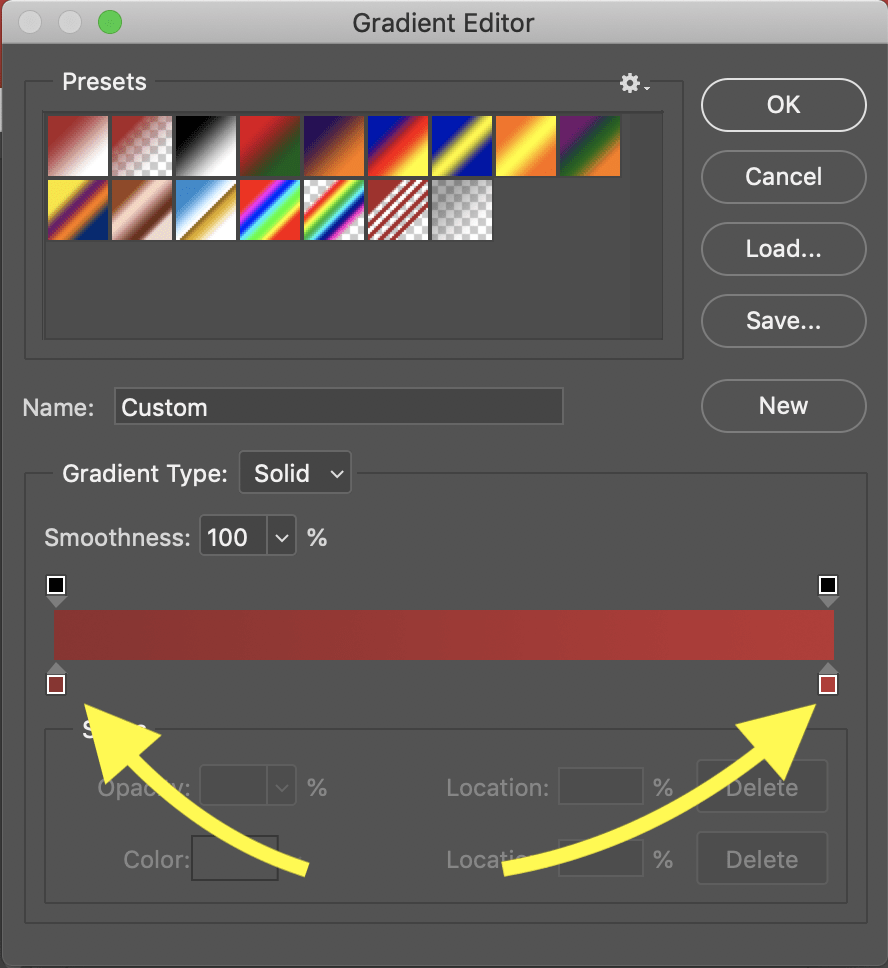
In the Gradient Overlay menu, double click on the gradient. This will bring up the Gradient Editor.
In the Gradient Editor, the bottom two colored squares represent the two colors of the gradient. The one on the left represents the Darker Color, and the one on the right represents the Lighter Color.
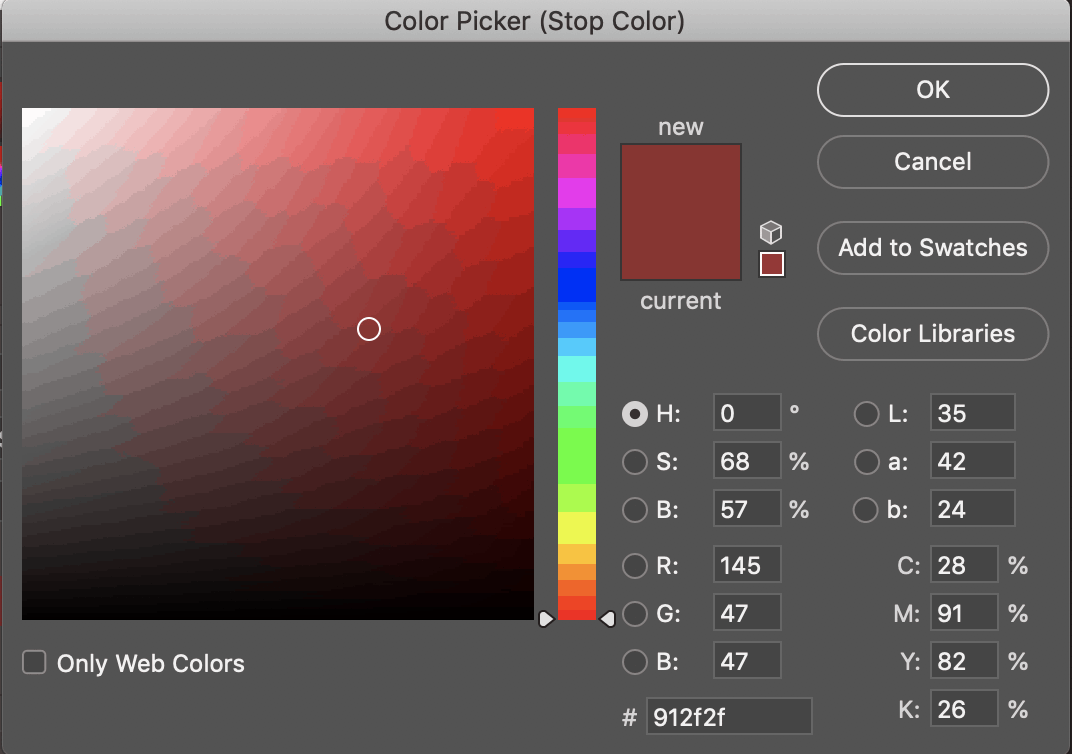
Double clicking on either of them will open up a color picker menu. Let’s begin with the Darker Color.
Remember the background color of #aa2828. You can enter the HEX code in the color picker to get started. Once you have the color entered, manually move the color picker to a slightly darker shade. Mine is #912f2f.
Now, hit OK and do the same with the Lighter Color. My HEX code is #bc3434. There you have it! A finished gradient, and a finished piece of text with attractive outlines inside Photoshop!
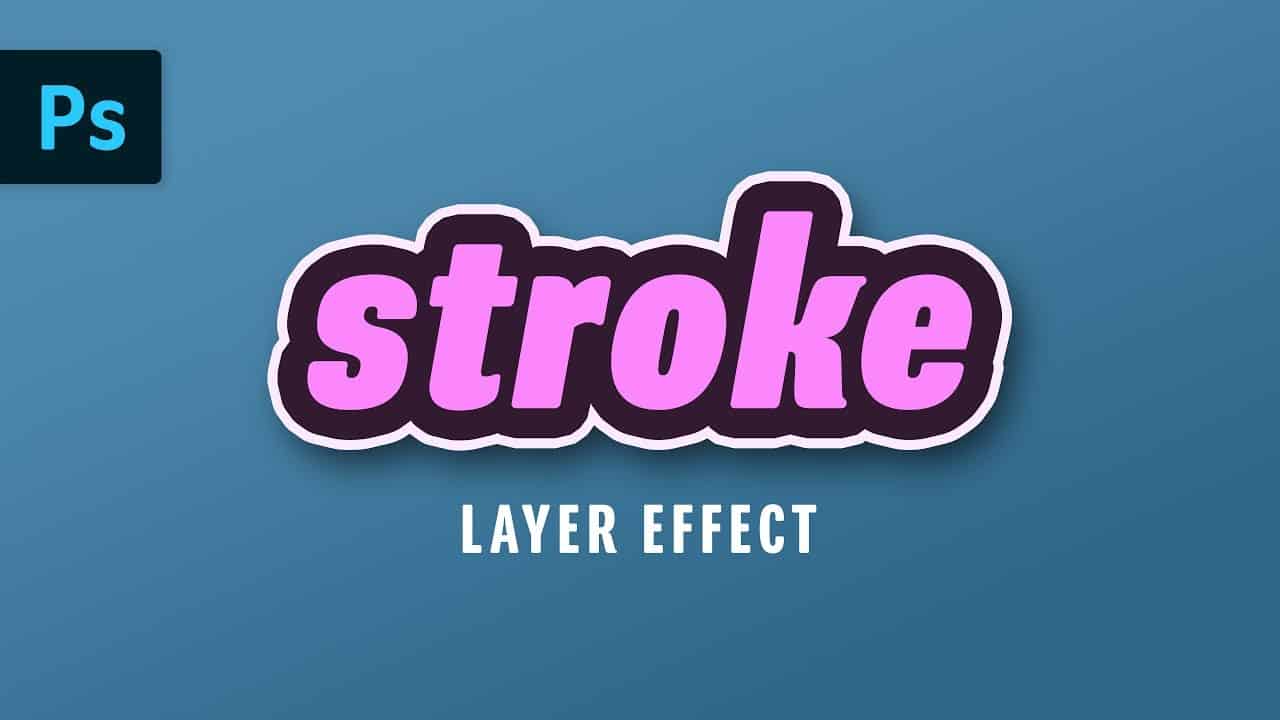
Also, as a side note: you can use the Stroke Tool to create other wonderful outlines. You only need to play with the options!
BONUS: Here’s a video tutorial by Pixel and Bracket for a similar effect! A special thanks to them for providing inspiration!
Link to the video: https://www.youtube.com/watch?v=wZHoAPnfKTk&t=293s
Hey, I'm a Professional Retoucher making $10k a month thanks to Photoshop.Register to my newsletter to get freelancing tips and a FREE Brush Pack in Bonus! My Newsletter

