How to Cartoon Yourself in Photoshop
With their minimalistic color schemes and bold black outlines, cartoons have a characteristic style that almost mimics the work that pop artists, such as Roy Lichtenstein, created during the 1960s. They allow artists to work in a way that combines both creativity and simplicity.
In this tutorial, we will explore how to cartoon yourself in photoshop, using a method that couldn’t be simpler – first establishing areas of black and white, and then adding color.
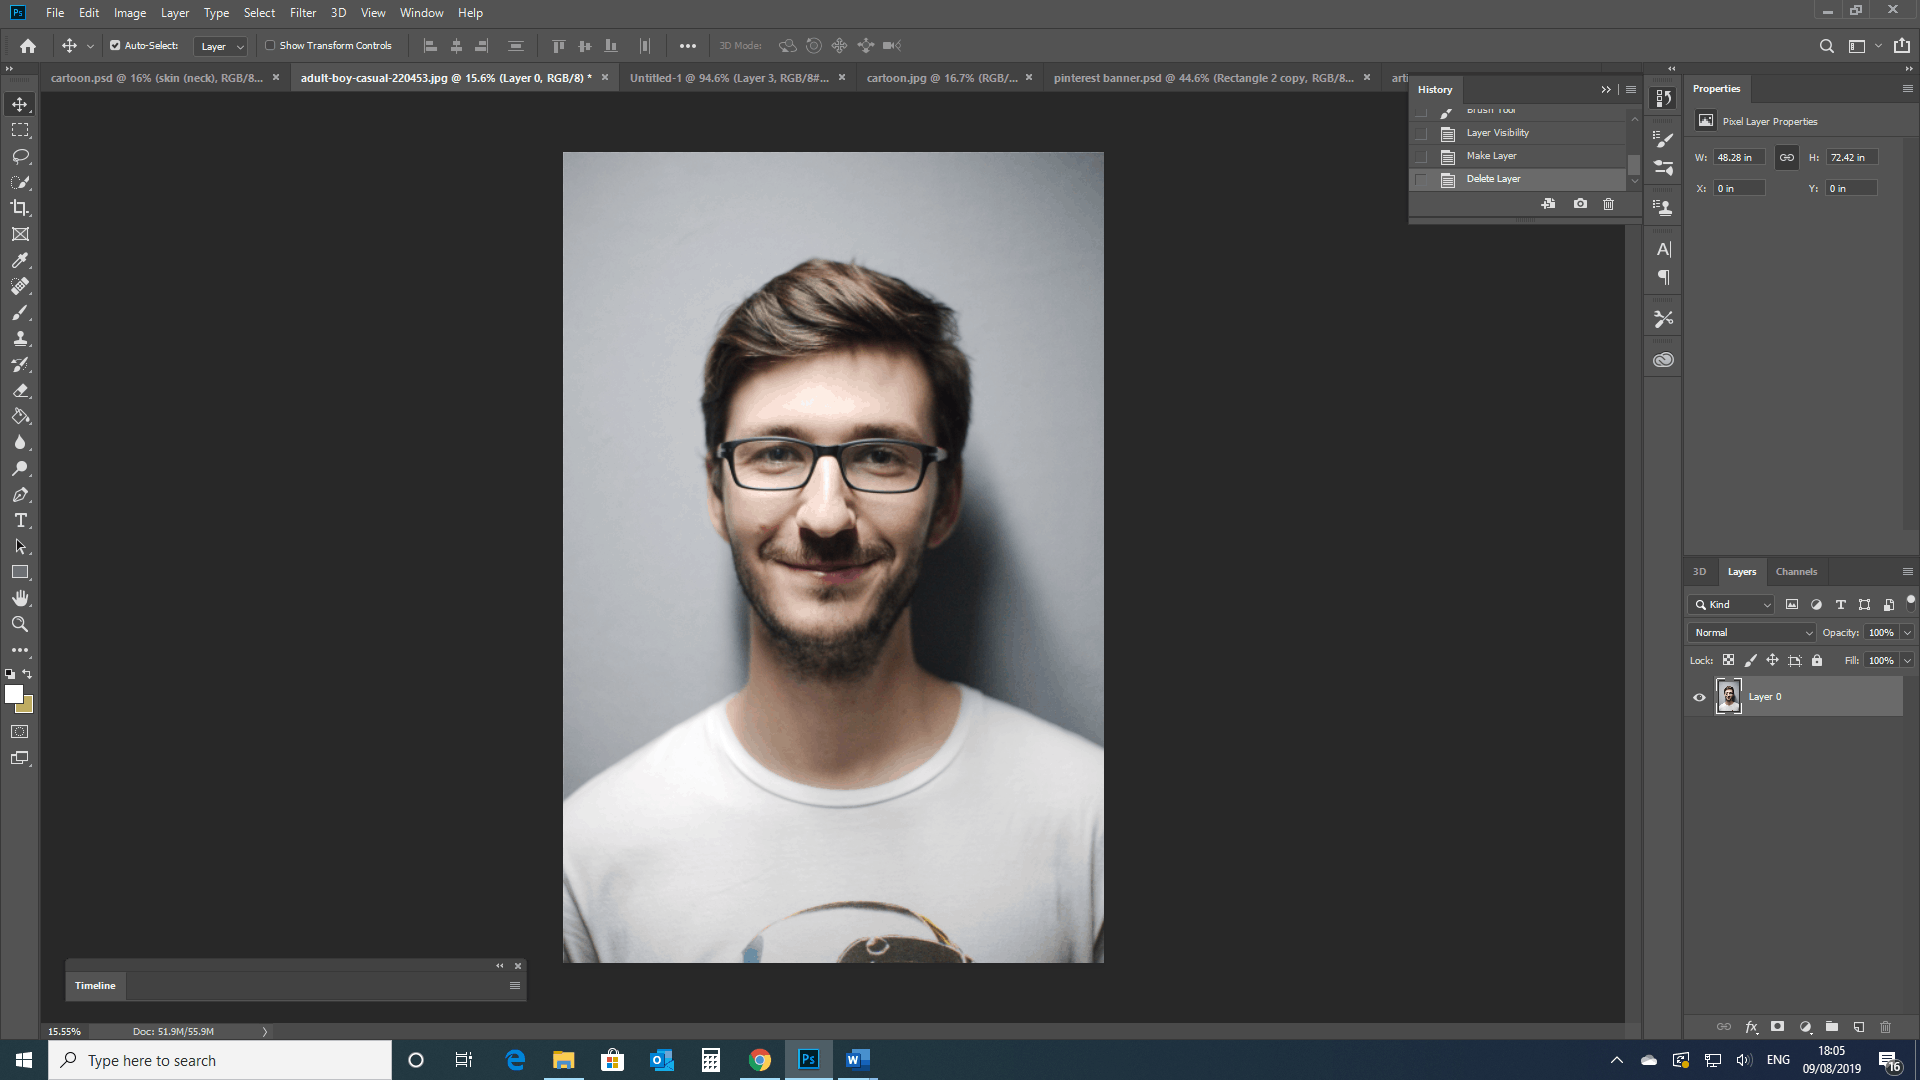
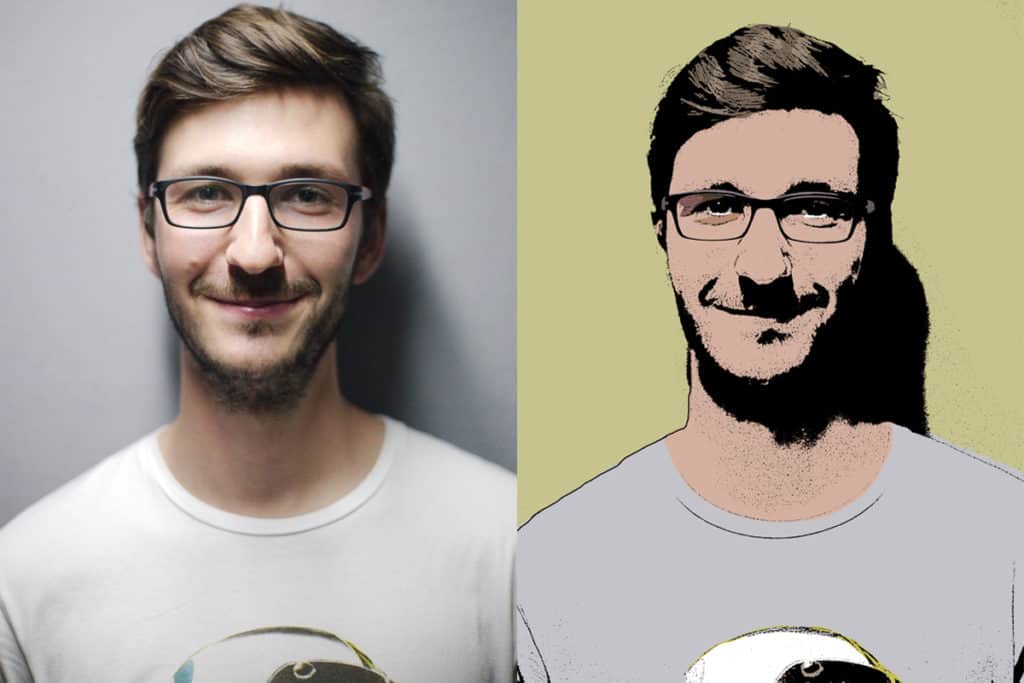
When selecting a portrait to work with, it is important to use an image of high quality and a sharp focus. For instance, for this tutorial, I used this photograph by Pixabay from Pexels, since most of the edges of the subject were defined. This is essential when creating the effect.
Before we begin, you should have your image already open in Photoshop. To do this, open the program, and choose File > New.
If you’re a Photoshop beginner, I advise you to check our 22 Video Tutorials to Help You Learn Photoshop Step By Step.
Step 1: Apply Photo Filters
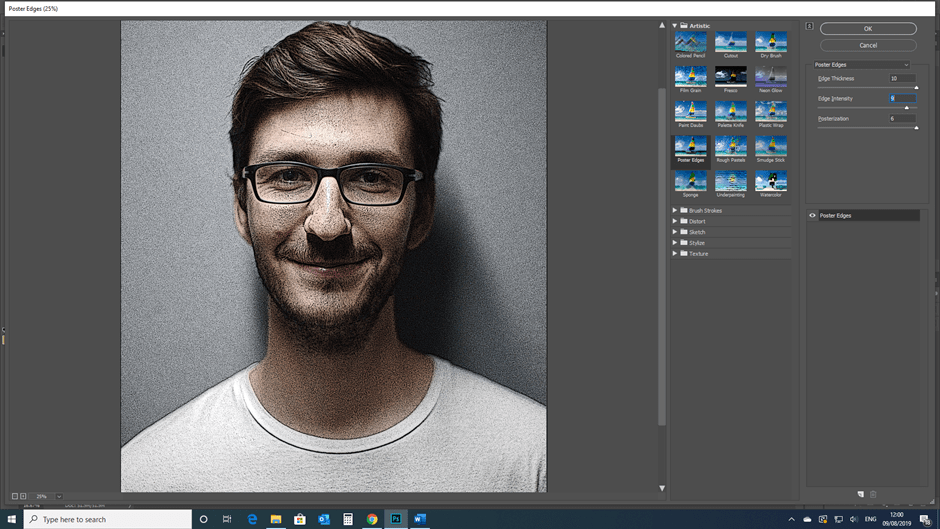
The first step in converting this image into a cartoon is to apply a photo filter. To do this, we are going to head to the panel along the top of the screen and select Filter > Filter Gallery > Artistic (the folder at the top).
From here, select the Poster Edges option. You should now see three different settings, which can be altered to change the properties of the effect. The extent to which we should alter these may change in relation to the size, or quality, of your image.
In all cases, set posterization to 6 – the maximum value – and play around with the other two settings until the main edges of the face become defined, like the example shown below. A smaller image size likely means that these two settings will have lower values.
In this example, the settings were altered as follows:
Edge Thickness: 10
Edge Intensity: 9
Posterization: 6
After this, select OK. The edges around the face and body should now be enhanced, as shown below.
Once at this stage, we should be able to apply the second photo filter.
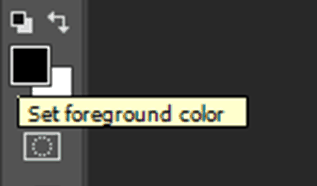
First, set the foreground and background colours to black and white, respectively. This can be done by clicking each coloured square individually and changing their colours, or by clicking on the small icon (showing two black and white boxes) above the main one. You can also use the keyboard shortcut by pressing the letter D.
After doing this, again go to Filter > Filter Gallery > Poster Edges.
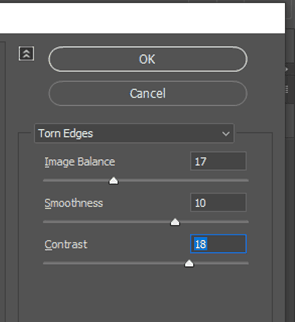
Above the settings that we altered previously whilst adjusting the effect’s properties, there will be a drop-down menu. From this, select Torn Edges (near the bottom of the list).
New settings should now appear to alter the properties of this effect:
Image Balance: a higher value creates more black in the image
Smoothness: this affects the levels of mid-tones present in the image
Contrast: a higher value establishes a greater contrast between the blacks and whites.
Again, the settings you will need will vary depending on the tones in your image. Here, we used the following:
Image Balance: 17
Smoothness: 10
Contrast: 18
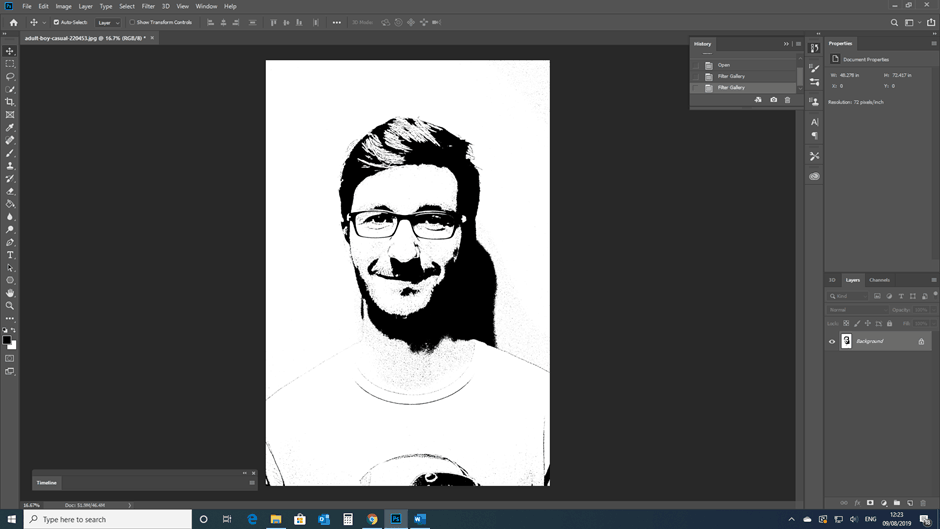
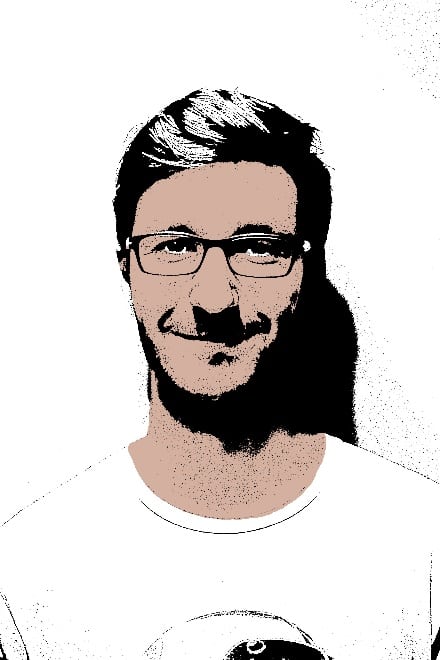
The piece should now look similar to the example below:
So, now we have the basic black and white cartoon, which is composed of areas of shadow and highlight. You could simply leave the piece as it is at this stage, but if you would like to add colour, then read on.
Step 2: Separating the blacks and whites
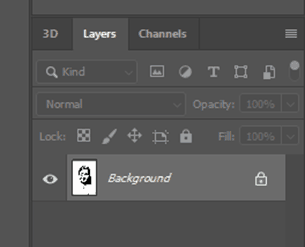
Before continuing, it is important to check that the layer isn’t still set as a background layer. This would prevent us from making a selection on the layer.
If the layer is named ‘Background’, then we must change it to a layer by clicking on the lock icon next to the layer name.
If successful, the title will be changed to ‘Layer 0’ .
Now, we may continue by selecting the entire image. To do this, press Ctrl + A [Win] or Cmd + A [Mac]. Alternatively, this can be done through clicking Select > All.
Copy the selection by pressing Ctrl + C [Win] or Cmd + C [Mac]
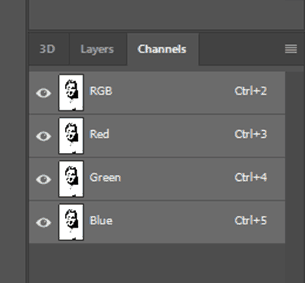
Next, open the Channels Window (this can be found at the bottom right, next to the Layers Window).
Now create a new channel by selecting the icon second from the right, at the bottom of the window (next to the dustbin icon).
This new channel will be named ‘Alpha 1’ by default. Click on this and paste the selection (press Ctrl + V [Win] or Cmd + V [Mac]).
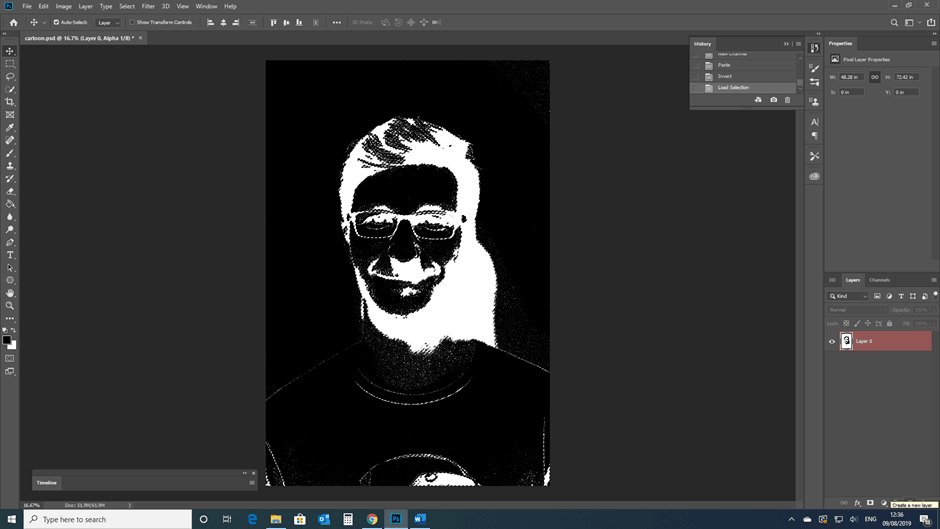
After this, invert the colours (Image > Adjustments > Invert Colours, or Ctrl + I [Win] / Cmd + I [Mac]
Your piece should now look something like this.
We are now able to separate the blacks and whites into different layers.
To do this Ctrl + Click [Win] or Cmd + Click [Mac] on the thumbnail Alpha 1 Channel thumbnail to select only the white areas of the image. Now head back to the layers panel and create a new layer (press the bottom icon, second from the left)
Select the paint bucket tool from the side panel down the left of the screen. Ensuring that the foreground colour is selected as black, and the new layer is selected, simply click on the image.
This will fill the new layer, made up of the previous selection, with black.
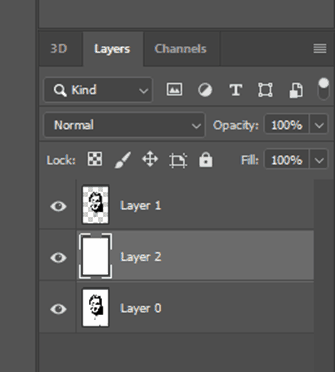
We can now deselect the selection (Select > Deselect, or Ctrl + D [Win] / Cmd + D [Mac]), and create another new layer. Fill this white, using the paint bucket tool.
Now the blacks and whites should be separated into different layers, with the black layer at the top and the white (acting as the background) beneath it.
If your layers happen to be in the wrong order, you can swap them around by dragging and dropping them into the correct places.
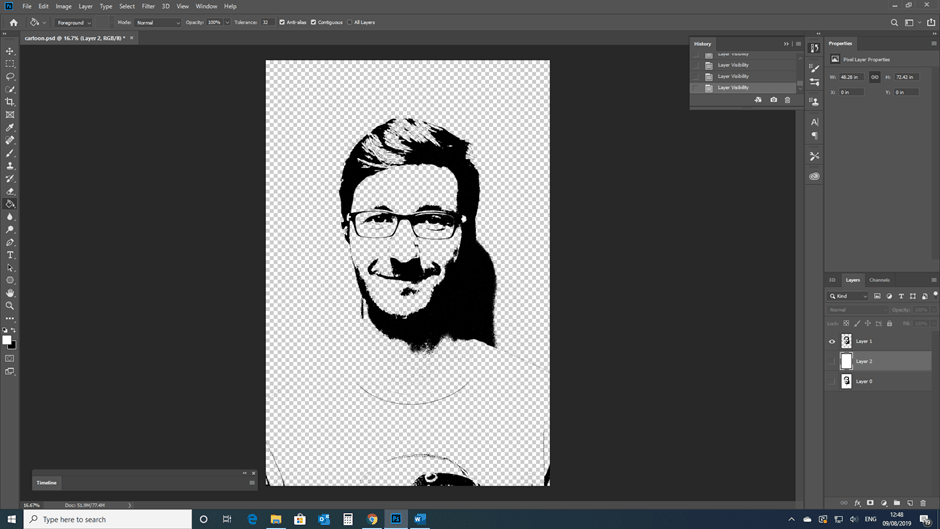
We can see that the colours are now independent, on separate layers, ready for us to add in colours. To check this, you can hide some of the layers, clicking on the eye icons on each respective layer in the layers window.
As below, we can see that only the blacks are visible when we make the bottom two layers invisible, just as they would disappear if we left the bottom two visible and hid the top layer.
After checking this, make all the layers visible again.
Step 3: Adding Colour to the Cartoon
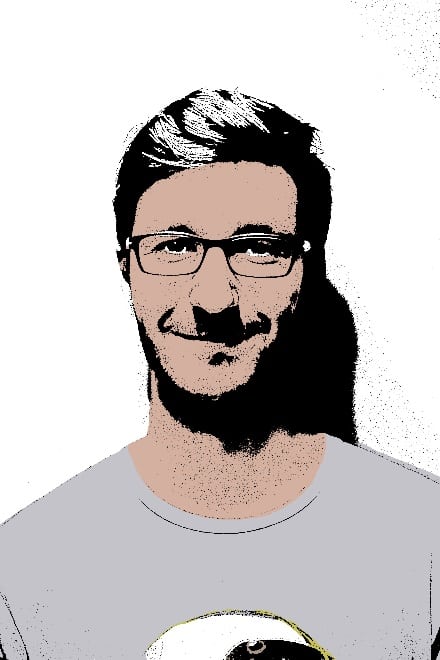
Now that we’ve formed the outline of the cartoon, we can now add colour to the piece. By separating the blacks and whites, we’ve set ourselves up to be in a position where we can paint in colours above the white, empty space, but beneath the black areas.
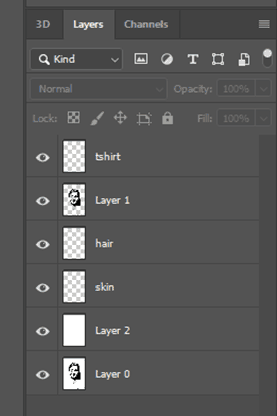
To add this new dimension to the piece, we will need to make a new layer for each separate area of the portrait.
For example, I started by creating layers for the clothing, hair and skin, but I later added one for the eyes and glasses.
Your layers will be dependent upon what is visible in your image, for instance, you may need a layer for the teeth, lips, or any additional items that are present in the photo.
To create these layers, select Layer > New > Layer.
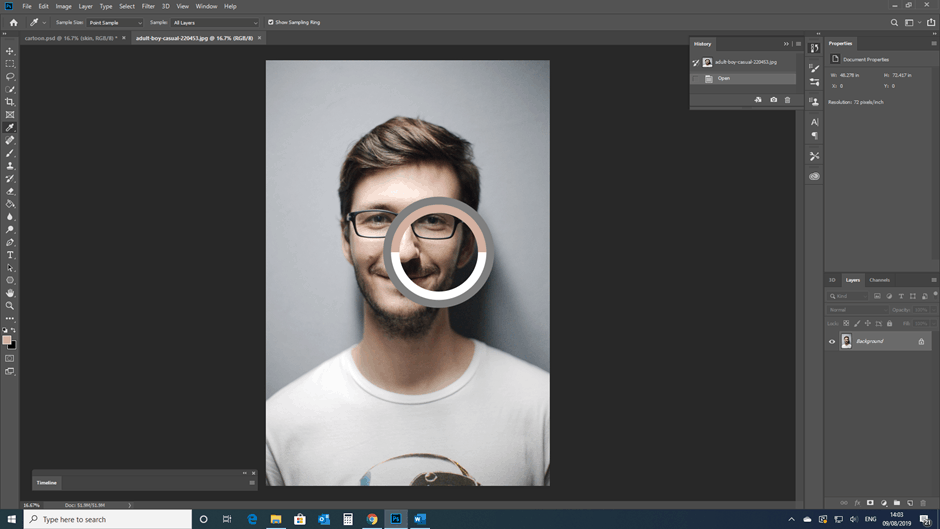
Now open the original image again – File > Open > (select relevant image)
Use the eyedropper tool to select an average colour from a region, for example the face, then return to the main piece that we’ve been working on.
Once back in the cartoon, use the brush tool to add in the respective colour from the original image, into the corresponding area of the cartoon.
For this, a hard round brush of 100% hardness will likely be the most appropriate.
The size needed will again depend on the size of your image. It is important that these layers of colour are situated above the white ‘background’ layer, but beneath the black ‘outline’ layer.
At this point, if you wish to take a more creative approach by selecting your own colours for the image, then simply select the desired colour when on the brush tool, rather than selecting the more accurate, realistic tones from the image itself.
Repeat this process of colour selection, followed by brushing in, until you’ve added colour into all the areas of the portrait.
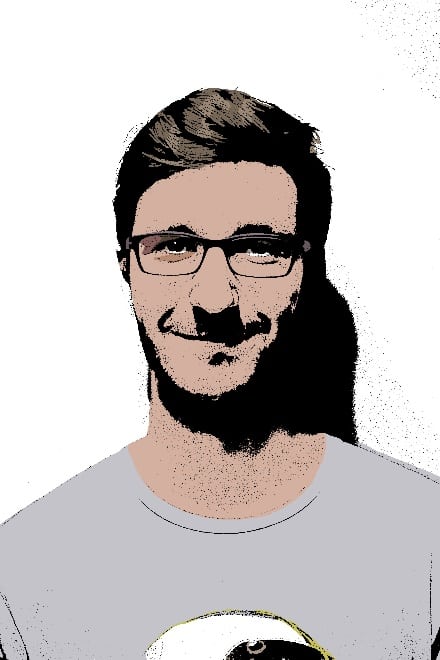
The amount of detail that you complete this stage is dependent on personal preference and artistic style. Cartoons would typically be minimalistic, therefore without high levels of detail, but in this example, I added in highlights in the hair, and some shadows around the eye area, simply to give the piece some more depth.
To finish off the piece, you can also colour in the background to brighten up the image.
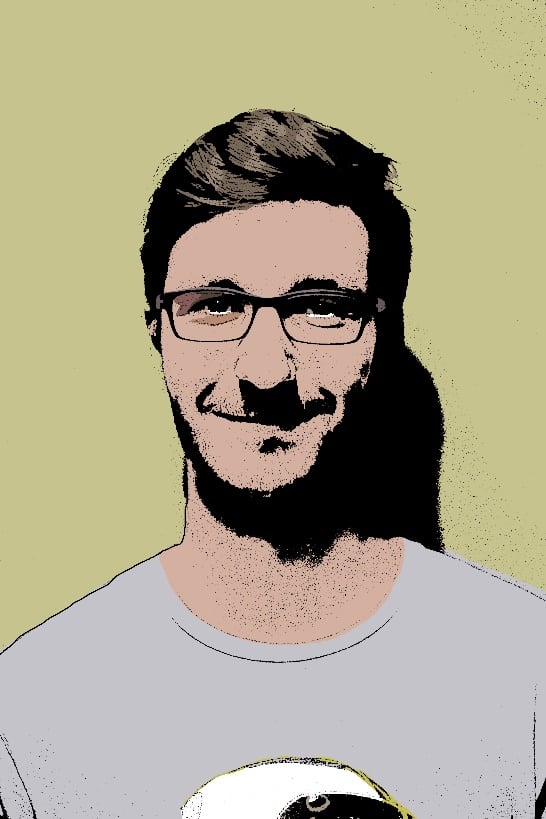
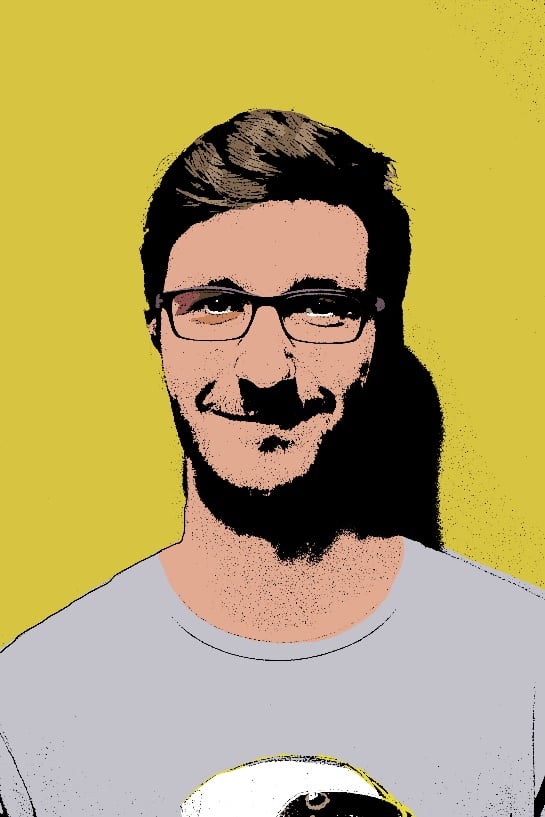
There you have it! Your very own cartoon image, in a minimalistic, 1960s pop art style.
BONUS
For more information on how to create a similar effect, check out this video by Pixivu on how to add a cartoon effect to photos using the pen tool.
The video allows an insight into a different method, which is notably useful for photos with more complex outlines.
Hey, I'm a Professional Retoucher making $10k a month thanks to Photoshop.Register to my newsletter to get freelancing tips and a FREE Brush Pack in Bonus! My Newsletter

