How to Colorize a Black and White Photo in Photoshop

Black and white photographs were very common in the early 19th century, and therefore still exist in large numbers today.
Although the absence of color in an image can create a nice effect, being suggestive of what time period it came from, and giving it a historical essence, having color present can often give the picture more value.
Color can be used as a vital tool for visual storytelling. It is human nature to connect colors with their respective emotions- for instance, we would naturally relate yellow to warmth or happiness, whilst we would relate black to a sadder or darker theme.
Therefore, this tendency to apply emotional values to color means that it is an extremely powerful and important tool to think about when creating an atmosphere in a piece or an image.
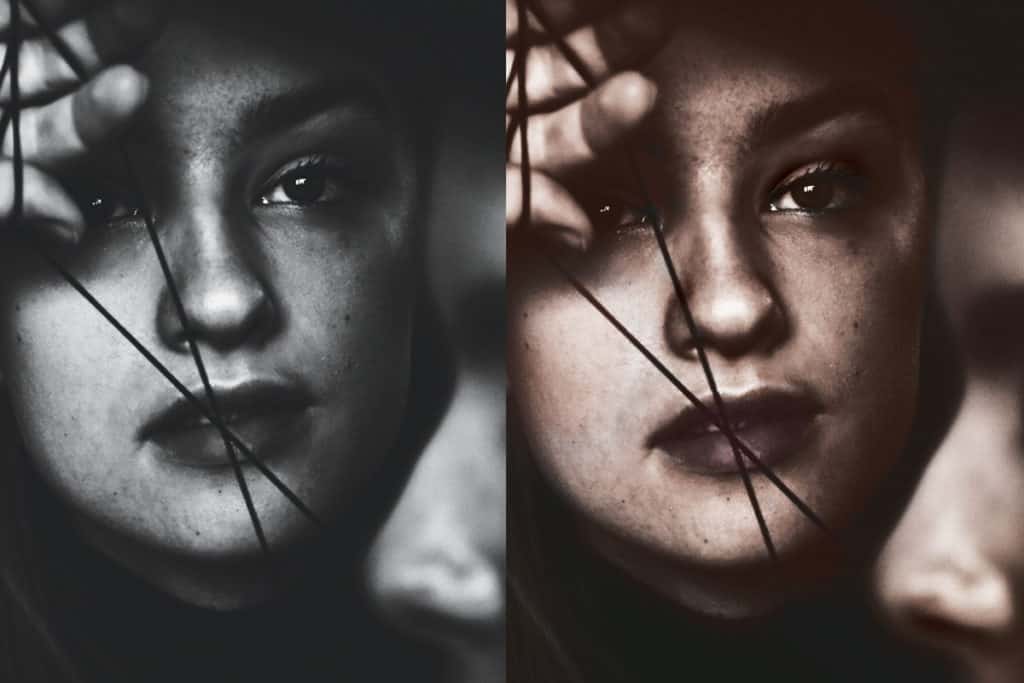
In this tutorial, you will learn how to colorize a black and white photo in Photoshop, and after reading, you will have gained the skills and understanding to enable you to add new life to your black and white photographs. So let’s make a start!
Step 1: Open your B&W Image in Photoshop
We’ll, of course, need to begin by importing a black and white image into Photoshop. To do so, you can open the program before heading to File > Open, and selecting the relevant image from your files.
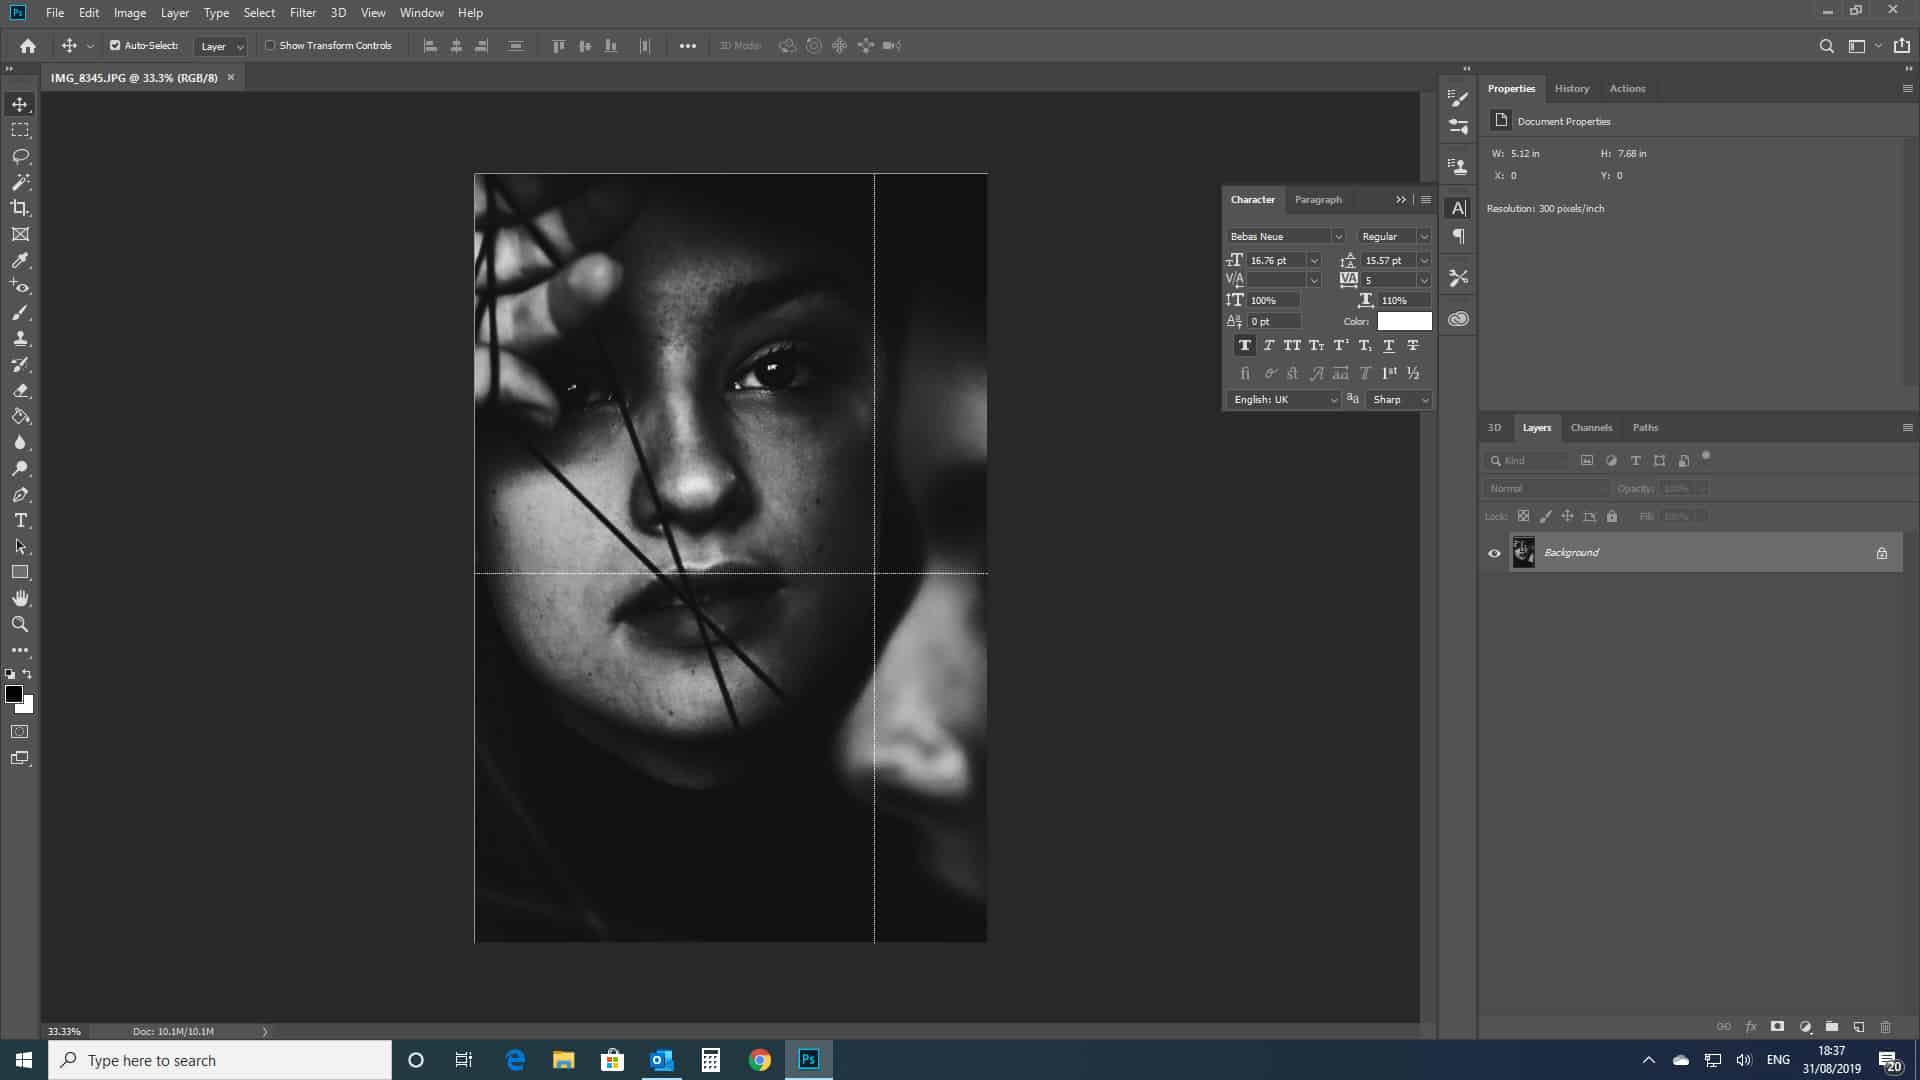
For this tutorial, I used a black and white portrait by Emma Last. – If you’re desiring to find free stock images, check our 25 best free stock images websites here.
Your screen should appear something like this:
Step 2: Copy the Layer of the Original Photo
Now that our image is in the Photoshop workspace, we can start on the main process.
Let’s start by duplicating the original photo layer, just to ensure that you will always have a copy of the original in your workspace that you can go back to. To do this, right click on the layer, and select duplicate layer.
Your layers window should now look something like the one below.
Step 3: Adjust the Properties of the Image
Now, whilst the majority of black and white photographs are, as they are labelled, made up of blacks, whites, and greys, others may be toned differently. In monochrome photography, sepia toned images and, although less so, cyanotype images are commonplace.
If your image seems to be toned with a certain color, for instance if it appears ‘warmer’, you may have to adjust the hue or saturation of your image to make it consist of pure blacks and whites, rather than tinted ones.
To ensure in the most simple way that the image is actually black and white (rather than toned monochrome) we can simply apply a black and white photo filter to neutralise the tones.
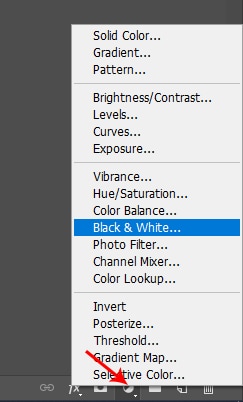
If you need to do this, create a black and white adjustment layer by selecting the fourth icon along the bottom of the layers window, then selecting black and white.
You may also need to adjust the contrast of your image. To do this, head to Image > Adjustments > Brightness and Contrast, and adjust the values on the sliders accordingly.
Step 4: Convert the Image Mode to CMYK Color
So now that we have set up an editable black and white image, we’re almost ready to get started with adding in the colors.
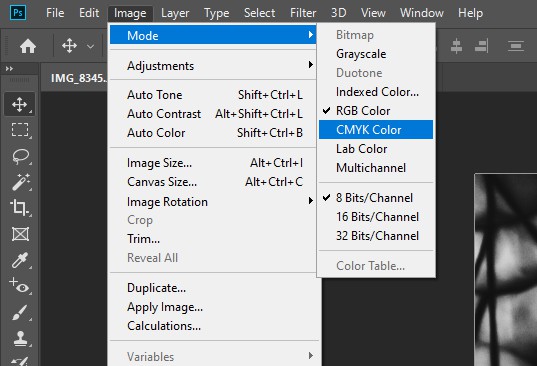
It is likely that when you import your black and white photograph, it will be in RGB Color mode. For this process, we will need to change the Image Mode to CMYK Color.
To do this, simply select from the bar along the top of your screen Image > Mode > CMYK Color.
A confirmation message is likely to pop up. Click OK.
Step 5: Add Color Into the Image
You should now be ready to start adding color into your image!
We’ll start with the creation of a new Solid Color Adjustment Layer in the color of the area that you’re working on.
To do this, select the fourth icon from along the bottom of the layers window, and then select solid color from the menu that appears.
Let’s say, for example, that you wanted to start with the skin. You would determine what color the subject’s skin would have been in the original photograph, and create an adjustment layer of that color.
You will need to repeat this process for every area in the image, so make sure that you have a good understanding, or estimate, of what the original colors in the photo are. This can be difficult, and a lot of it may be guesswork.
But some ways to identify what colors an element of a photograph would have been if the image had contained color is through logic or research. For instance, if the subject is wearing a uniform, research can be done to discover what color it would have been.
You could also make comparisons between the appearance of known tones and unknown tones. Let’s say that you know that the sky is blue in the image, and there is another object that has the same kind of tone in black and white form. This would make it likely that the object of the same tone is of the same original color.
So now that you’ve created the adjustment layer for the first area of the photo that you wish to work on, set its blend mode to soft light or hue (or play around with others) until the whole image has been toned with that color.
Obviously however, you don’t want the entire image to be toned with a single color, rather just the relevant area of it. So to make sure that the latter is the case, you’ll need to add a layer mask to the Solid Color Adjustment Layer, which will allow you to be selective regarding which areas of the image are toned with that particular color.
Fill this layer mask with black, using the paint bucket tool from the toolbar down the left side of your screen. When working with layer masks, the colors black and white determine which areas are invisible or visible, respectively.
Therefore once we have filled the layer mask with the color black, the effects of the adjustment layer won’t be visible anywhere.
We’re going to want to make some areas toned with the color, so to do this, simply use a white brush on the layer mask to paint over the areas that you want to be toned with the relevant color.
Repeat this process for every area of the image, using relevantly colored adjustment layers for each.
An important thing to keep in mind is that the more specifically you select colors, and the wider the variety of colors that you add in to the image, the more realistic the outcome will be. For instance, adding details around the eyes will make your colorization appear more convincing.
BONUS
For more information on adding color into black and white photos, check out the following videos which discuss how to do so using Photoshop.
Hey, I'm a Professional Retoucher making $10k a month thanks to Photoshop.Register to my newsletter to get freelancing tips and a FREE Brush Pack in Bonus! My Newsletter


